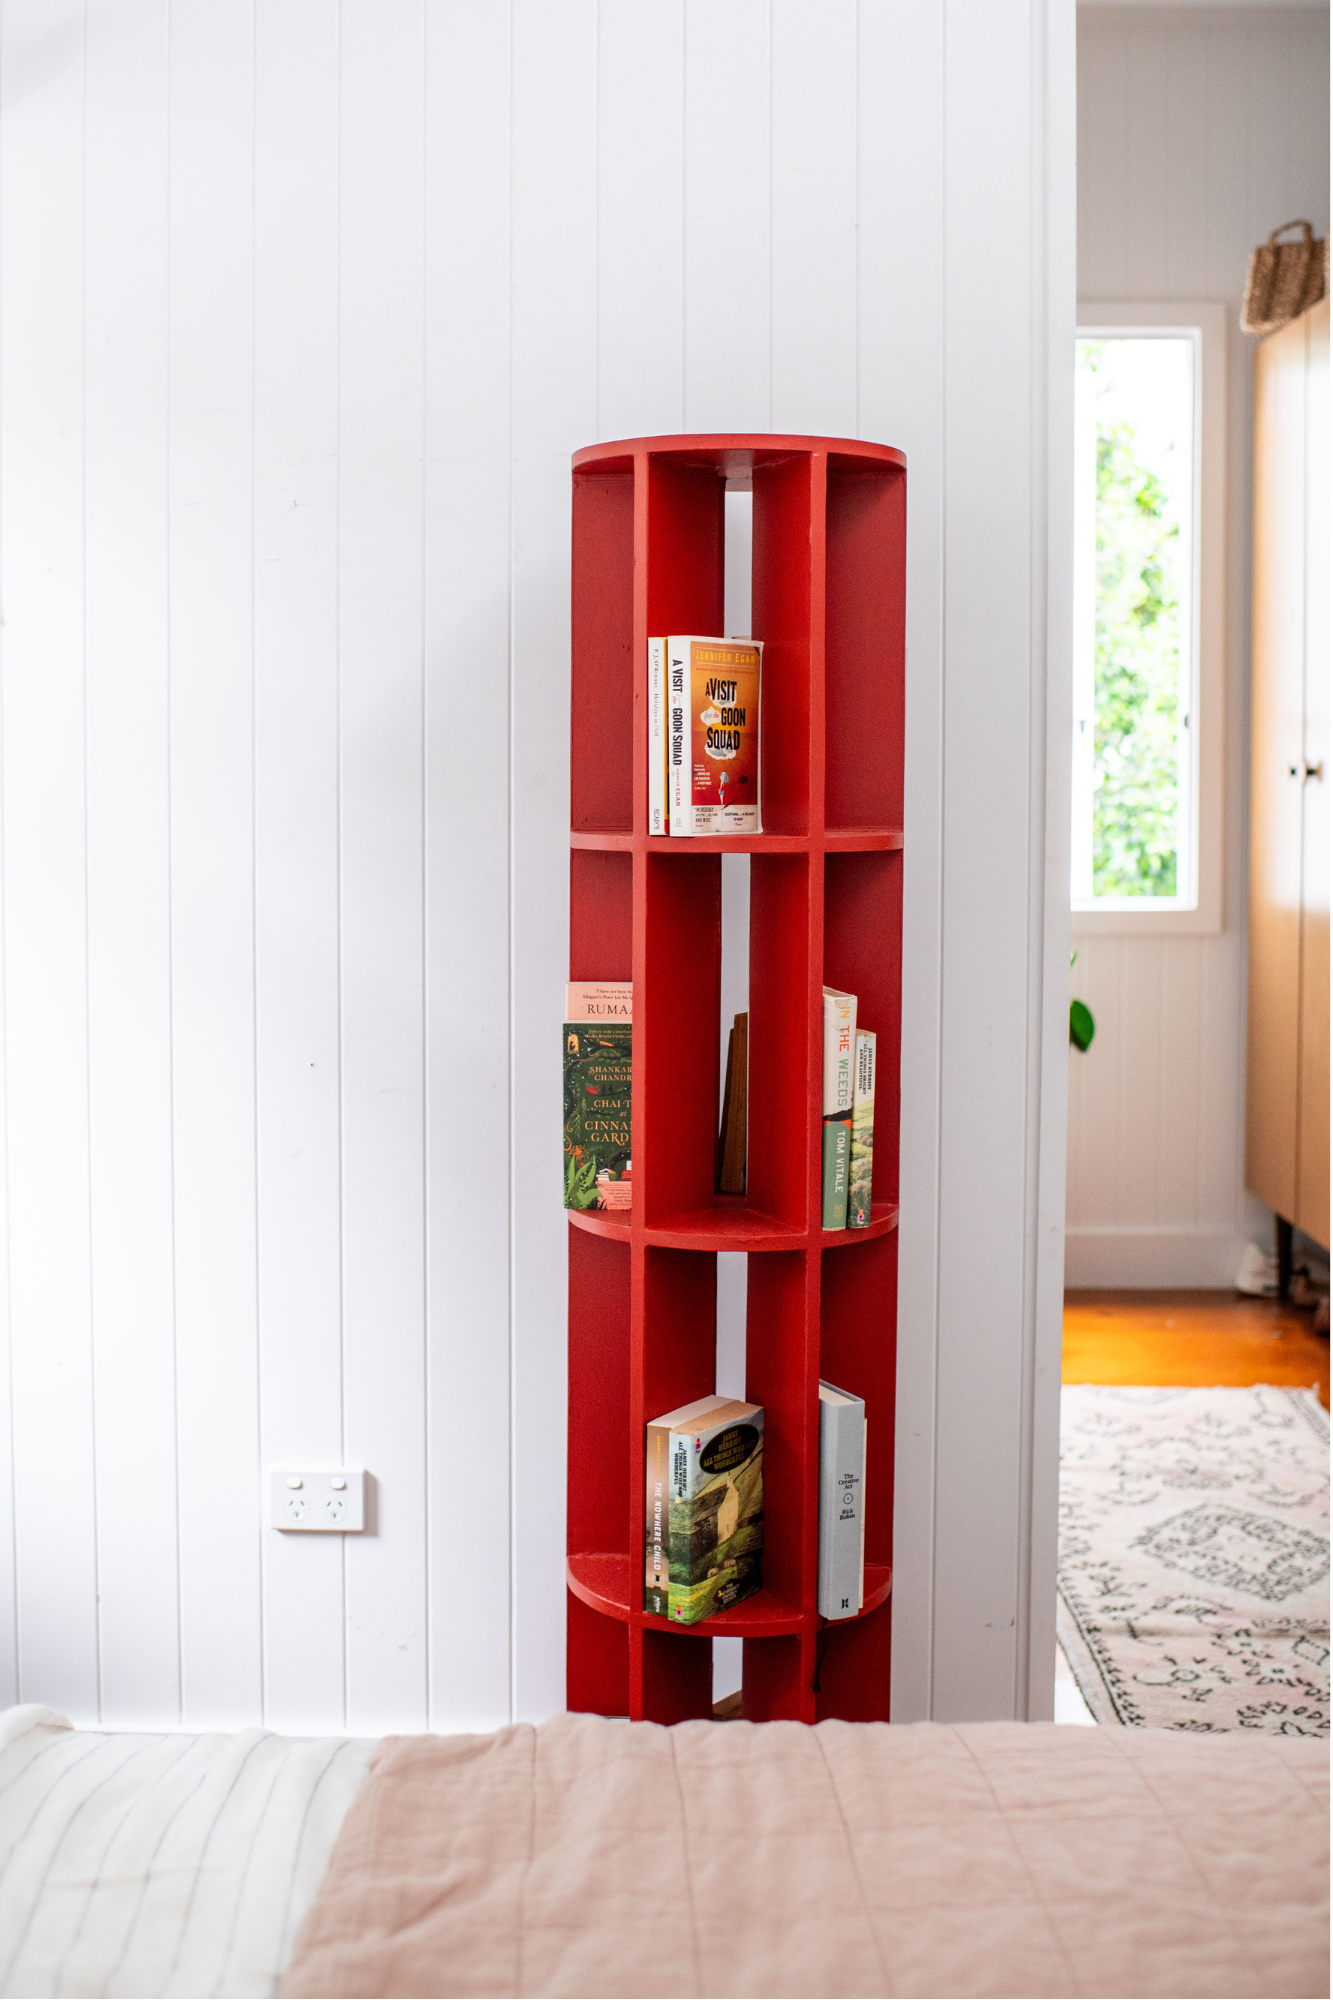
You heard it here first - when it comes to bookshelf trends, you’ll want to be ‘ahead of the curve’ with a rotating statement piece.
With encouragement from her Instagram followers, DIY expert Geneva Vanderzeil set out to create her own rotating shelves, using a bit of creative license and some trusty Monarch paint tools.
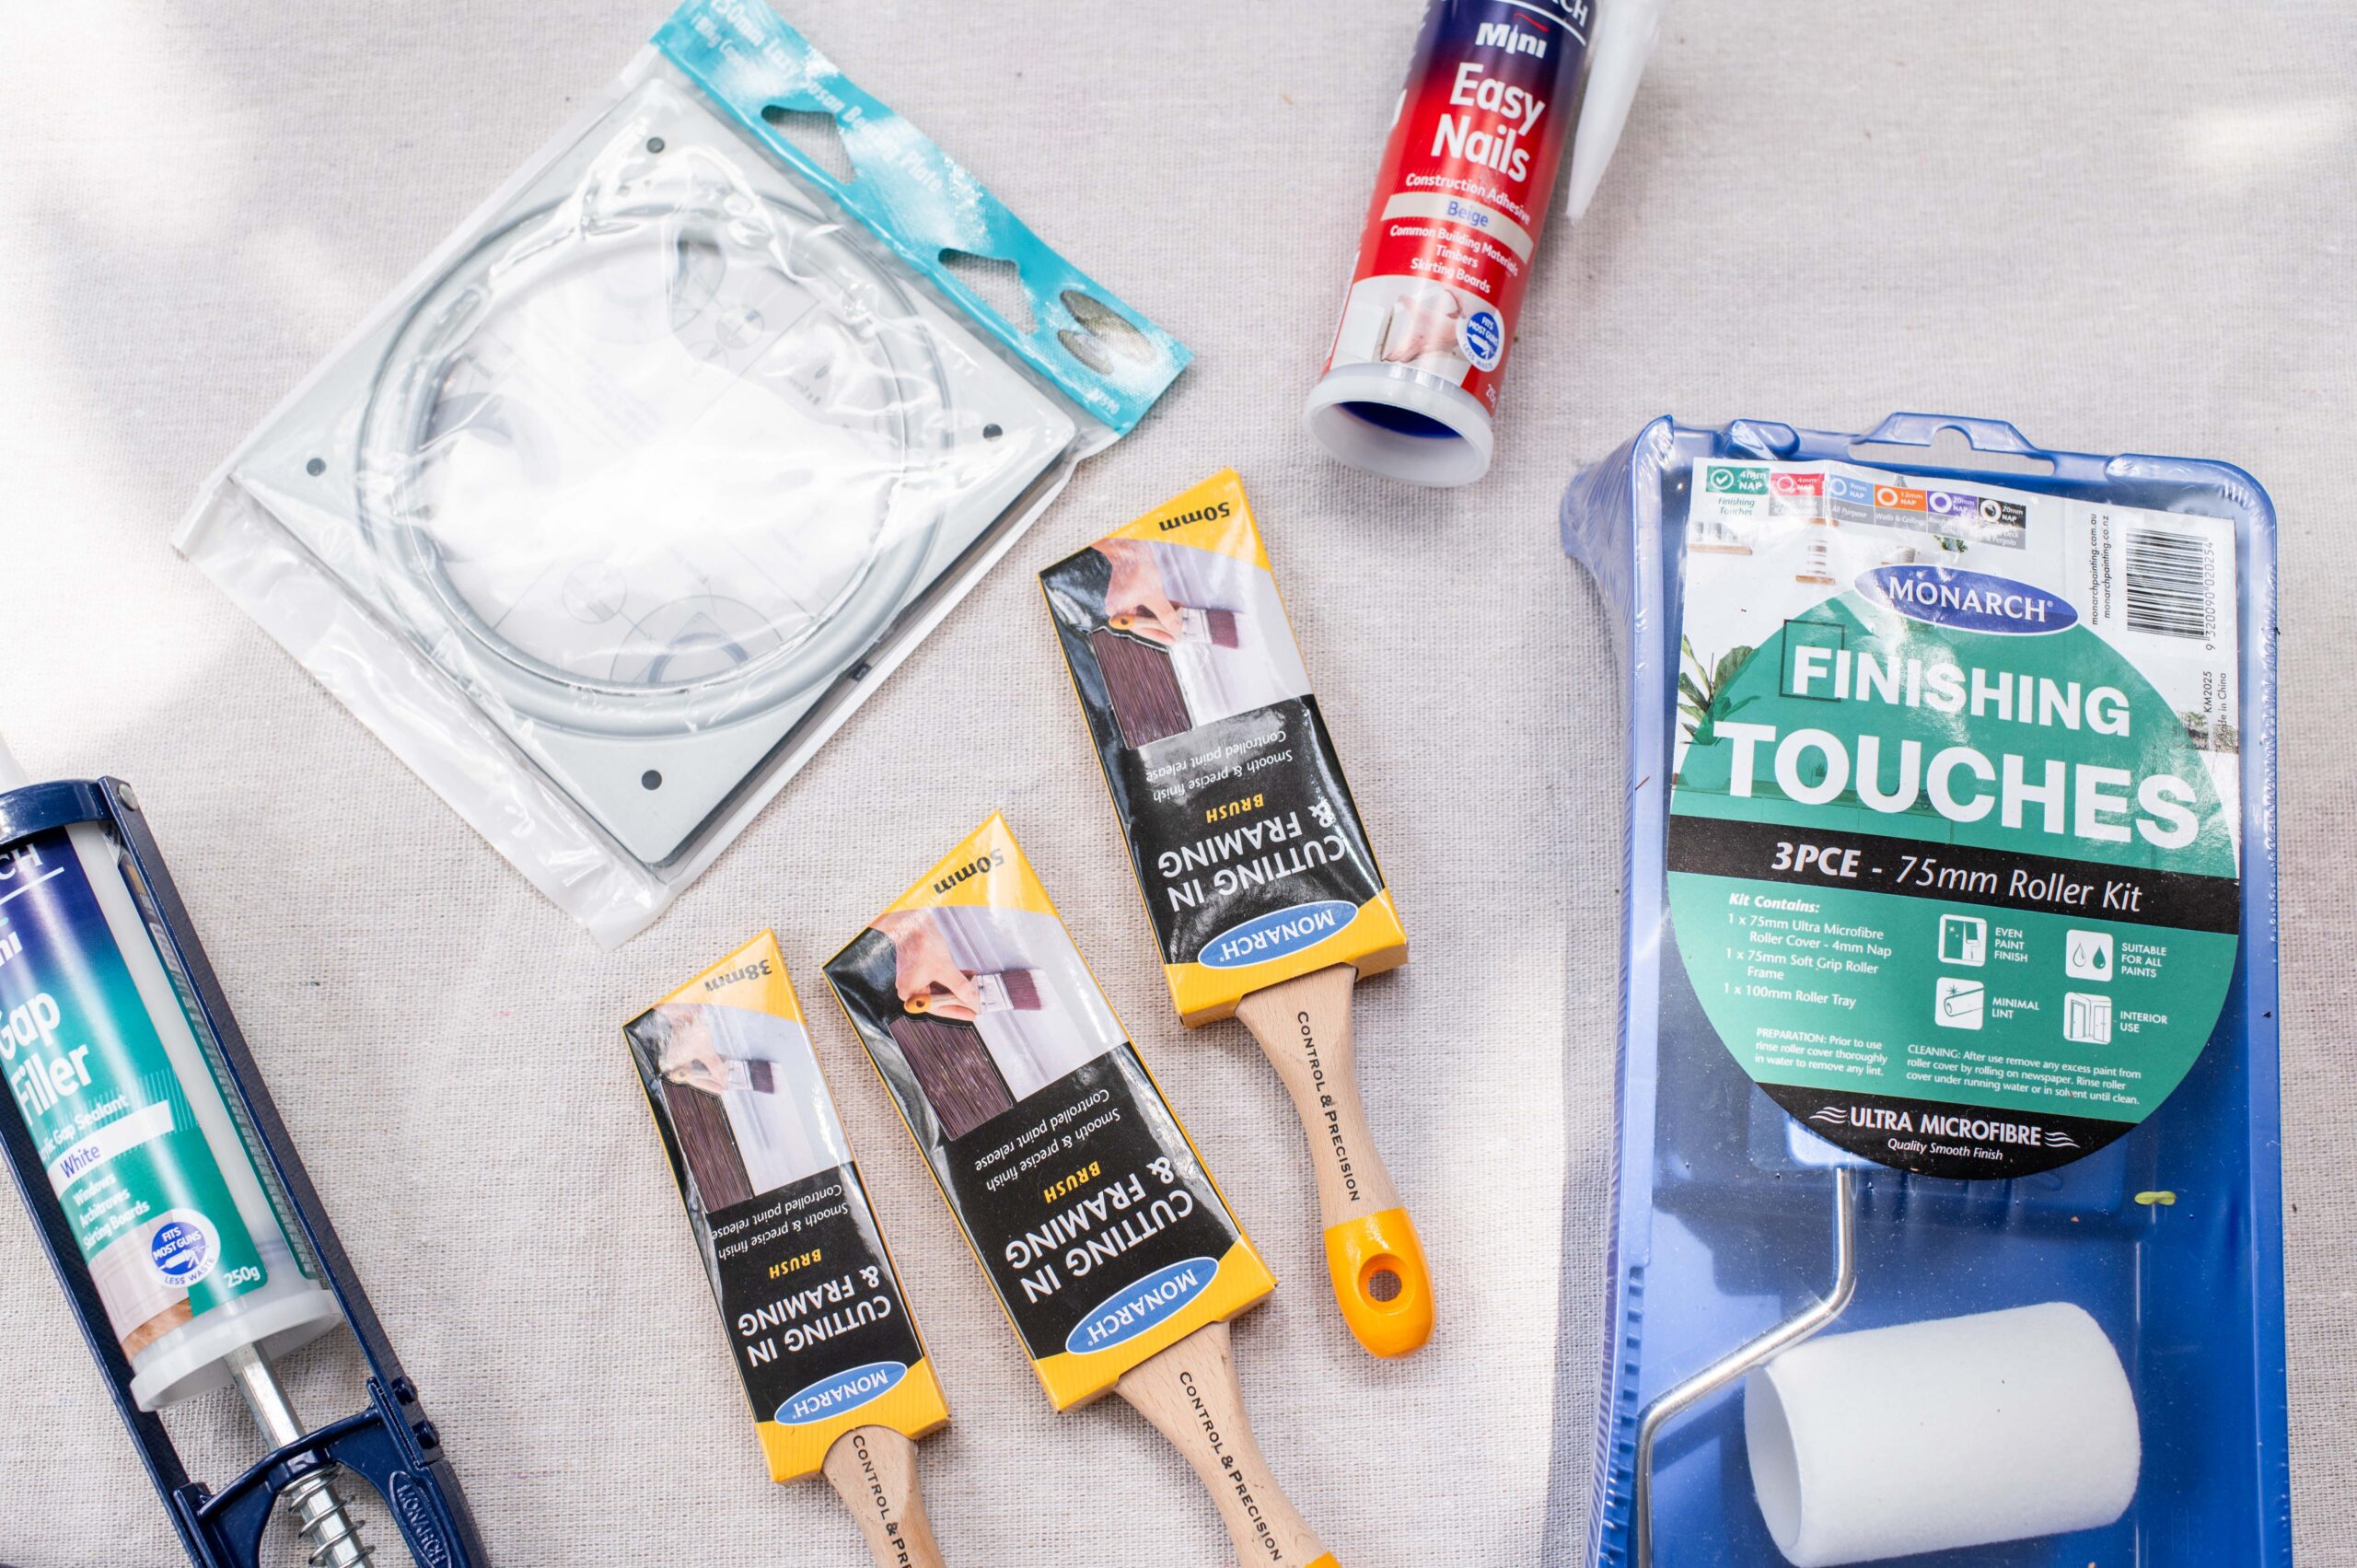
Materials required to complete this DIY project
- A Tube Core (for this project, Geneva used the core from a thick roll of cardboard)
- Monarch Finishing Touches Kit
- Monarch Cutting In & Framing Brush
- Monarch Leak Proof Canvas Drop Sheet
- Monarch Mini Easy Nails Construction Adhesive
- Monarch Mini Gap Filler
- Monarch Mini Compact Caulking Gun
- Monarch Mini Fill Sand Go
- Monarch Painters Mitt
- Paint
- Lazy Susan Plates x 2
- A timber round
- Balsa wood
- Drill
We have put together a step-by-step guide below, detailing everything you need to know to complete this project and recreate the look at home.
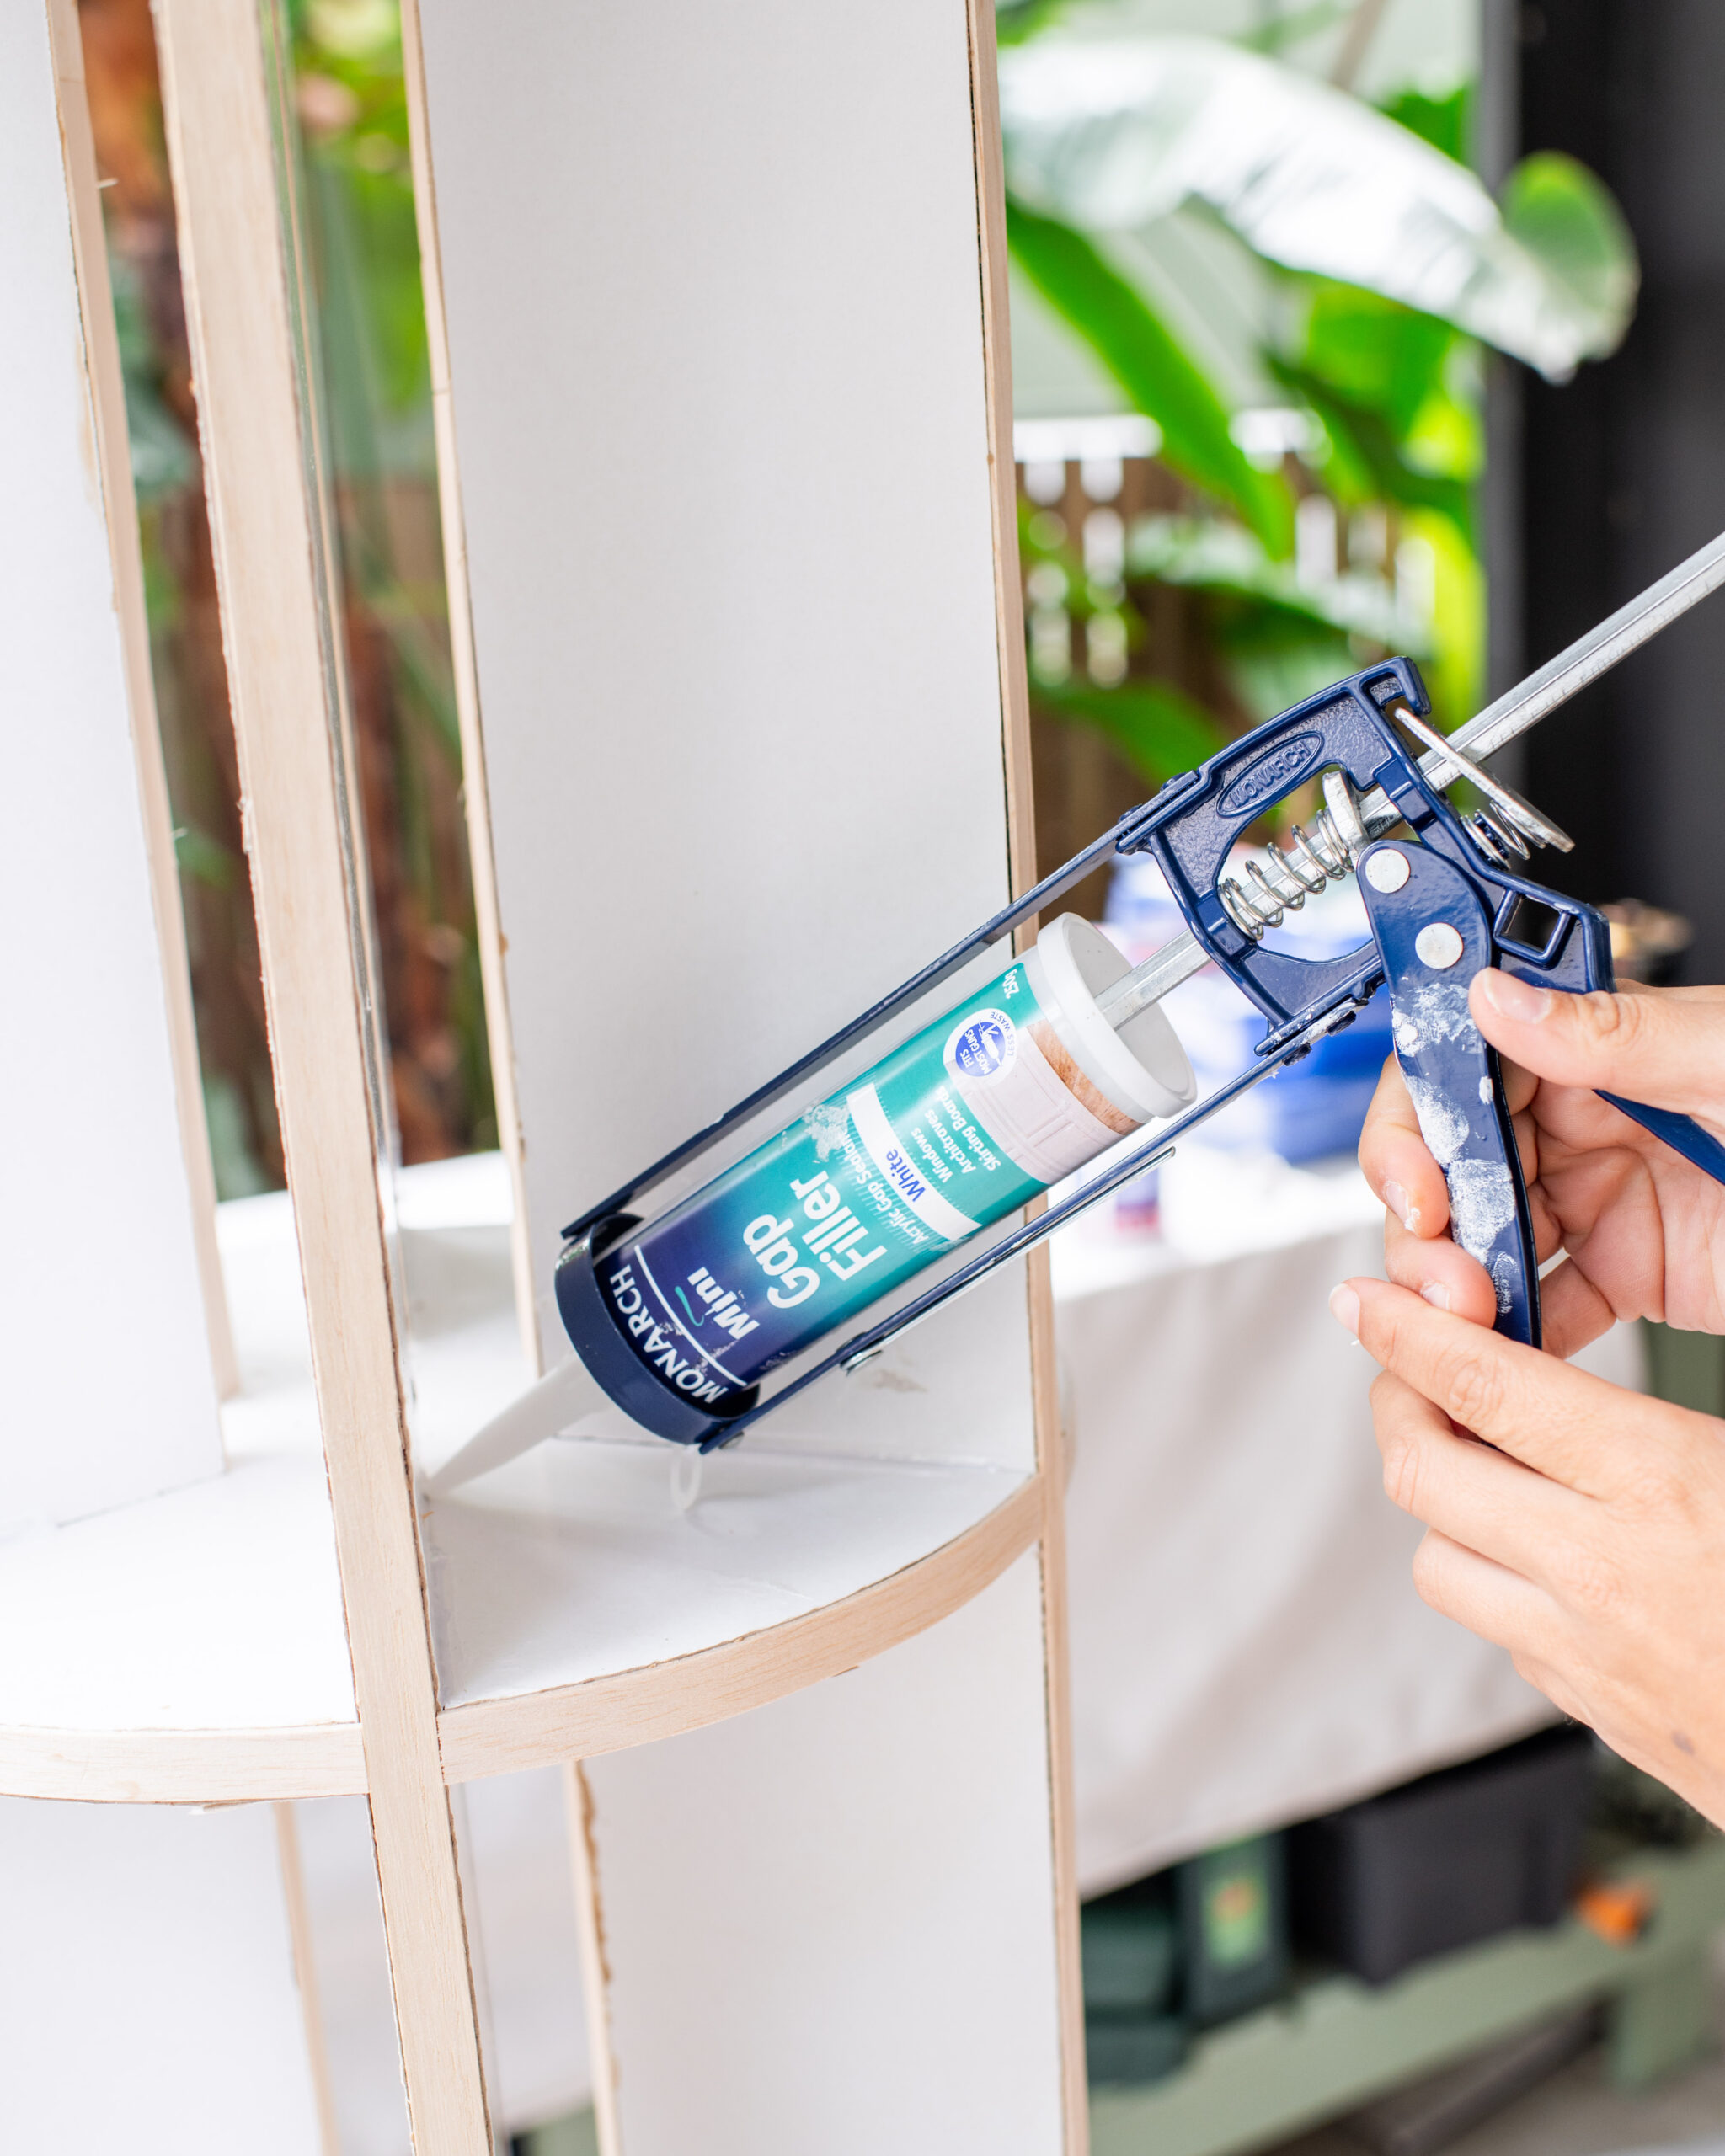
Step 1: Prep The Shelves
The core that Geneva used had exposed edges, so she applied Monarch Mini Easy Nails Construction Adhesive onto strips of Balsa wood to stick them to the surface. Apply Fill Sand Go and Gap Filler in any additional gaps and cracks on the top and inside of the shelves. Use your sanding puck to smooth out any rough patches.
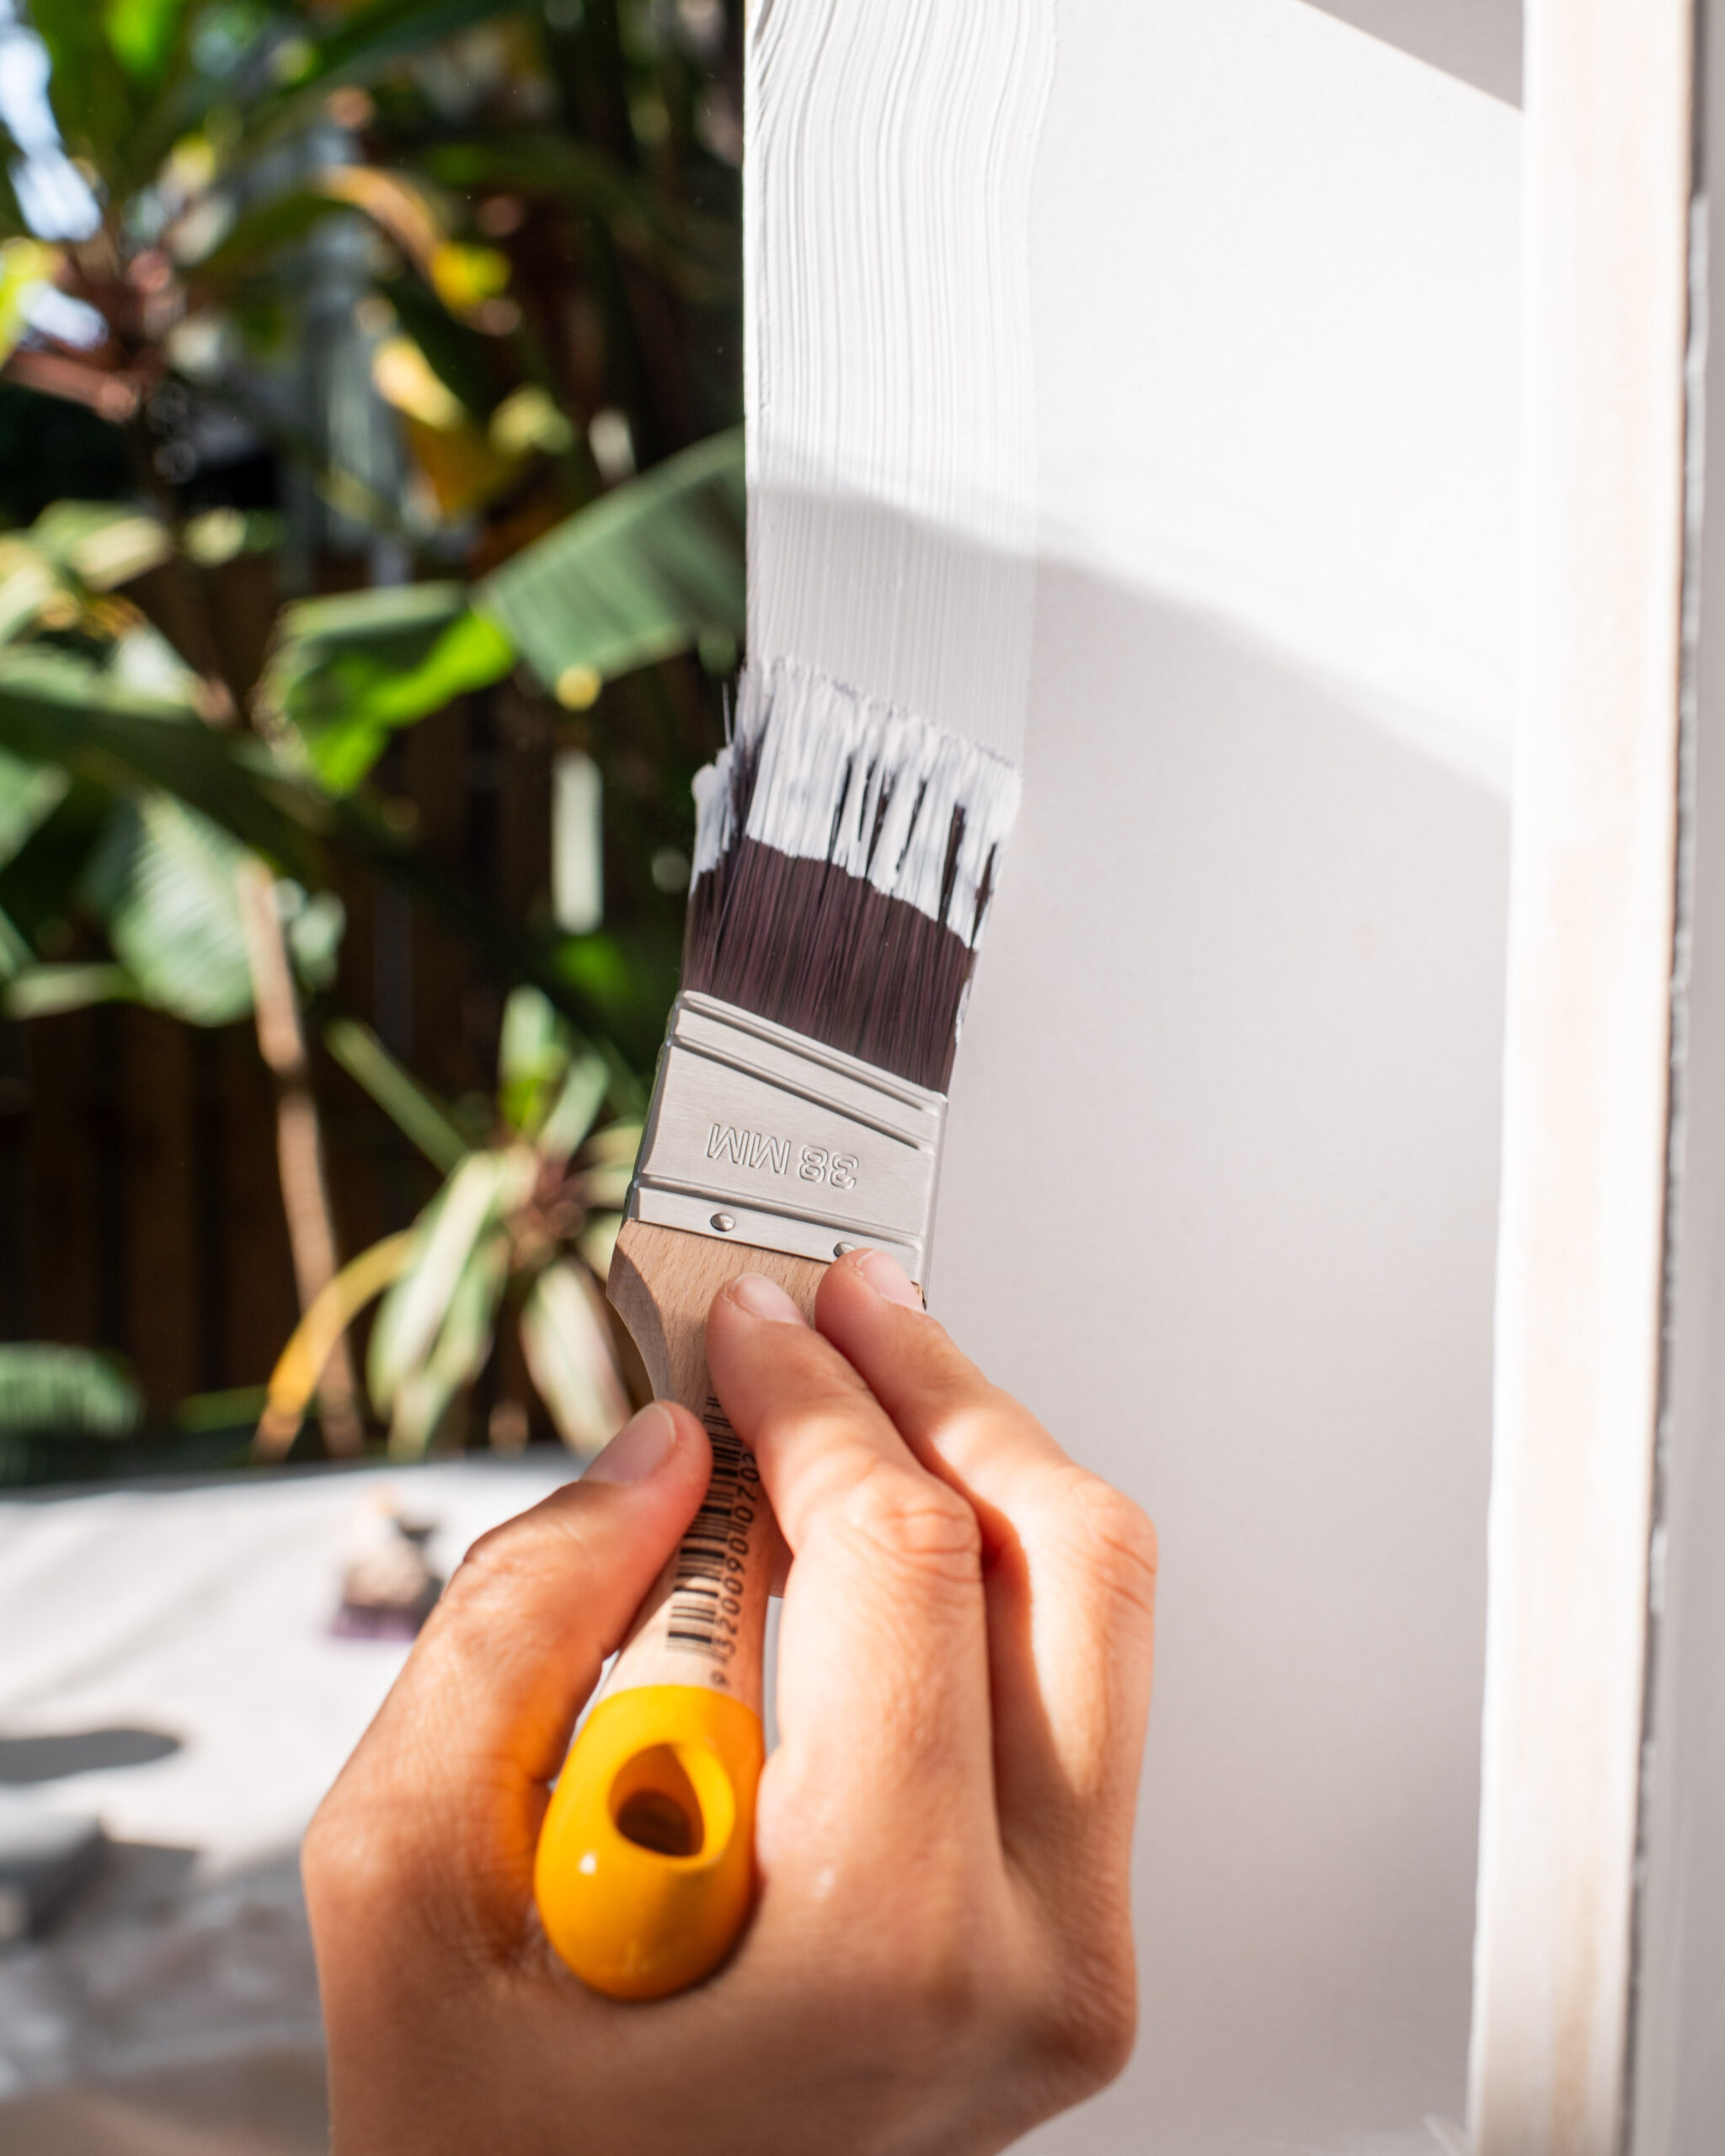
Step 2 – Undercoat
For the best results, make sure to undercoat the surface first. Geneva used the Monarch Cutting In & Framing Brush on the edges and sides, with the Finishing Touches Roller Kit for the larger surface areas.
Step 3 – Apply Your Top Coat
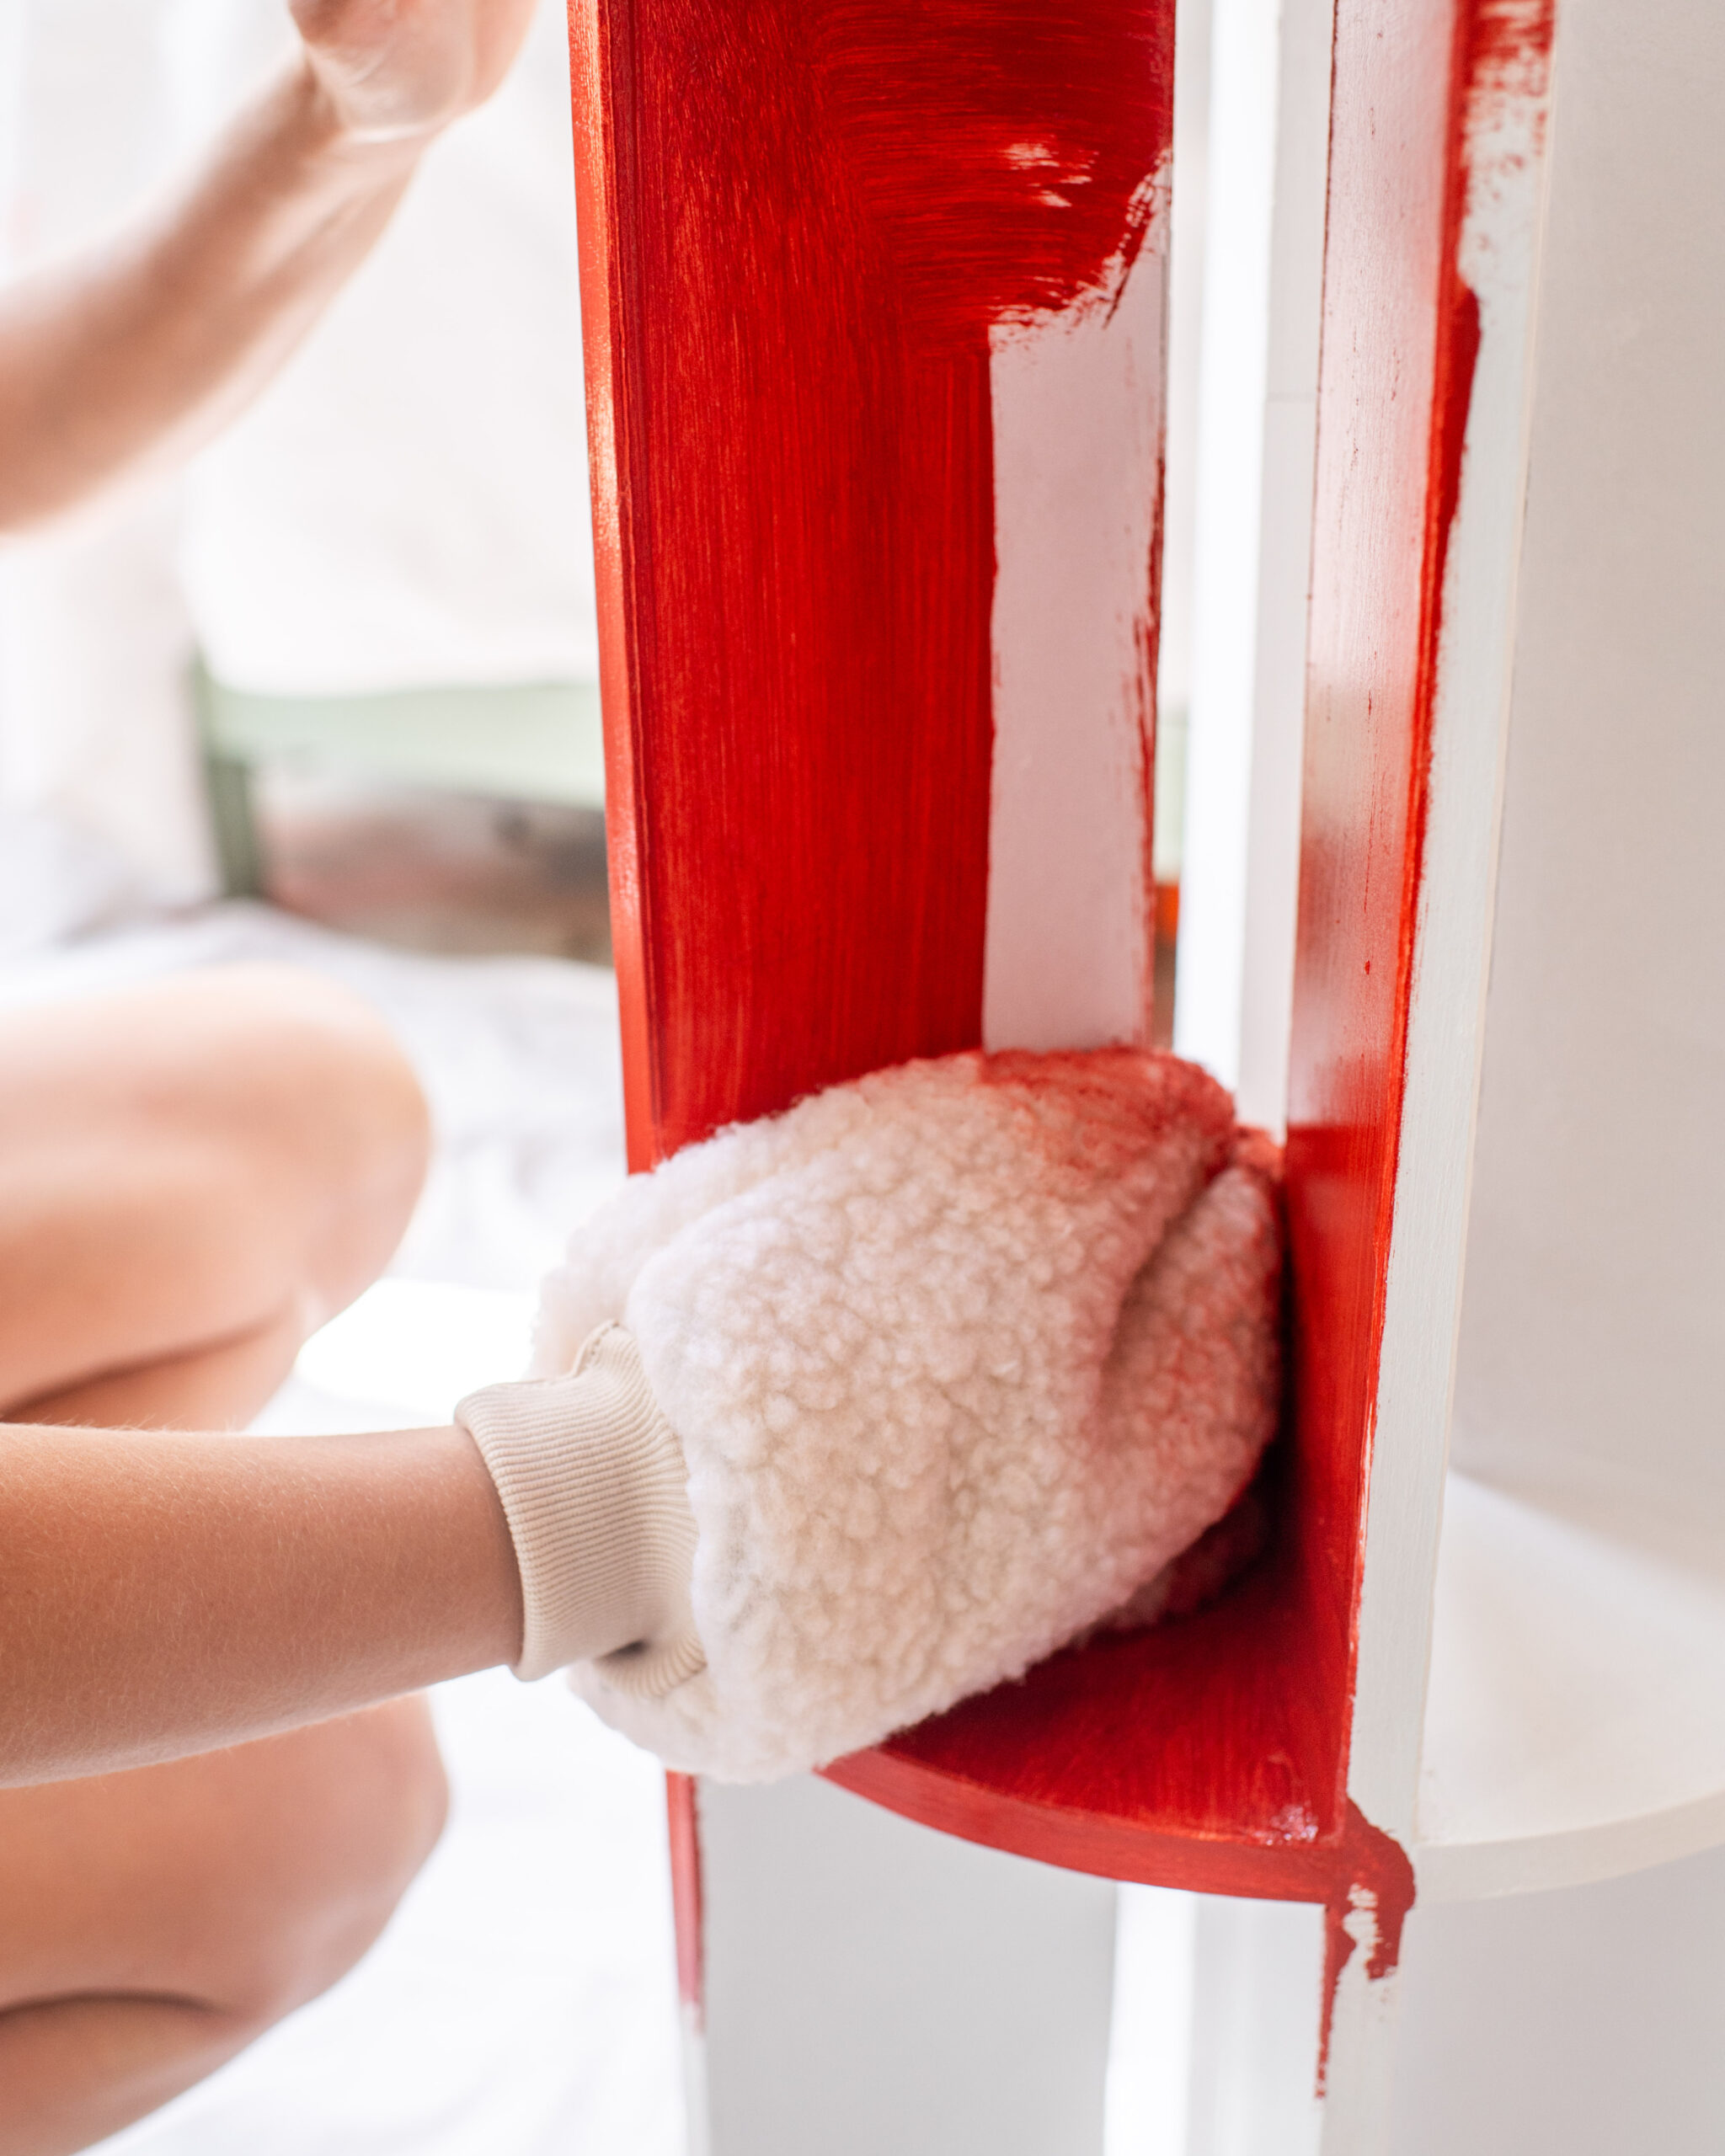
Now for the fun part! Geneva chose a fire engine red for her top coat.
She decided to apply this using our Painters Mitt which she found really ‘handy’, especially in those awkward, tight corners.
Depending on your own colour of choice, you may need a second coat of colour to get it looking super vibrant.
Step 4
Use a drill to attach the Lazy Susan hardware to the base.
Voila! A rotating shelf to display your books and add that wow factor to your space.
For advice on how to select the perfect paint accessory for your next project, take a look at our Painting Tool Kit and discover a bunch of painting tips, tricks and inspiration by following us on Instagram, TikTok and Facebook.

