


(Image Source: Smor Home)
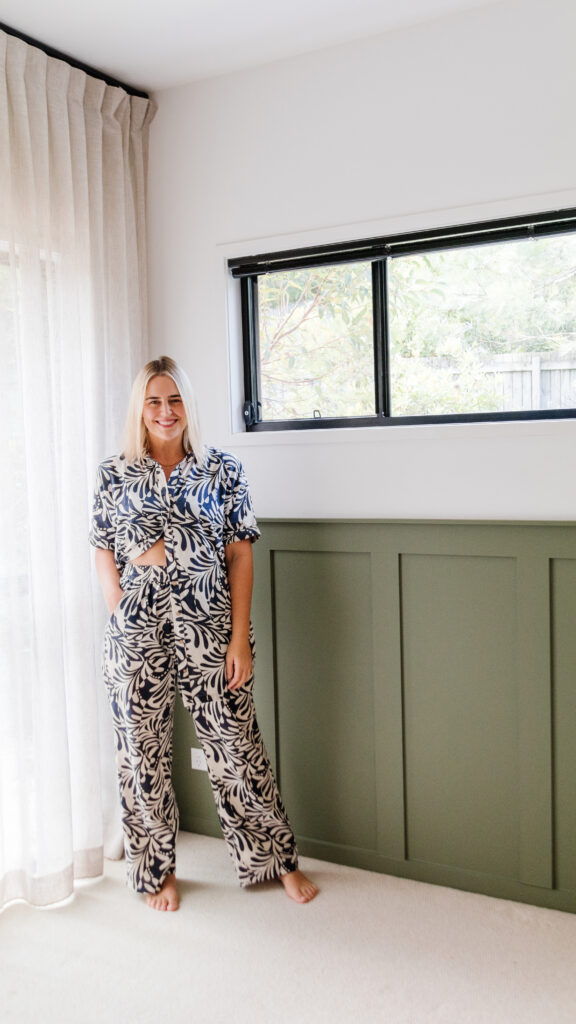
With the long weekend fast approaching, we recently partnered with DIY enthusiast Jaharn from Smor Home to create a wall featuring using DIY board and Battern, providing the perfect inspiration if you’re looking for a DIY project to tackle this Easter long weekend,
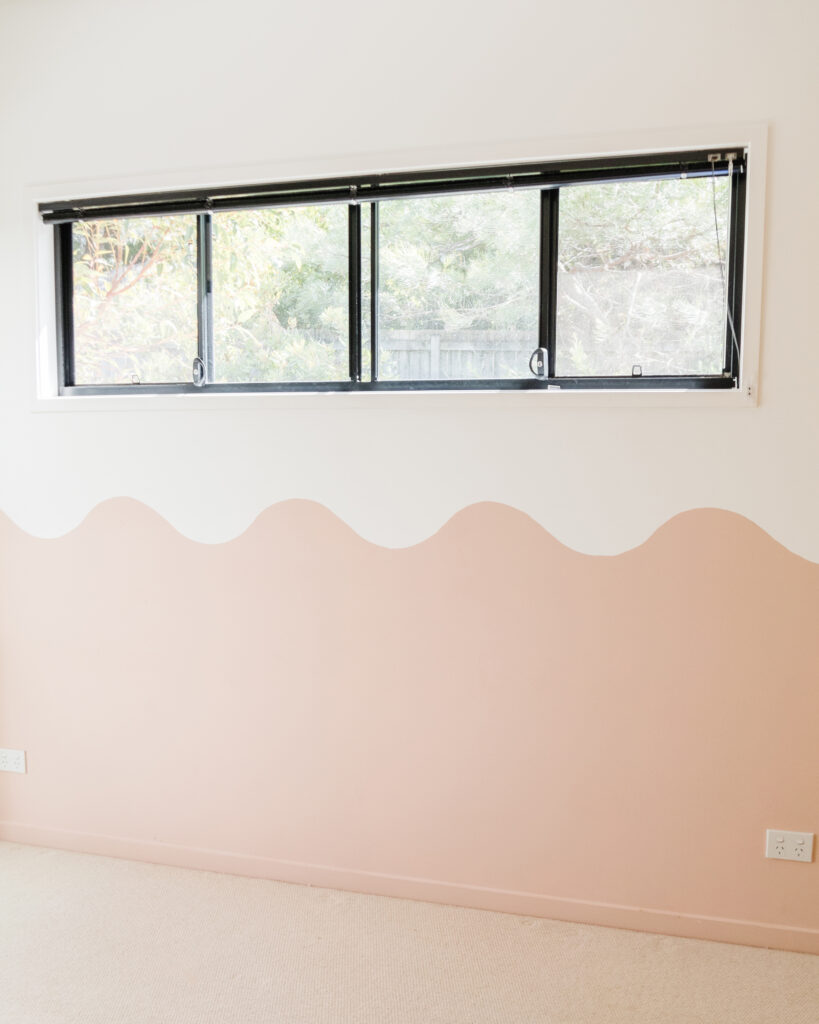
Jaharn wanted to revamp her guest bedroom (where she previously painted a feature DIY Wavy Painted Wall) but wanted to add a more modern, elevated feel.
Jaharn used our range of quality painting tools and accessories, such as our Mini sealant, adhesive and filler, to adhere the battens to the wall – for an effortless execution.
Jaharn also tested out our brand-new Plant Based Drop Sheet, which is part of our Elements range. It’s It is made from sugarcane and is Bunnings first ever plant-based drop sheet!
To re-create Jaharn’s Easter project in your own home, you’ll need the below materials and tools to get started;
Project Time Estimate: 1 day
Materials
- 12 pieces 1200mm x 100mm 12mm MDF
- White primer paint
- Dulux low sheen wall paint in “Flinder’s Green”
- Monarch Construction Adhesive
- 30mm brad nails
- Monarch Gap Filler
- Monarch Caulk
- Painters tape
- 3000mm primed timber moulding 30mm x 12mm
Tools
- Monarch Plant Based Drop Sheet
- Monarch Painters Bucket
- Monarch Walls & Ceilings Roller Cover 230mm/12mm Nap
- Monarch Comfort Grip Roller Frame 230mm
- Measuring tape
- Pen
- Level
- Mitre saw
- Brad nail gun
- Monarch Mini Caulking Gun
- Monarch Caulking Tool
- Monarch Moulding & Skirting Brush 63mm
- Monarch Walls, Doors & Trims Brush 25mm
The Design
The wall in Jaharn’s guest room was 3000mm wide, and the aim was for the gap between each 100mm board to be about 350mm in order to create consistent spacing.
Step-by-Step Guide:
- To start, apply one coat of primer to the sides and face of the MDF battens using our Monarch Walls & Ceilings Roller Cover and Frame. Once the MDF battens are primed, thoroughly wash and squeeze the excess water from the roller cover.
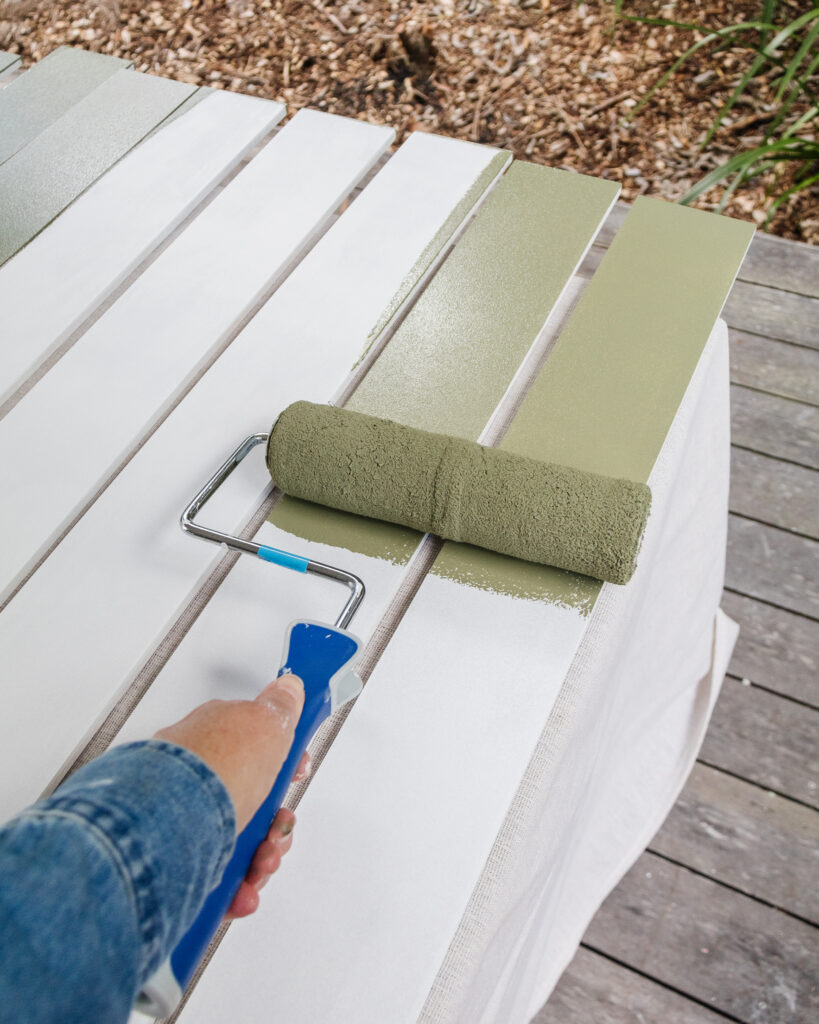
- Once the primer dries, apply two coats of low sheen wall paint over all sides of the moulding. While this was happening, apply two coats over one side of every MDF batten.
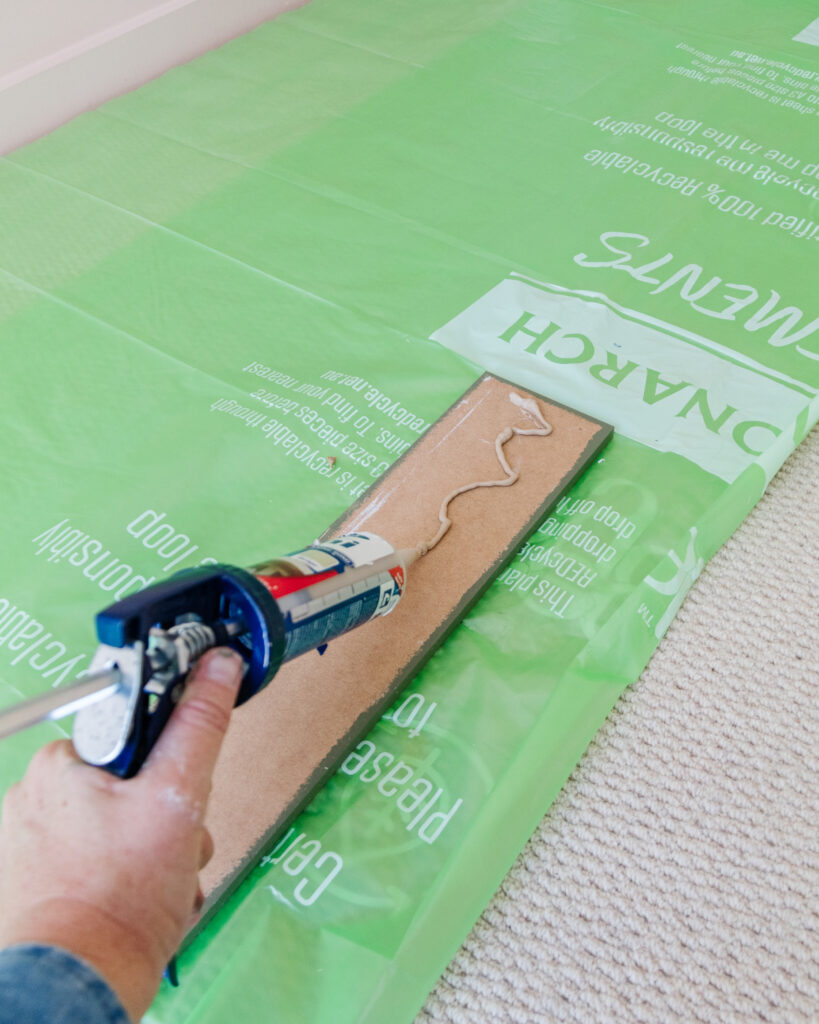
- Once the paint dries, place our Monarch Elements Plant Based Drop Sheet over your carpet or floorboards and sand the wall back lightly. You will then need to install the horizontal boards using Monarch Construction Adhesive, Monarch Mini Caulking Gun, a level and a brad nail gun.
- The MDF battens are 1200mm, which is too long for the vertical battens, so you’ll need to individually measure and cut the first and last vertical board using a measuring tape, pen, and mitre saw. Repeat the same installation step above, and secure the first and last batten to the wall.
Tip: Walls and baseboards have quirks; they’re not always perfectly flat or straight, some are wonky, even if you can’t see it with your own eyes. No matter how hard you try (even if you use a level), the wall, baseboard and the horizontal batten you install might not be perfectly straight, so it’s important that you individually measure and cut each horizontal and vertical batten.
- Referring to the design measurements, use a measuring tape and pen to measure each vertical batten before cutting it down to size with the mitre saw.
- Using your measuring tape and pen, measure the distance between the boards (383mm) and mark this on the wall, then install one vertical batten at a time.
- Fill in the gaps between the wall and the battens using Monarch Caulk and Monarch Mini Caulking Gun – you’ll need to wait an hour for the caulk to dry before moving on to the next step.
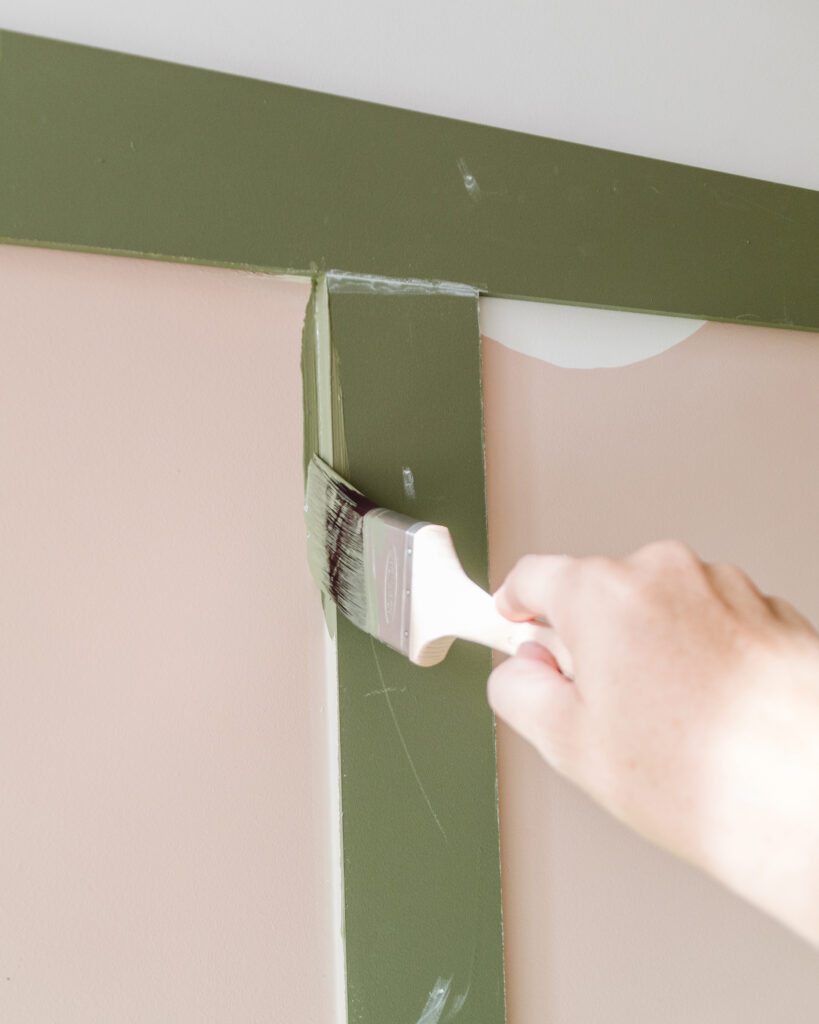
- Working one batten area at a time and working your way across, start by cutting in the walls, baseboard and battens with the Monarch Moulding & Skirting Brush.
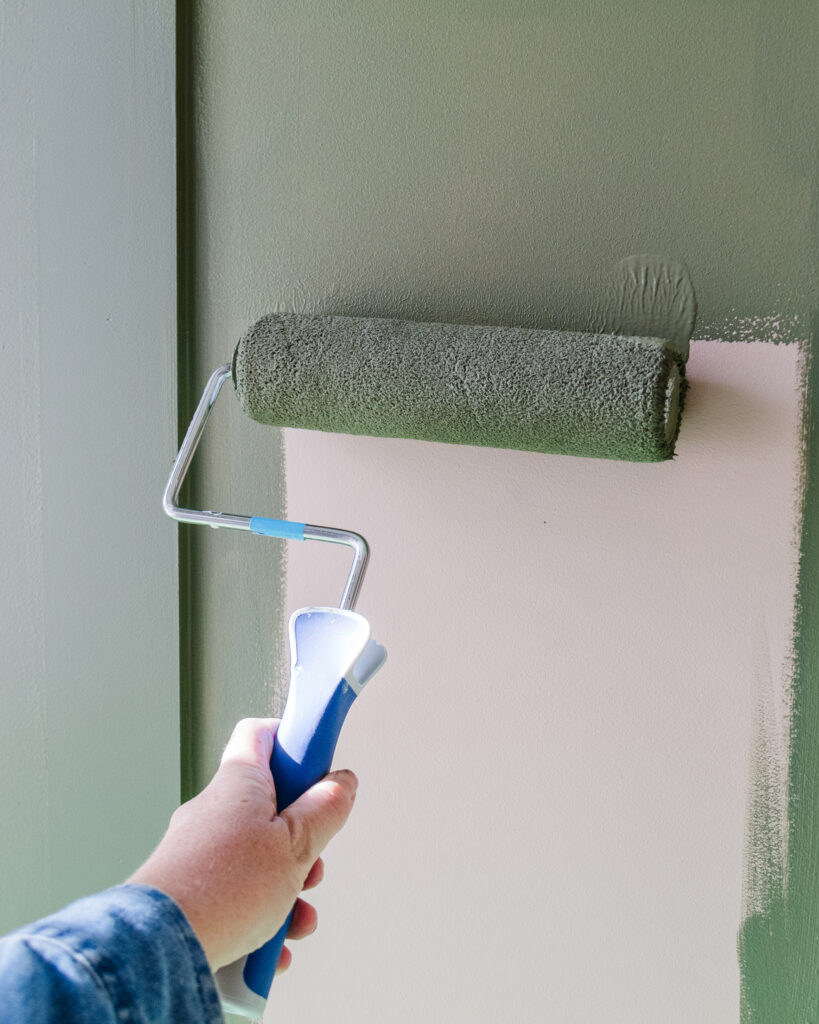
- Using the Monarch Walls & Ceilings Roller Cover and Monarch Comfort Grip Roller Frame, fill the walls in with more paint.
- Secure the Monarch Plant Based Drop Sheet to the carpet and the edge of the baseboard with painter’s tape. Use the Monarch Walls, Doors & Trims Brush 25mm to paint the baseboard.
- Apply two more light coats of paint to the wall
A little tip - apply a few thin coats of paint (instead of a couple of thick coats) because the paint dries quicker and the finish is better.
- Finally, measure the moulding and cut it to size with the mitre saw. Apply Monarch Construction Adhesive with the Monarch Mini Caulking Gun on top of the horizontal board and then position the moulding into place.
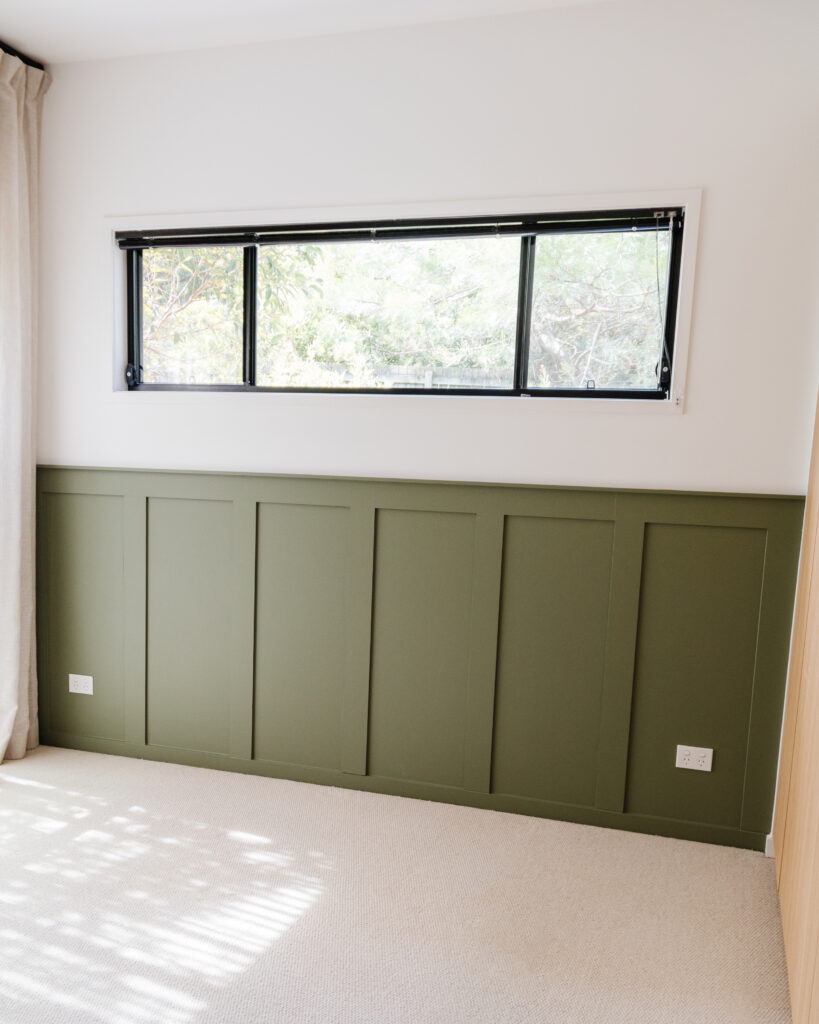
So, there you have it, a simple DIY project that will elevate your bedroom, living room or home office in a single day. For more information, check out Jaharn’s blog and make ideas happen this Easter weekend!
For advice on how to select the perfect paint accessory for your next project, take a look at our new product finder tool and discover a bunch of painting tips, tricks and inspiration by following us on Instagram and Facebook.