


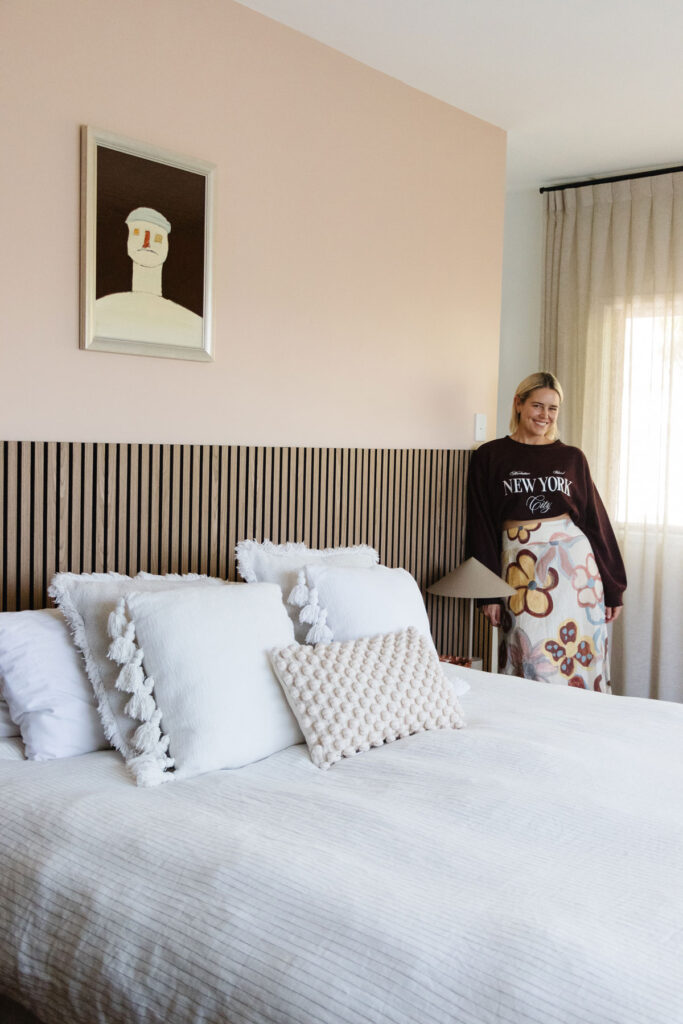
A fresh coat of paint and some Prempanel timber slats are all you need to turn a tired room into a striking, contemporary space.
Best of all, they are simple to install and are a great project to tackle this DIY July.
Jaharn from Smorhome recently used preempanels and her favourite Monarch paint accessories to transform her bedroom.
Materials required to complete this DIY project
- Preempanels of your choice (Bunnings have them available in Walnut, Oak and Black)
- Monarch Walls & Ceilings Roller Cover
- Monarch Aluminium Extension Pole
- Monarch Paint Tray
- Monarch Leak Proof Canvas Drop Sheet
- Monarch Mini Easy Nails Construction Adhesive
- Monarch Mini Compact Caulking Gun
- Monarch Walls Doors & Trim Brush
- Monarch Comfort Grip Roller Frame
- Paint/Undercoat
- Circular Saw
- Masking Tape (25mm wide)
- Straight Edge Clamp
- Pencil
- Button Head Wood Screws (depending on where you’re installing the preempanel)
We have put together a step-by-step guide below, detailing everything you need to know to complete this project and recreate the look at home.
Step 1
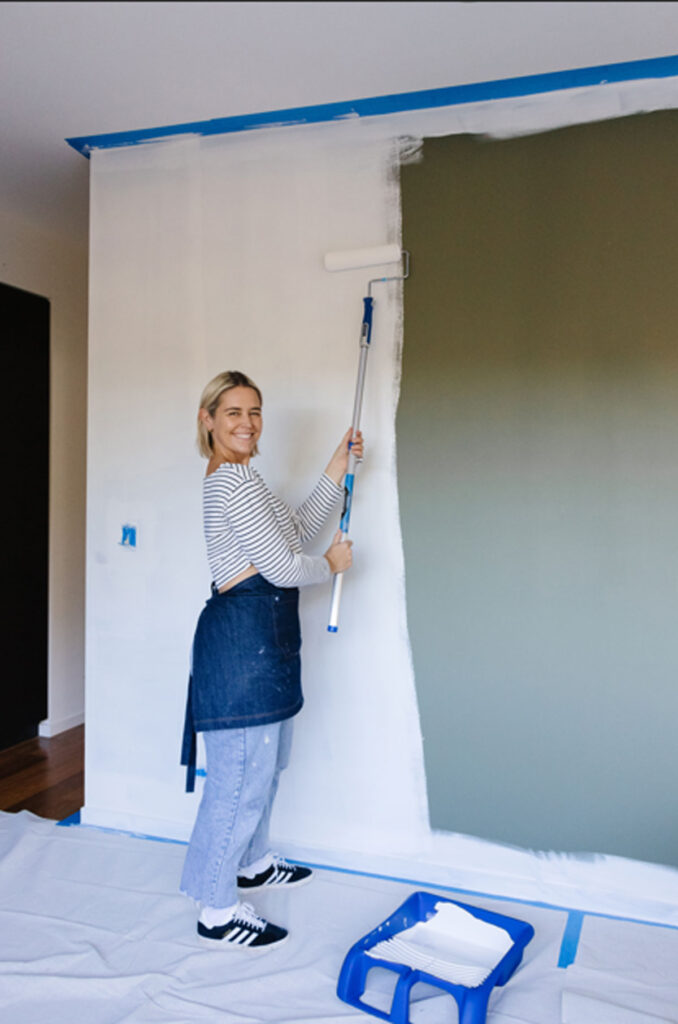
After having a green feature wall in her bedroom for the last couple of years, Jaharn decided that it was time for a change.
Before installing the prempanels, Jaharn used her favourite Monarch brush and Walls & Ceilings roller to update the colour to a neutral dusty pink.
When you’re changing wall colours, remember to paint an undercoat first!
Step 2
Mark out your required measurements with a grey lead on the wood slat side.
Once you have your markings, stick the masking tape from one cut point to the other. Make sure the tape is stuck down at every surface point of the wooden slats.
Step 3
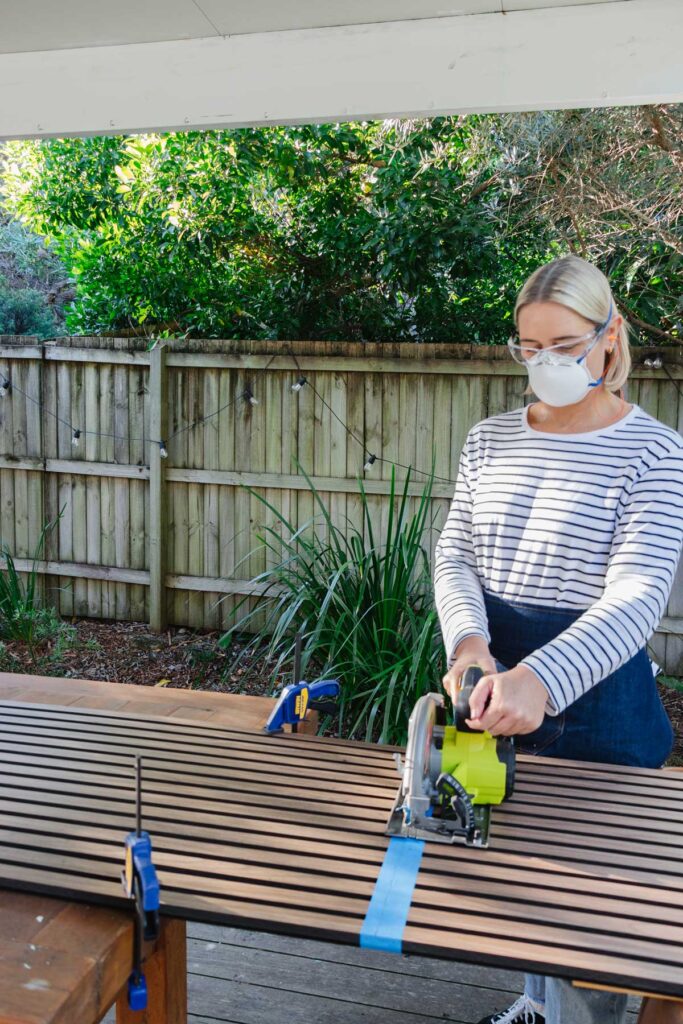
Clamp your Preempanels with a straight edge to get the cut as even as possible. Use your circular saw to carefully cut the wooden slats. Guide it slowly to avoid gouging the edges. Once finished, remove the masking tape and wipe away any dust particles.
Step 4

Jaharn applied Monarch Mini Easy Nails Construction Adhesive using her Compact Caulking Gun onto the back of the panel.
Angle the panel so the bottom connects to the wall and carefully push it in. Apply pressure until the adhesive cures.
Please note: If using a Prempanel on a ceiling or stacking multiple on top of each other, you will need to further secure them using Button Head wood screws.

There you have it! A simple way to completely overhaul your room of choice with prempanels and a fresh coat of paint!
For advice on how to select the perfect paint accessory for your next DIY July project, take a look at our Painting Tool Kit and discover a bunch of painting tips, tricks and inspiration by following us on Instagram, TikTok and Facebook.