
(Image source: Smor Home)
Have you been putting off small projects around the home? The new year often brings a sense of motivation and drive to better ourselves, so why not better your home too!? Summer is the perfect time to get your DIY on and accomplish all those small projects you have been putting off.
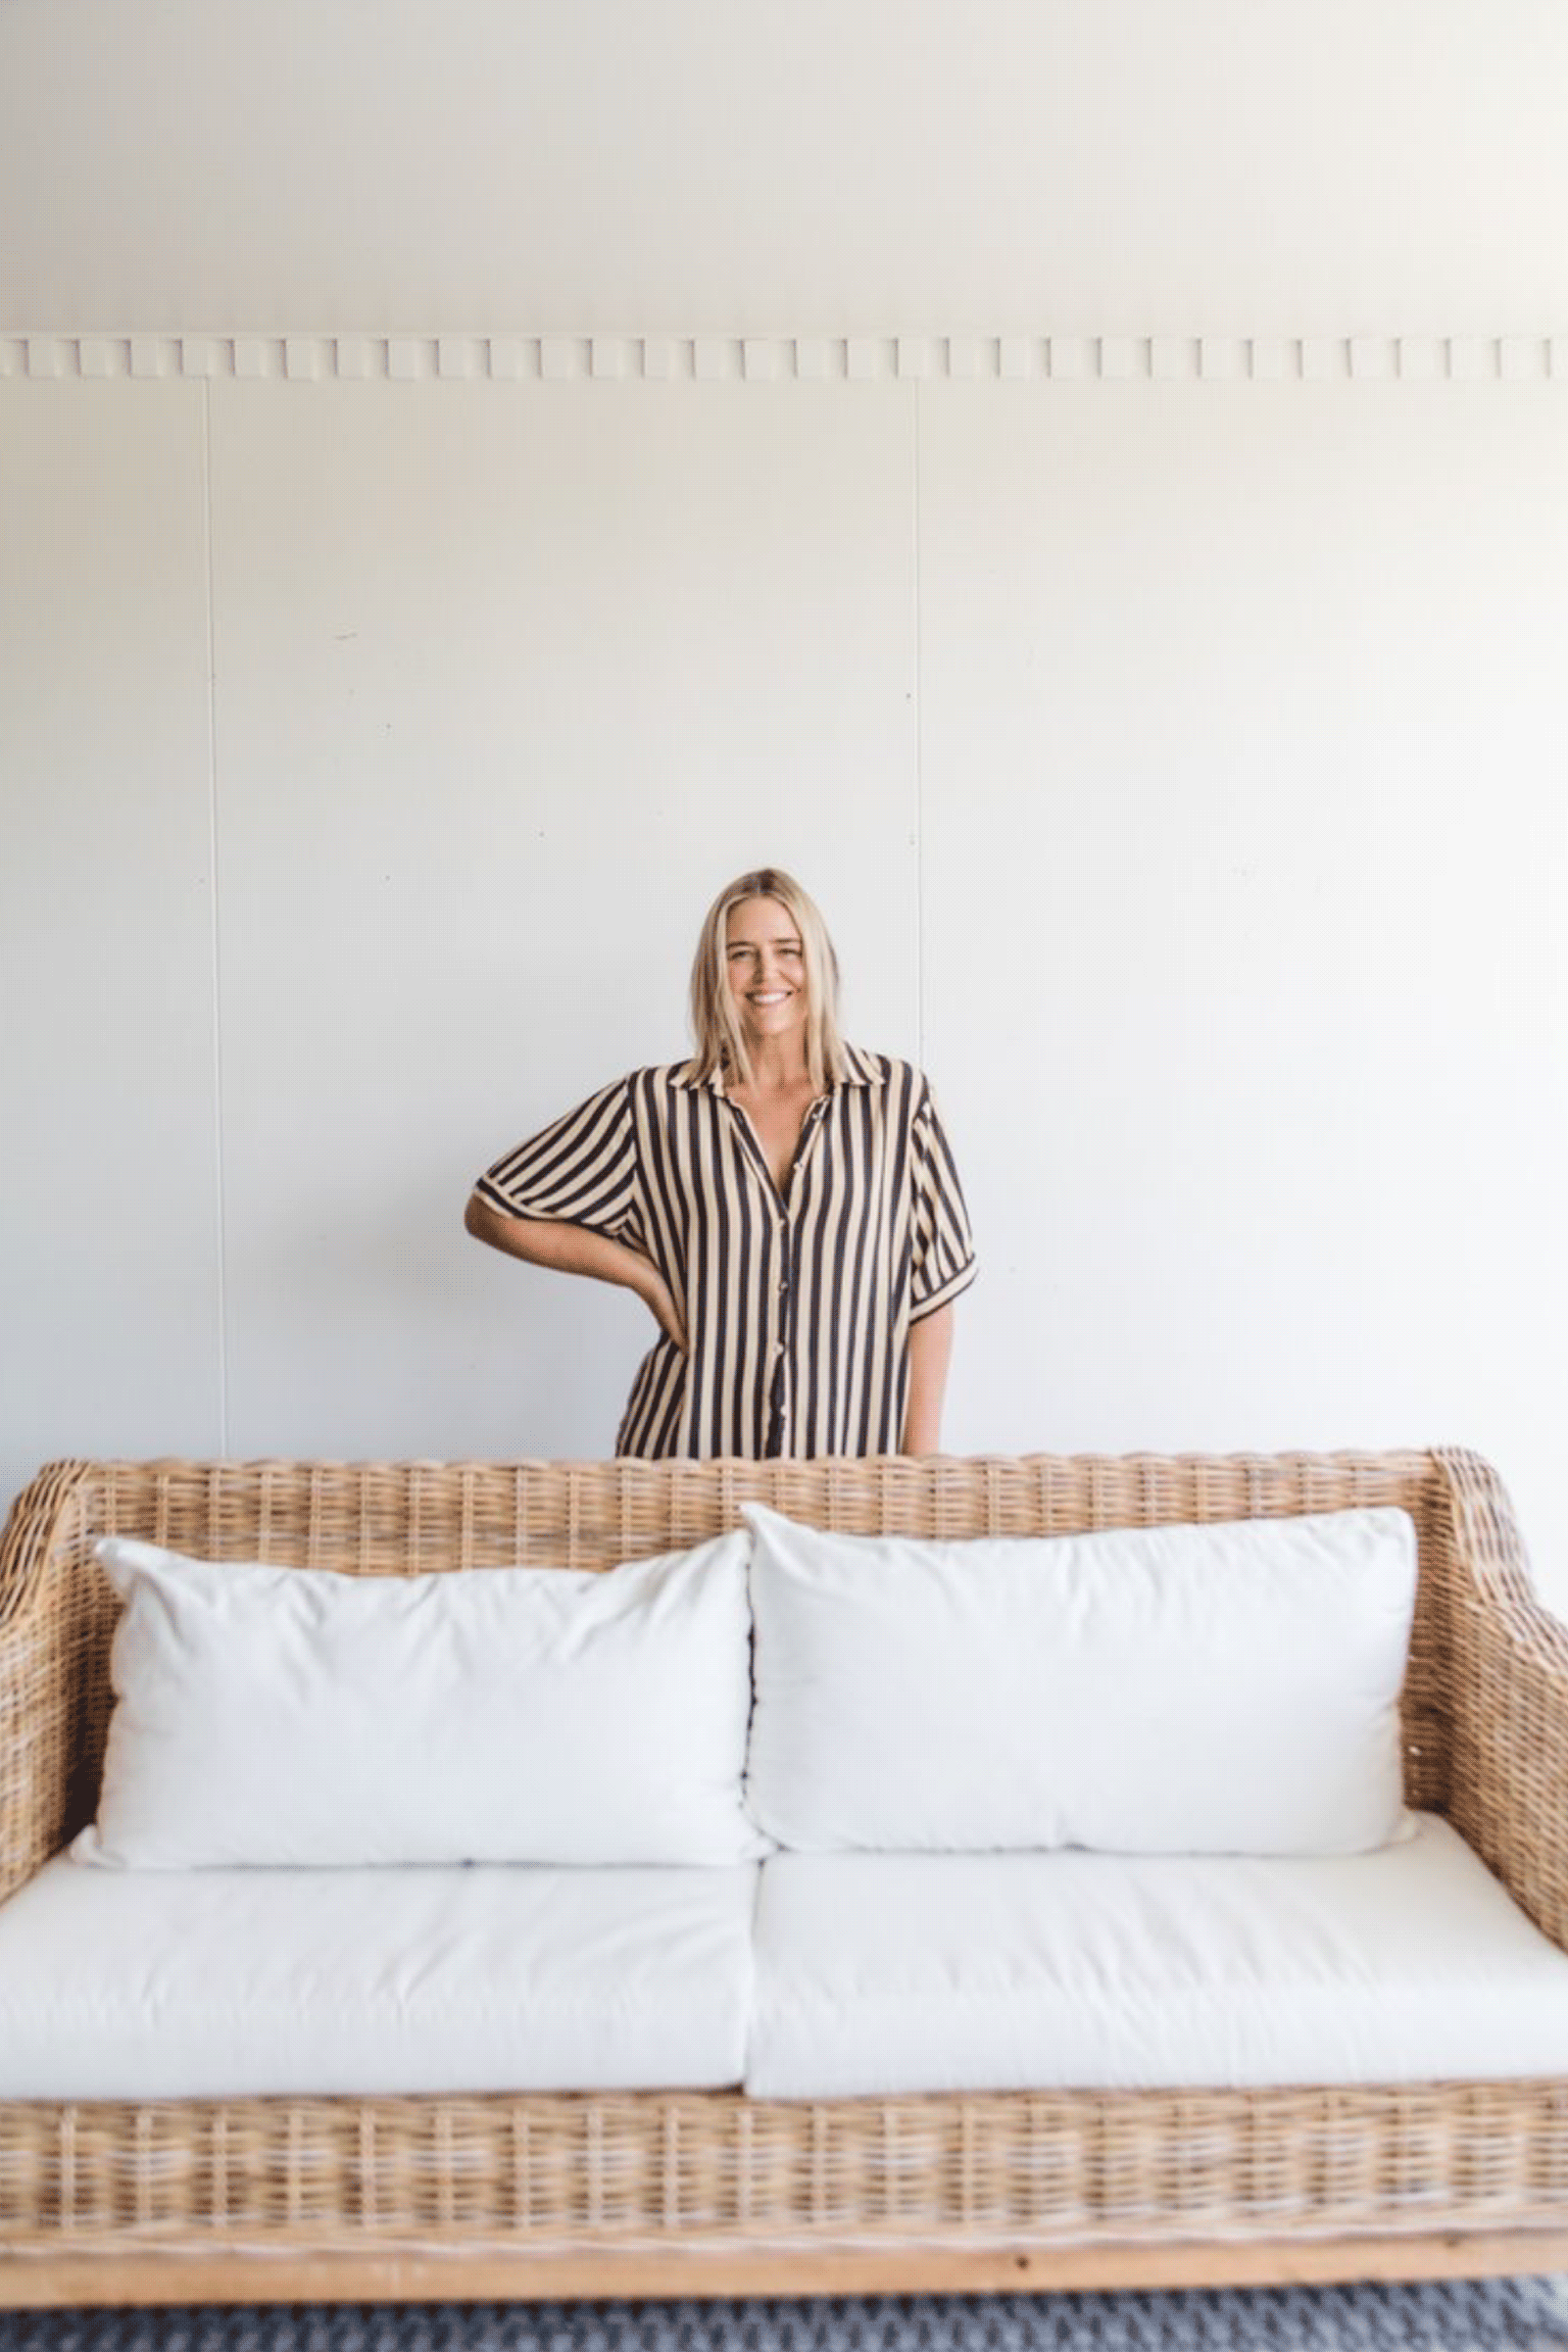
At Monarch, we are all about helping you bring your DIY visions to life with our wide range of quality and versatile painting tools and accessories. We recently partnered with DIY enthusiast Jaharn from Smor Home, who was inspired by Zoë Foster Blake’s beautiful home. Jaharn decided to tackle the project of creating her own dentil moulding, using leftover materials and of course, Monarch paint accessories.
(Image Source: Vogue Australia)
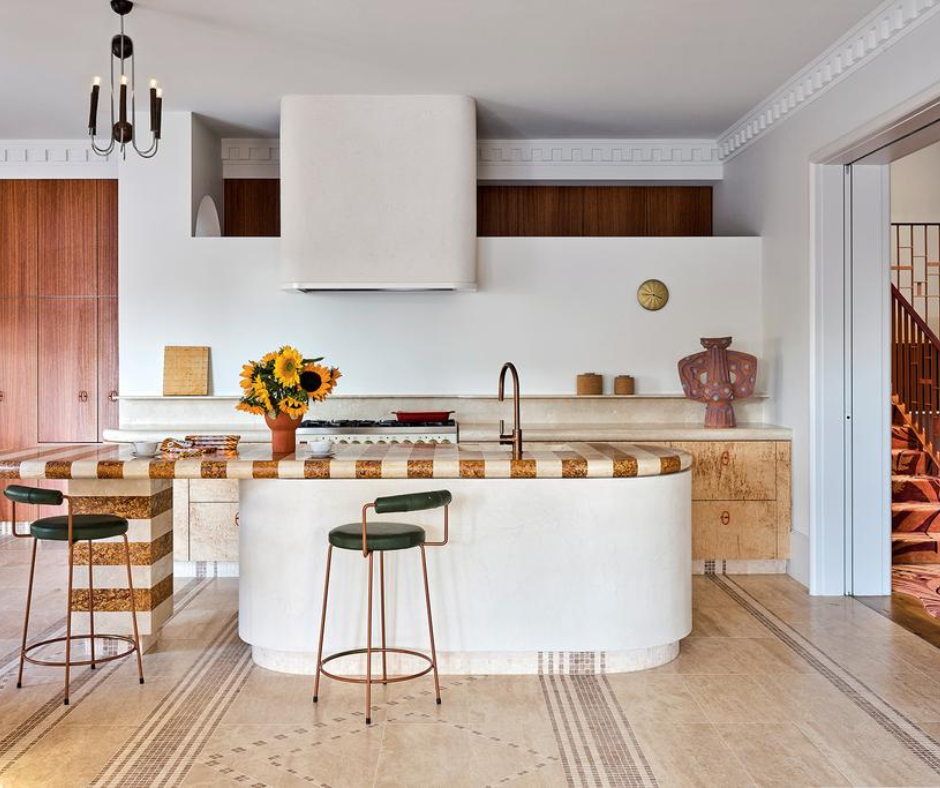
Dentil moulding consists of small, evenly spaced rectangular blocks in a repeating pattern, often incorporated into crown moulding to add a classical touch. Crown moulding is an architectural feature that decorates the transition between walls and the ceiling.
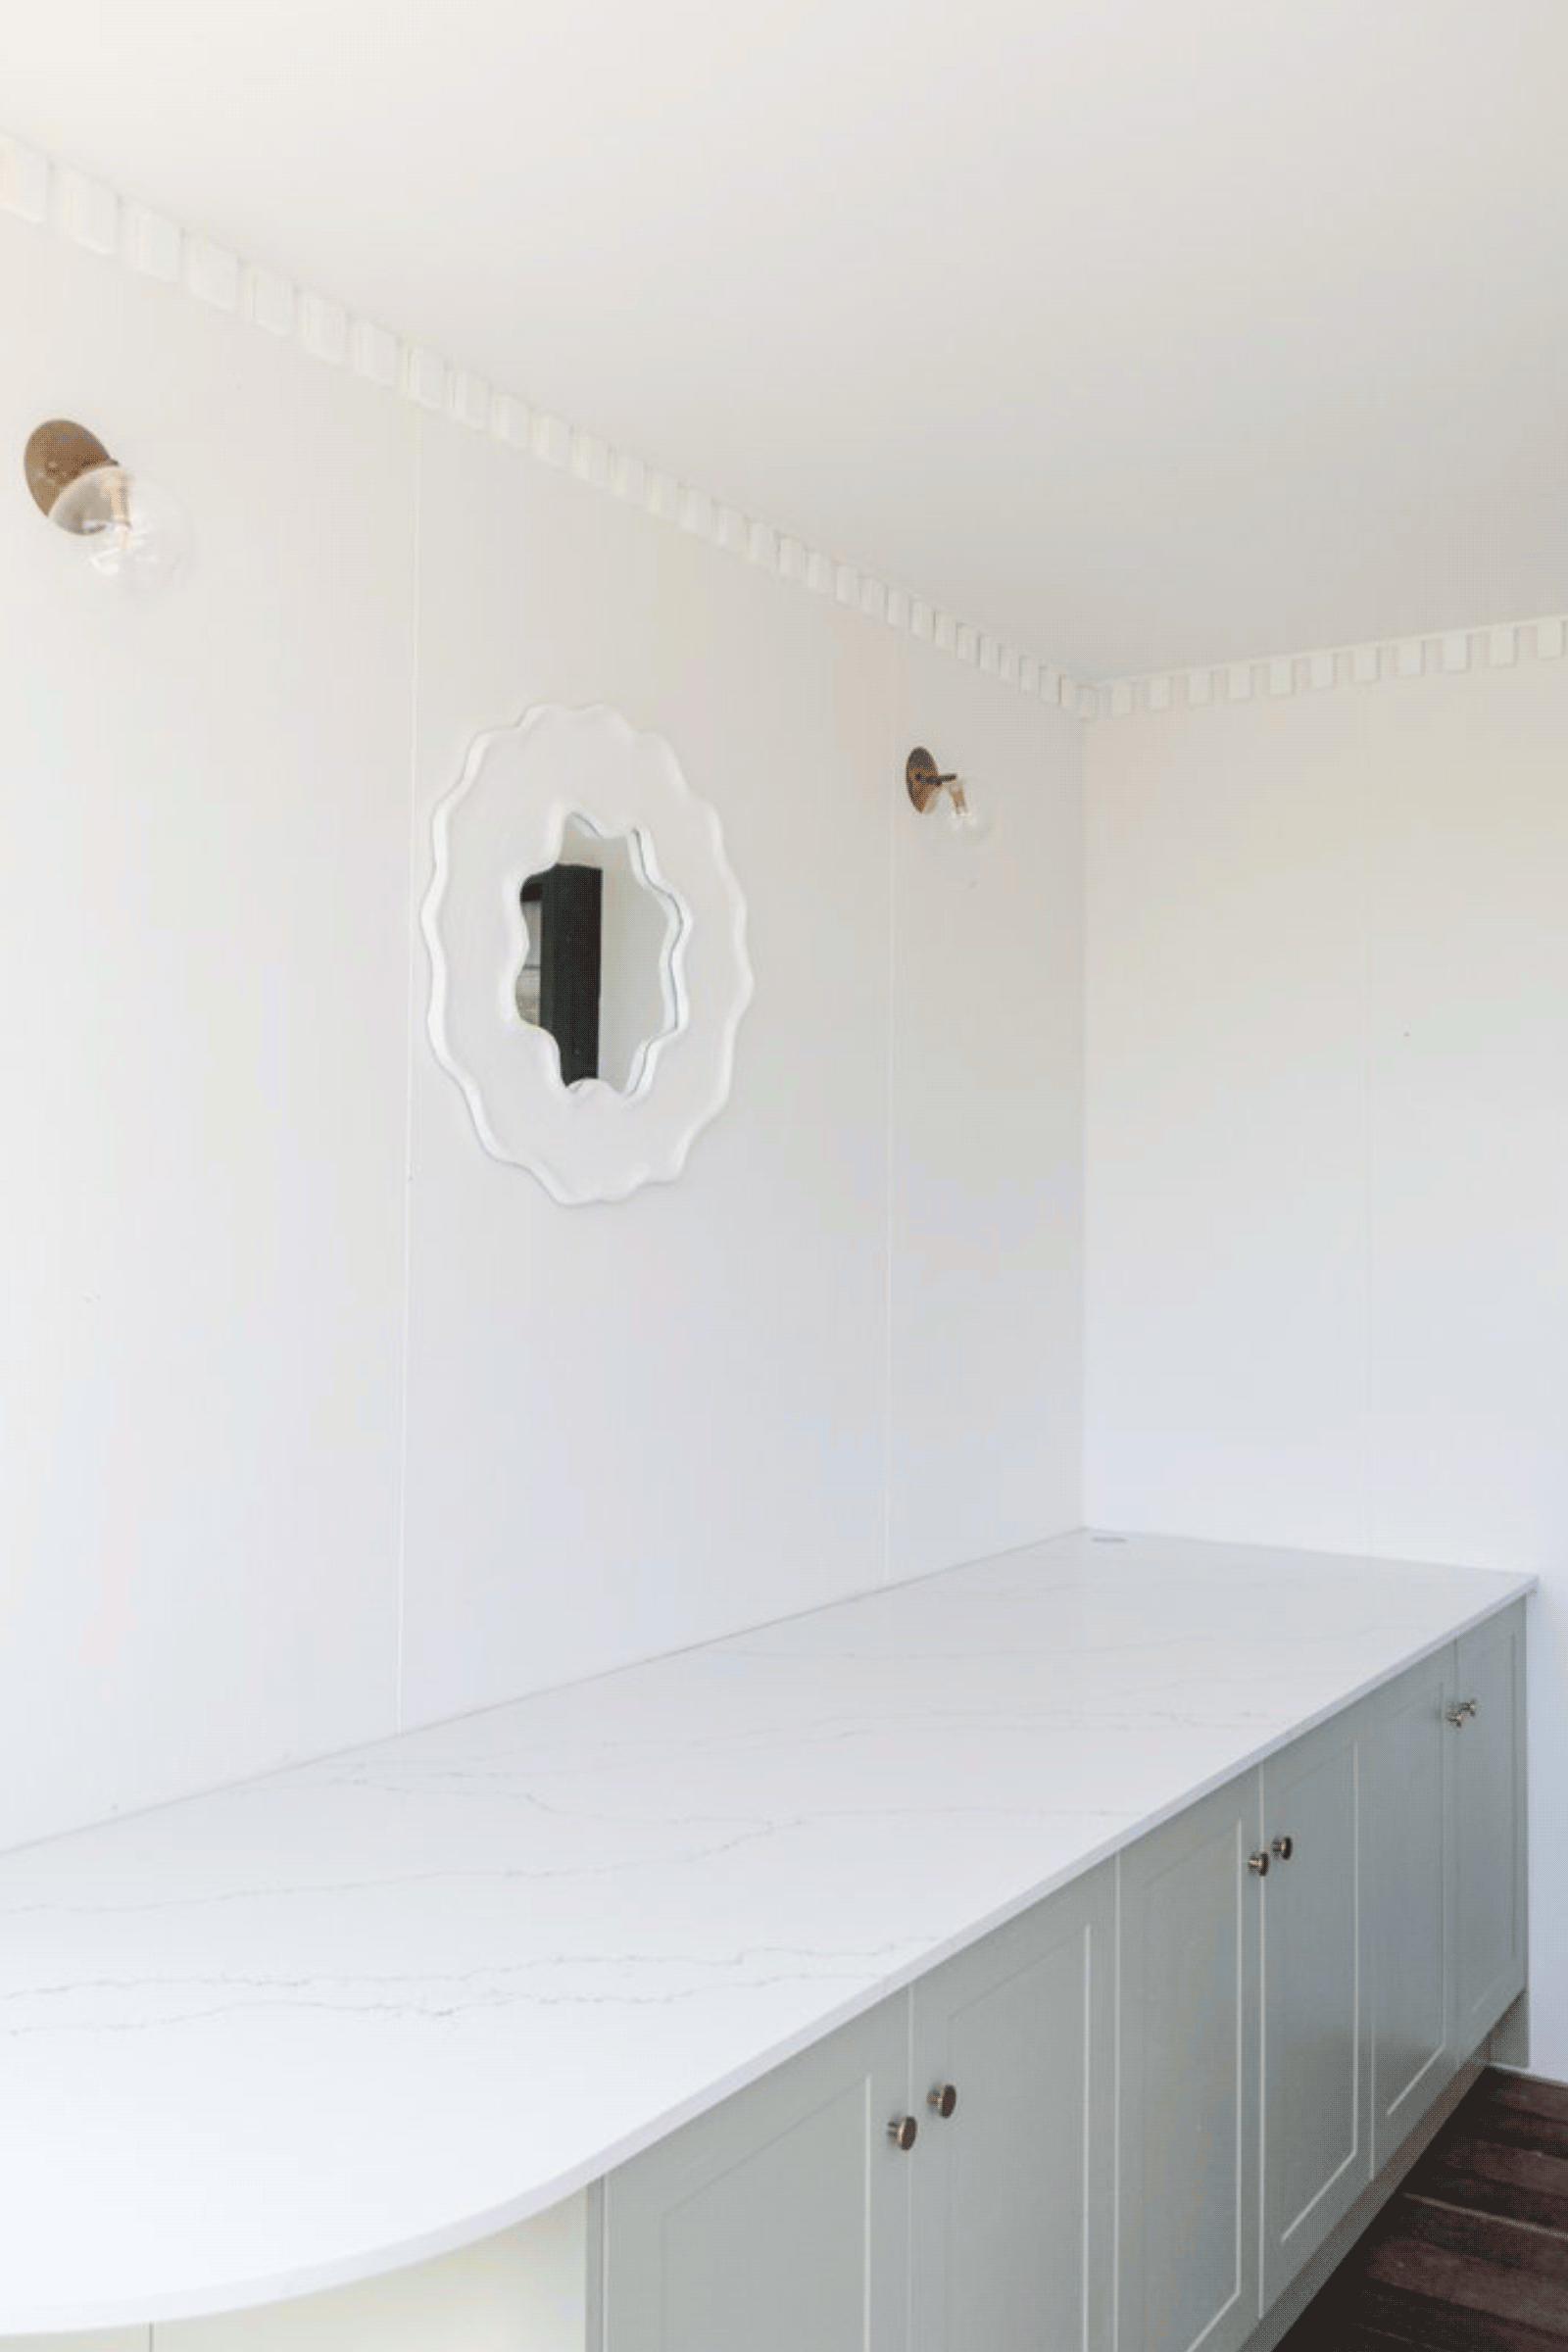
With Jaharn’s keen eye for detail and resourcefulness, she was able to make her own dentil moulding in just one day! Read on to find out how you can achieve the same stunning results in your own home.
Materials Cost: Approximately $170. Costs may vary depending on the size of the room and the amount of timber needed.
Power Tools: Choose from either a mitre saw, jigsaw, or handsaw to cut the timber, depending on your skill level.
Skill Level: Beginner to intermediate DIYer.
Materials:
- Pine (42 x 19mm 1.2m DAR Pine Standard)
- Measuring tape
- Ruler and pen
- Monarch Leak Proof Canvas Drop Sheet
- Monarch Painters Bucket
- Exterior Paint in your desired colour
- Monarch Walls, Doors & Trims 50mm Brush
- Monarch Sugar Soap with Surface Mould Killer
- Plastic gloves
- 2 Small towels
- Construction glue

Step-by-Step Guide:
- Measure the length of the walls to be covered and calculate the amount of dentil moulding needed.
- Research dentil moulding examples and decide on a desired style and height (Jaharn chose 60mm). Mark the timber at 60mm intervals with a ruler and pen and lay down the Monarch Leak Proof Canvas Drop Sheet.
- Cut the marked timber into pieces using a mitre saw, jigsaw, or handsaw, and remove any visible splinters.
- Paint each piece of cut timber with 3 light coats of exterior paint using our Monarch Walls, Doors & Trims 50mm Brush.
- Clean the walls to be covered with Monarch Sugar Soap with Surface Mould Killer and wipe dry with a clean cloth.
- Glue the finished dentil moulding to the walls with construction glue.
So there you have it, a simple DIY project you can try that will add a touch of classic elegance to any room in your home! For more information, check out Jaharn’s blog and make ideas happen today! For advice on how to select the perfect paint accessory for your next project, take a look at our new product finder tool and discover a bunch of painting tips, tricks and inspiration by following us on Instagram and Facebook.