Have you been putting off small projects around the home? The new year often brings a sense of motivation and drive to better ourselves, so why not better your home too!? Summer is the perfect time to get your DIY on and accomplish all those small projects you have been putting off.
If it’s your first time painting a fence, you may not know where to start. We have put together a list of what you’ll need, and a step-by-step outline to help you navigate your first fence painting experience.
Step 1: Select your paint and purchase the appropriate paint accessories
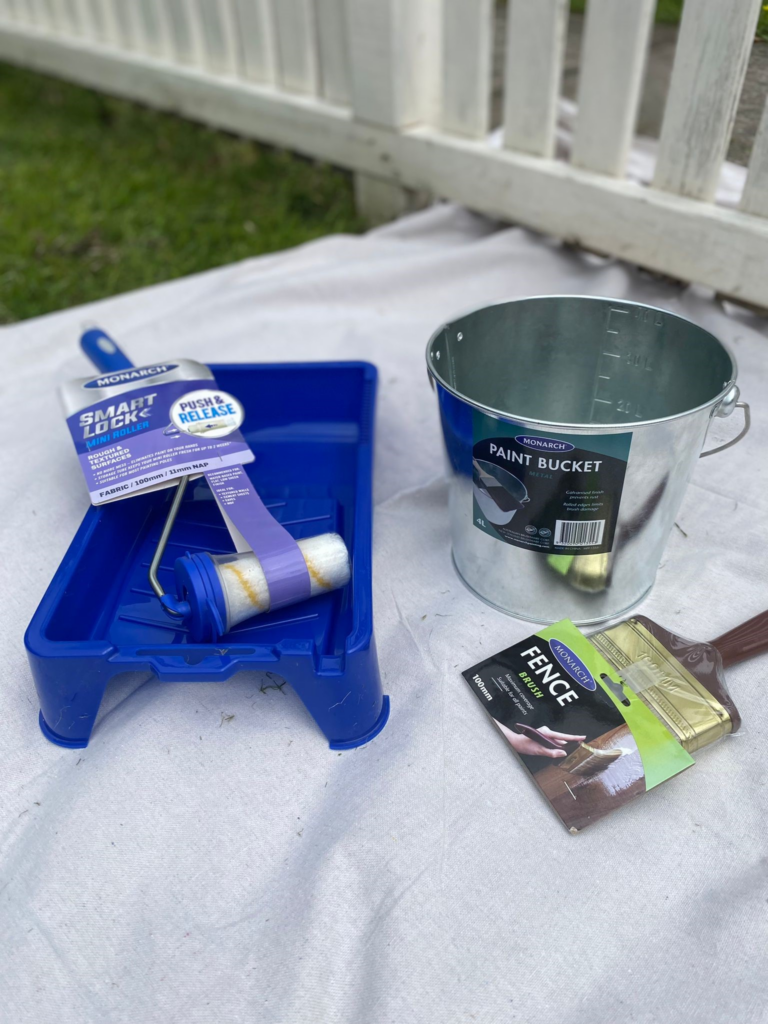
One of the most important considerations, before starting a new project is to ensure you have all the suitable materials and tools to complete your project. Don’t know what products to use? We have you covered! Here is a list of the paint accessories you’ll need to successfully complete your summer project;
-Monarch SmartLock Rough & Textured Surfaces Fabric Mini Rollers - Short Frame
-Monarch Leak Proof Canvas Drop Sheet
Step 2: Prepare the space
Once you’ve determined the products you’ll need, it’s time to lay a dropsheet on the ground surrounding the fence. This will prevent your grass or pavement from being stained by paint. If your fence is not brand new, you may have to give it a quick clean, ensuring to remove any dirt or debris before you begin painting. It’s also a good idea to give the posts a light sand, this will ensure the paint glides on smoothly, giving you a seamless finish.
Step 3: Apply an undercoat
Apply an undercoat to your fence to ensure the fence is protected and to increase the paint’s adhesion and durability. To do this, you can use the Monarch 100mm Fence Brush and an exterior undercoat of your choice.
Step 4: Paint the fence
Now onto the most important part of the process, painting the fence! You will need both the Monarch 100mm Fence Brush and the Monarch SmartLock Rough & Textured Surfaces Fabric Mini Rollers - Short Frame. Pour your paint into the Paint Bucket and load up your brush with the paint colour of your choice. Paint the board that runs along the bottom of your fence and smaller areas. Afterwards, pour paint into the Paint tray and use the roller to paint the longer and larger areas of the fence.
Repeat the process after the paint has dried to apply a second coat of paint.

Step 5: Apply a topcoat
To finish up your project, you want to apply a topcoat to your fence to protect your freshly painted fence. You will need to wait for your fence to dry completely before you commence the final step.
We hope this has inspired you to update your fence this summer and elevate the street appeal of your home! For more advice on how to select the perfect paint accessory for your next project, take a look at our new product finder tool. For more painting tips, tricks and inspiration, follow us on Instagram or Facebook.

