


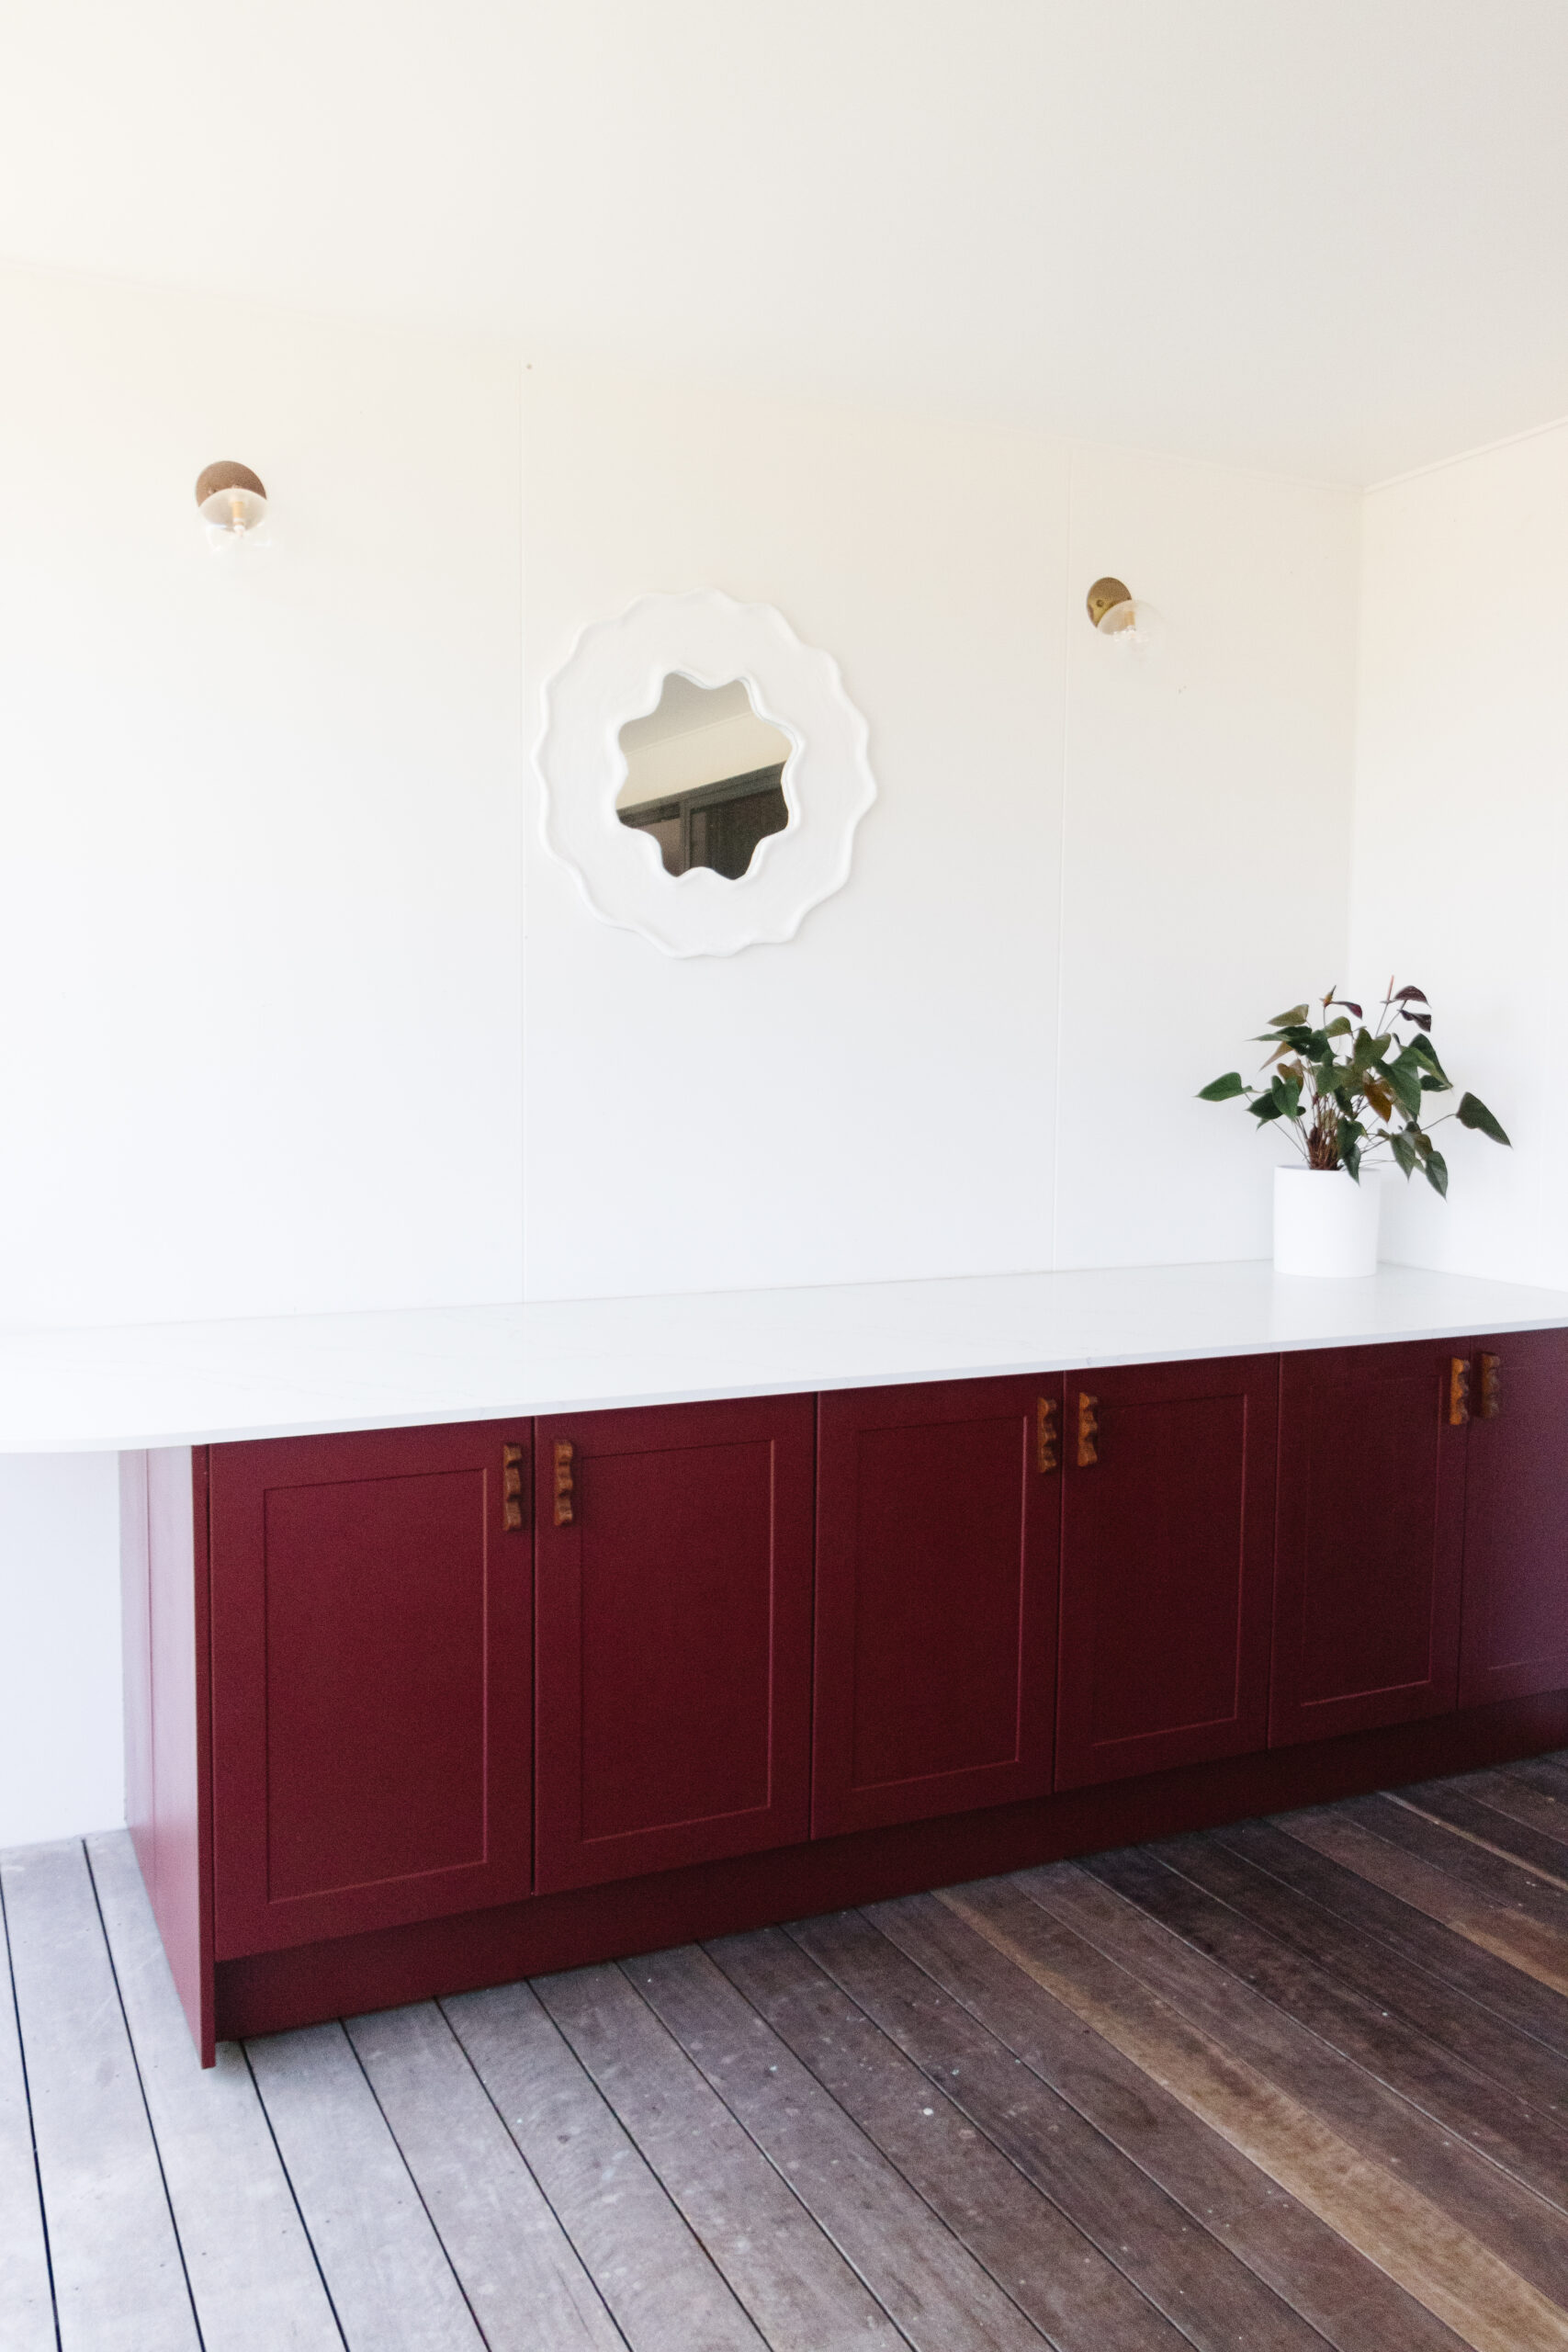
When it comes to revamping particular areas in your home, the process can seem daunting and expensive. One of the easiest ways to achieve a whole new look for less is to repaint existing cabinetry and apply new fixtures.
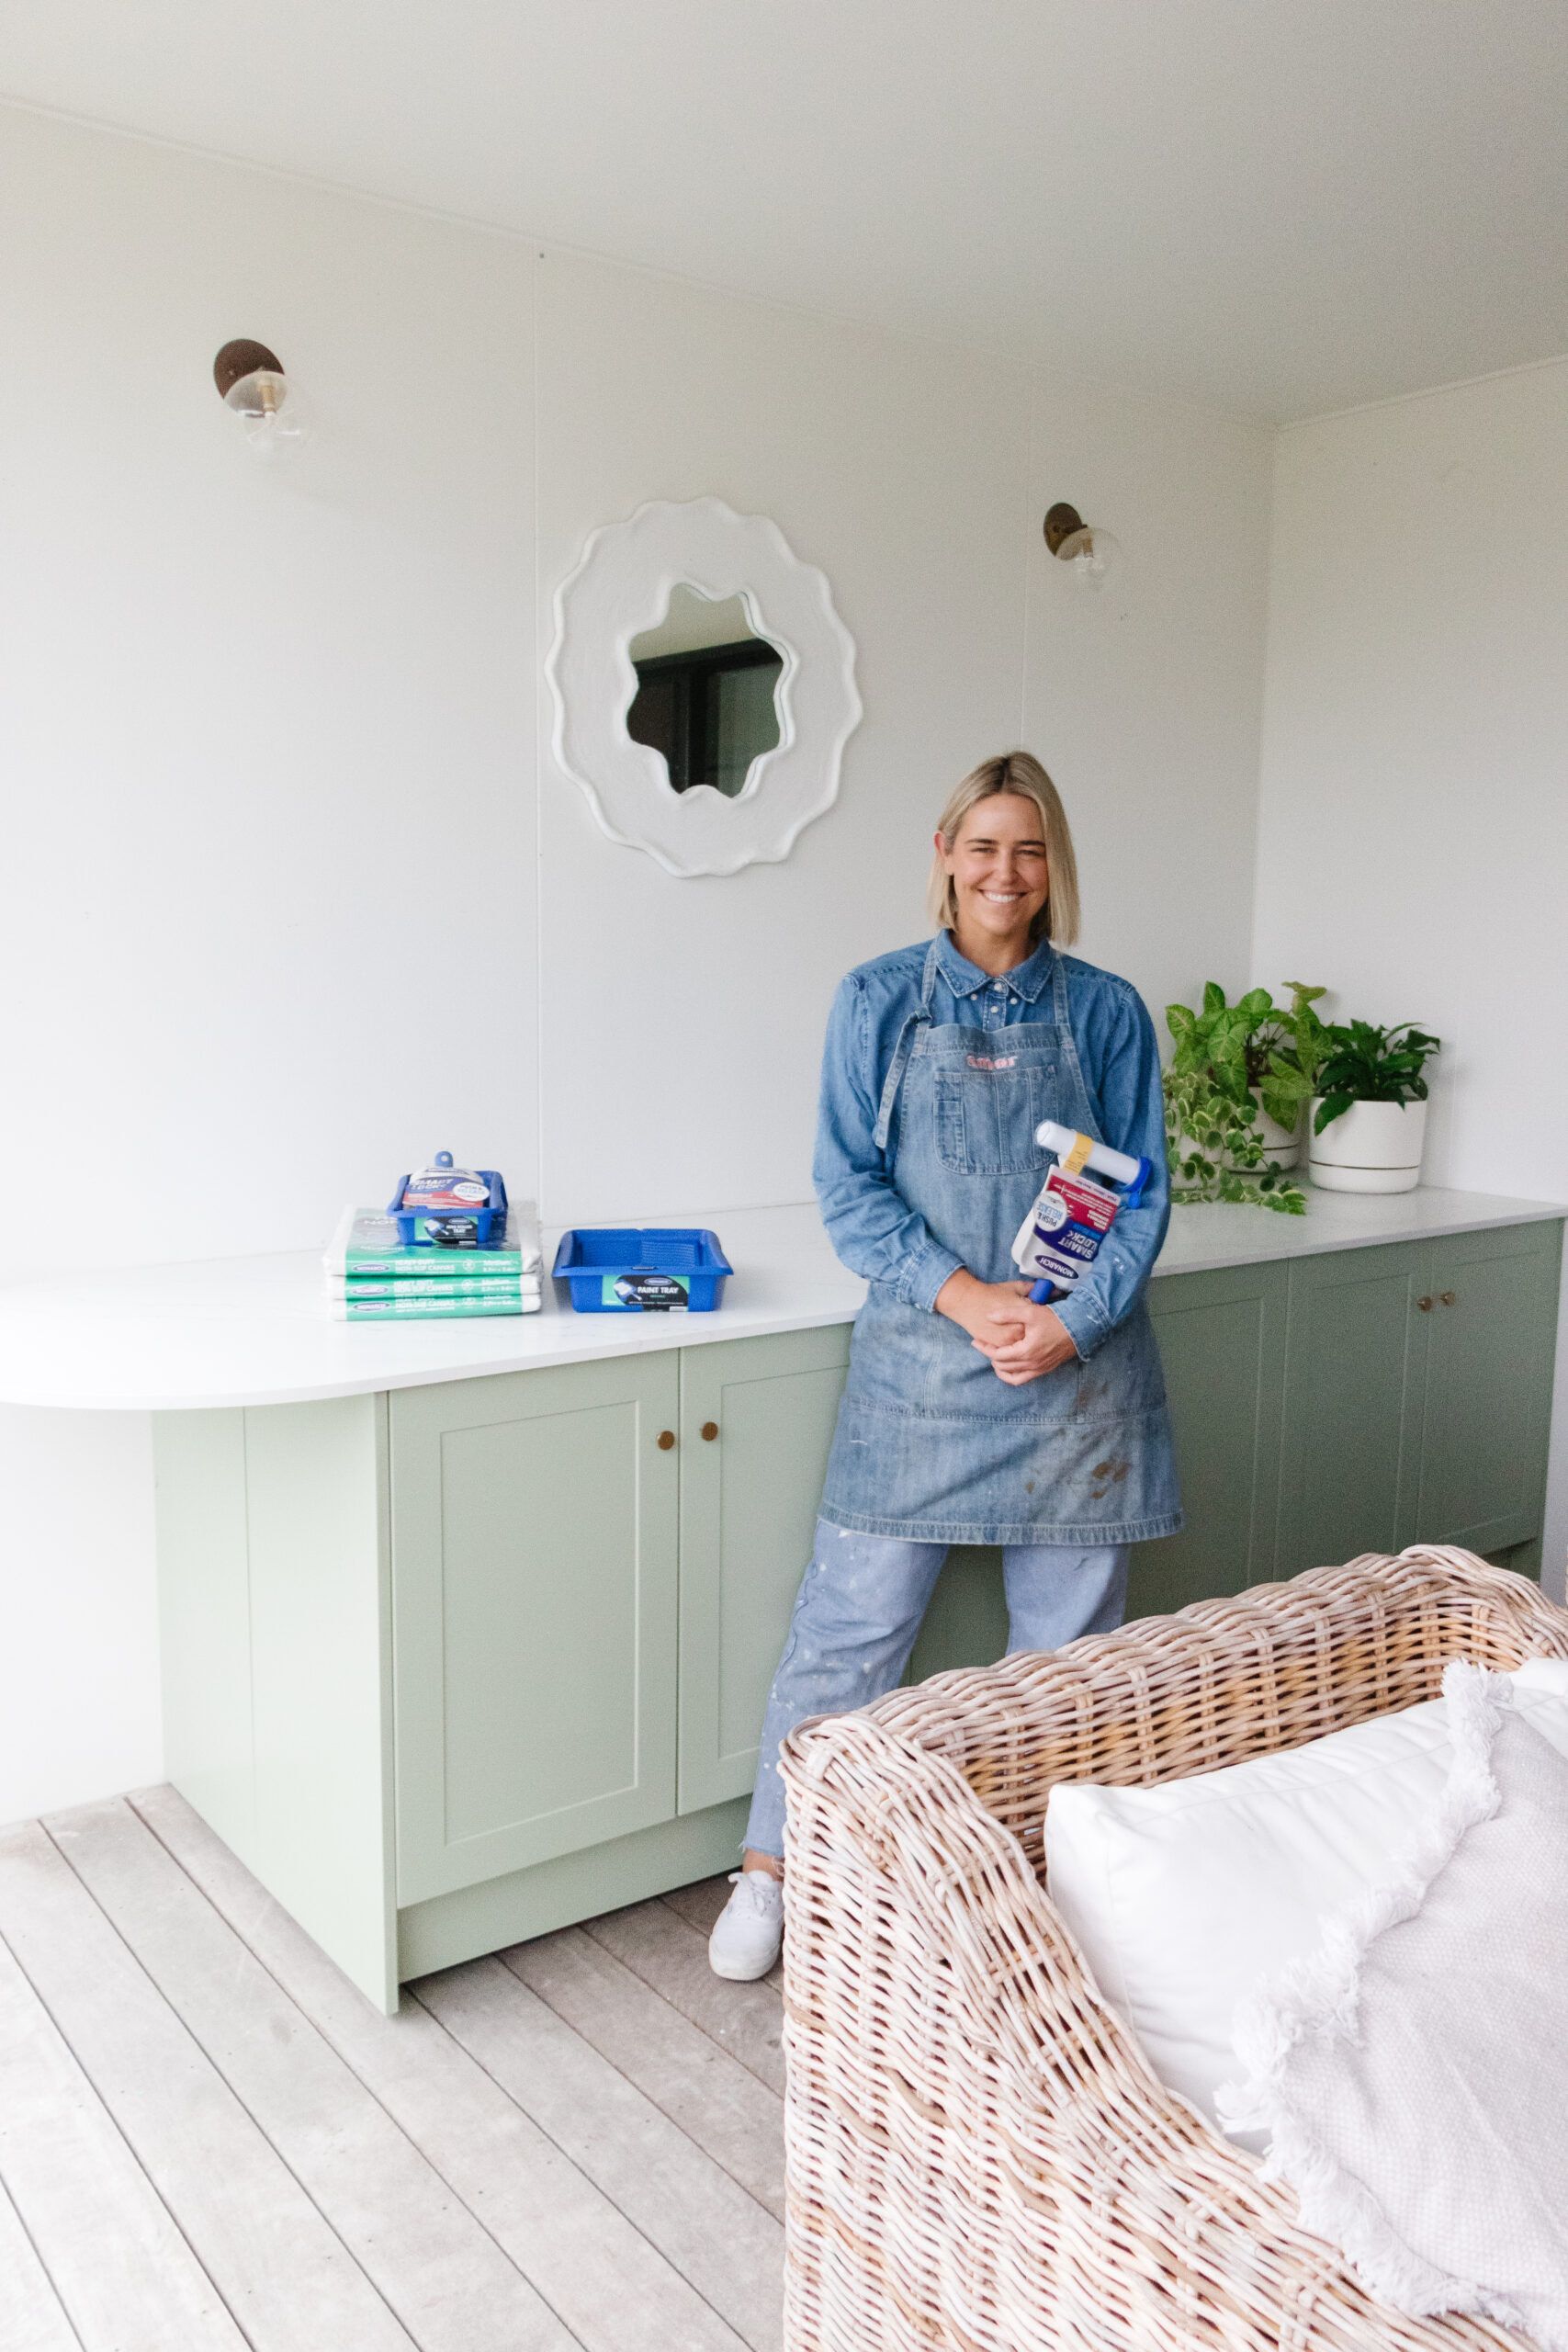
We recently teamed up with Jaharn from Smorhome, who showed us how she updated her outdoor kitchen using Monarch products.
Materials required to complete this DIY project
- Sanding block
- 120 grit sanding sheet
- 500ml exterior water-based primer
- 500ml paint
- 250ml exterior clear satin sealer
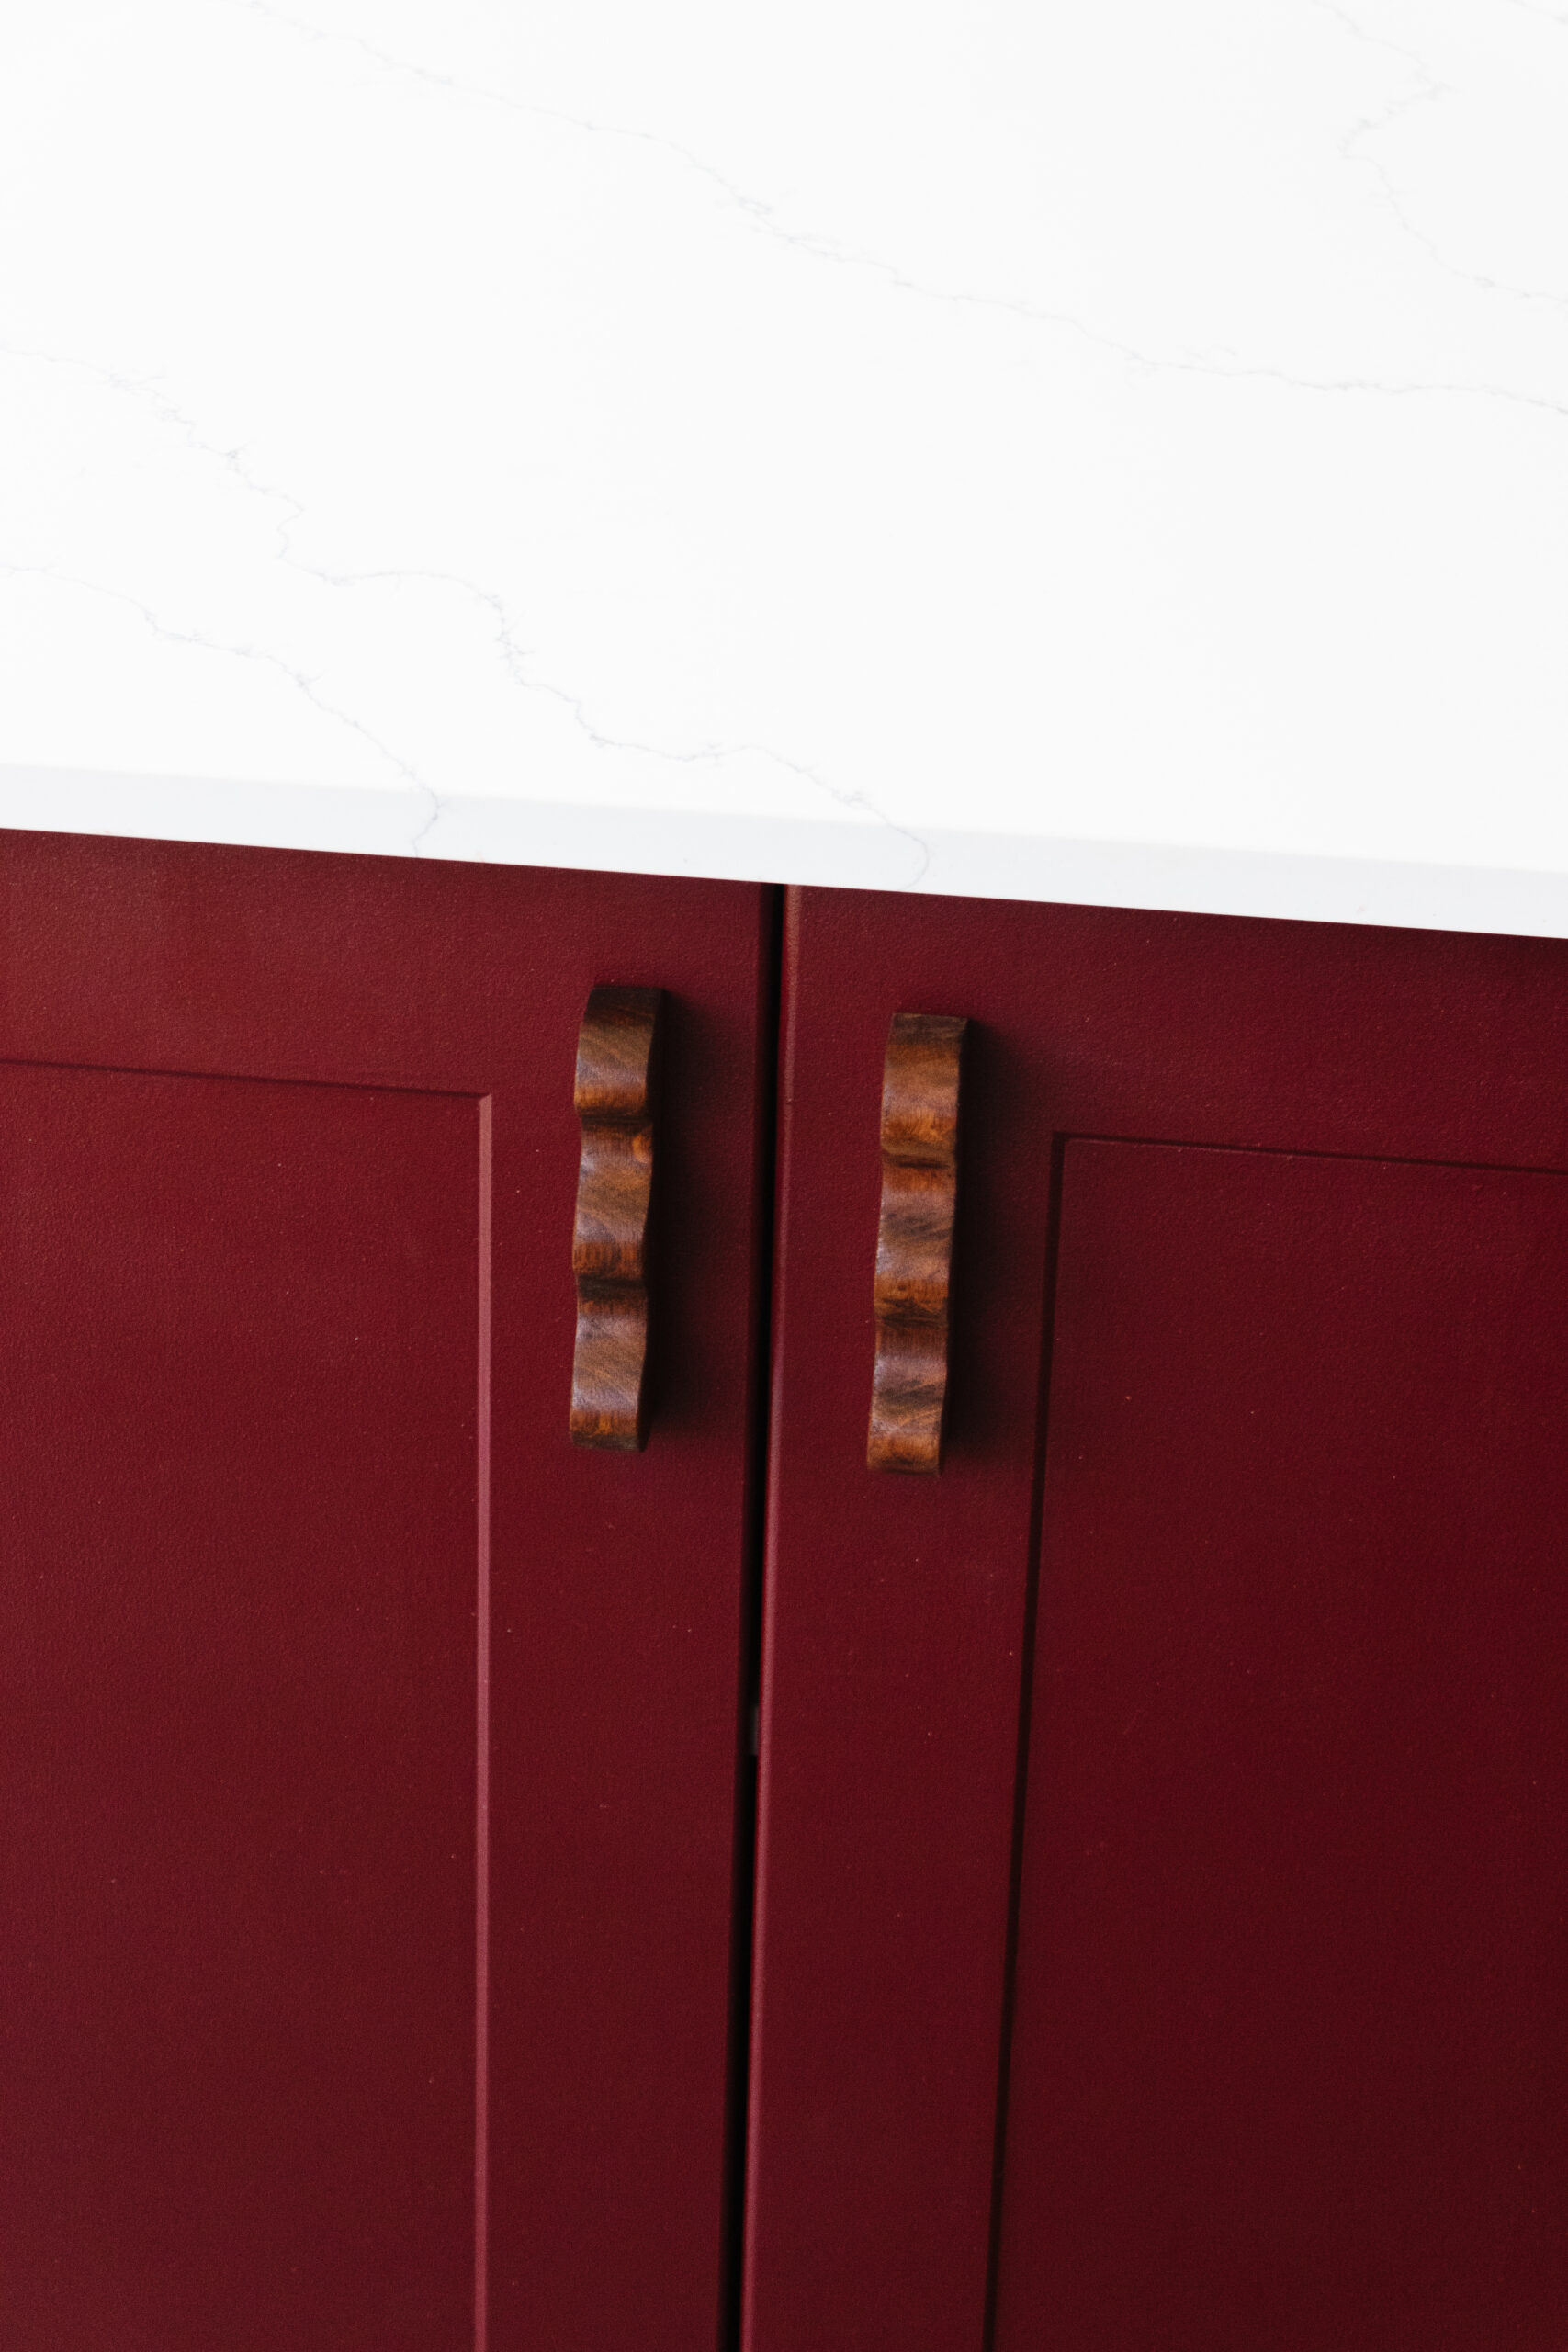
- New door handles of your choice
- Monarch Painting Heavy Duty Non-Slip Canvas
- Monarch Painting Smart Lock Mini Roller 160mmm for Doors, Skirtings & Cupboards
- Monarch Painting Smart Lock Mini Roller 100mmm for Doors, Skirtings & Cupboards
- Drill
We have put together a step-by-step guide below, detailing everything you need to know about this project, so you too can easily update cabinetry in your home.
Step 1: Jaharn removed the cabinet doors from the outdoor kitchen using a drill. To avoid losing the screws, Jaharn had a cup handy to put them in and keep safe. The existing door handles were also removed with the drill and set aside.
Step 2:
Cover a workbench with a Monarch Painting Heavy Duty Non-Slip Canvas. Lightly sand the doors and panels using a sanding block and a 120-grit sand sheet. After wiping away any excess dust, Jaharn applied a coat of water based exterior primer to the cabinetry and doors using Monarch Painting Smart Lock Mini Roller 100mmm for Doors, Skirtings & Cupboards.
Step 3:
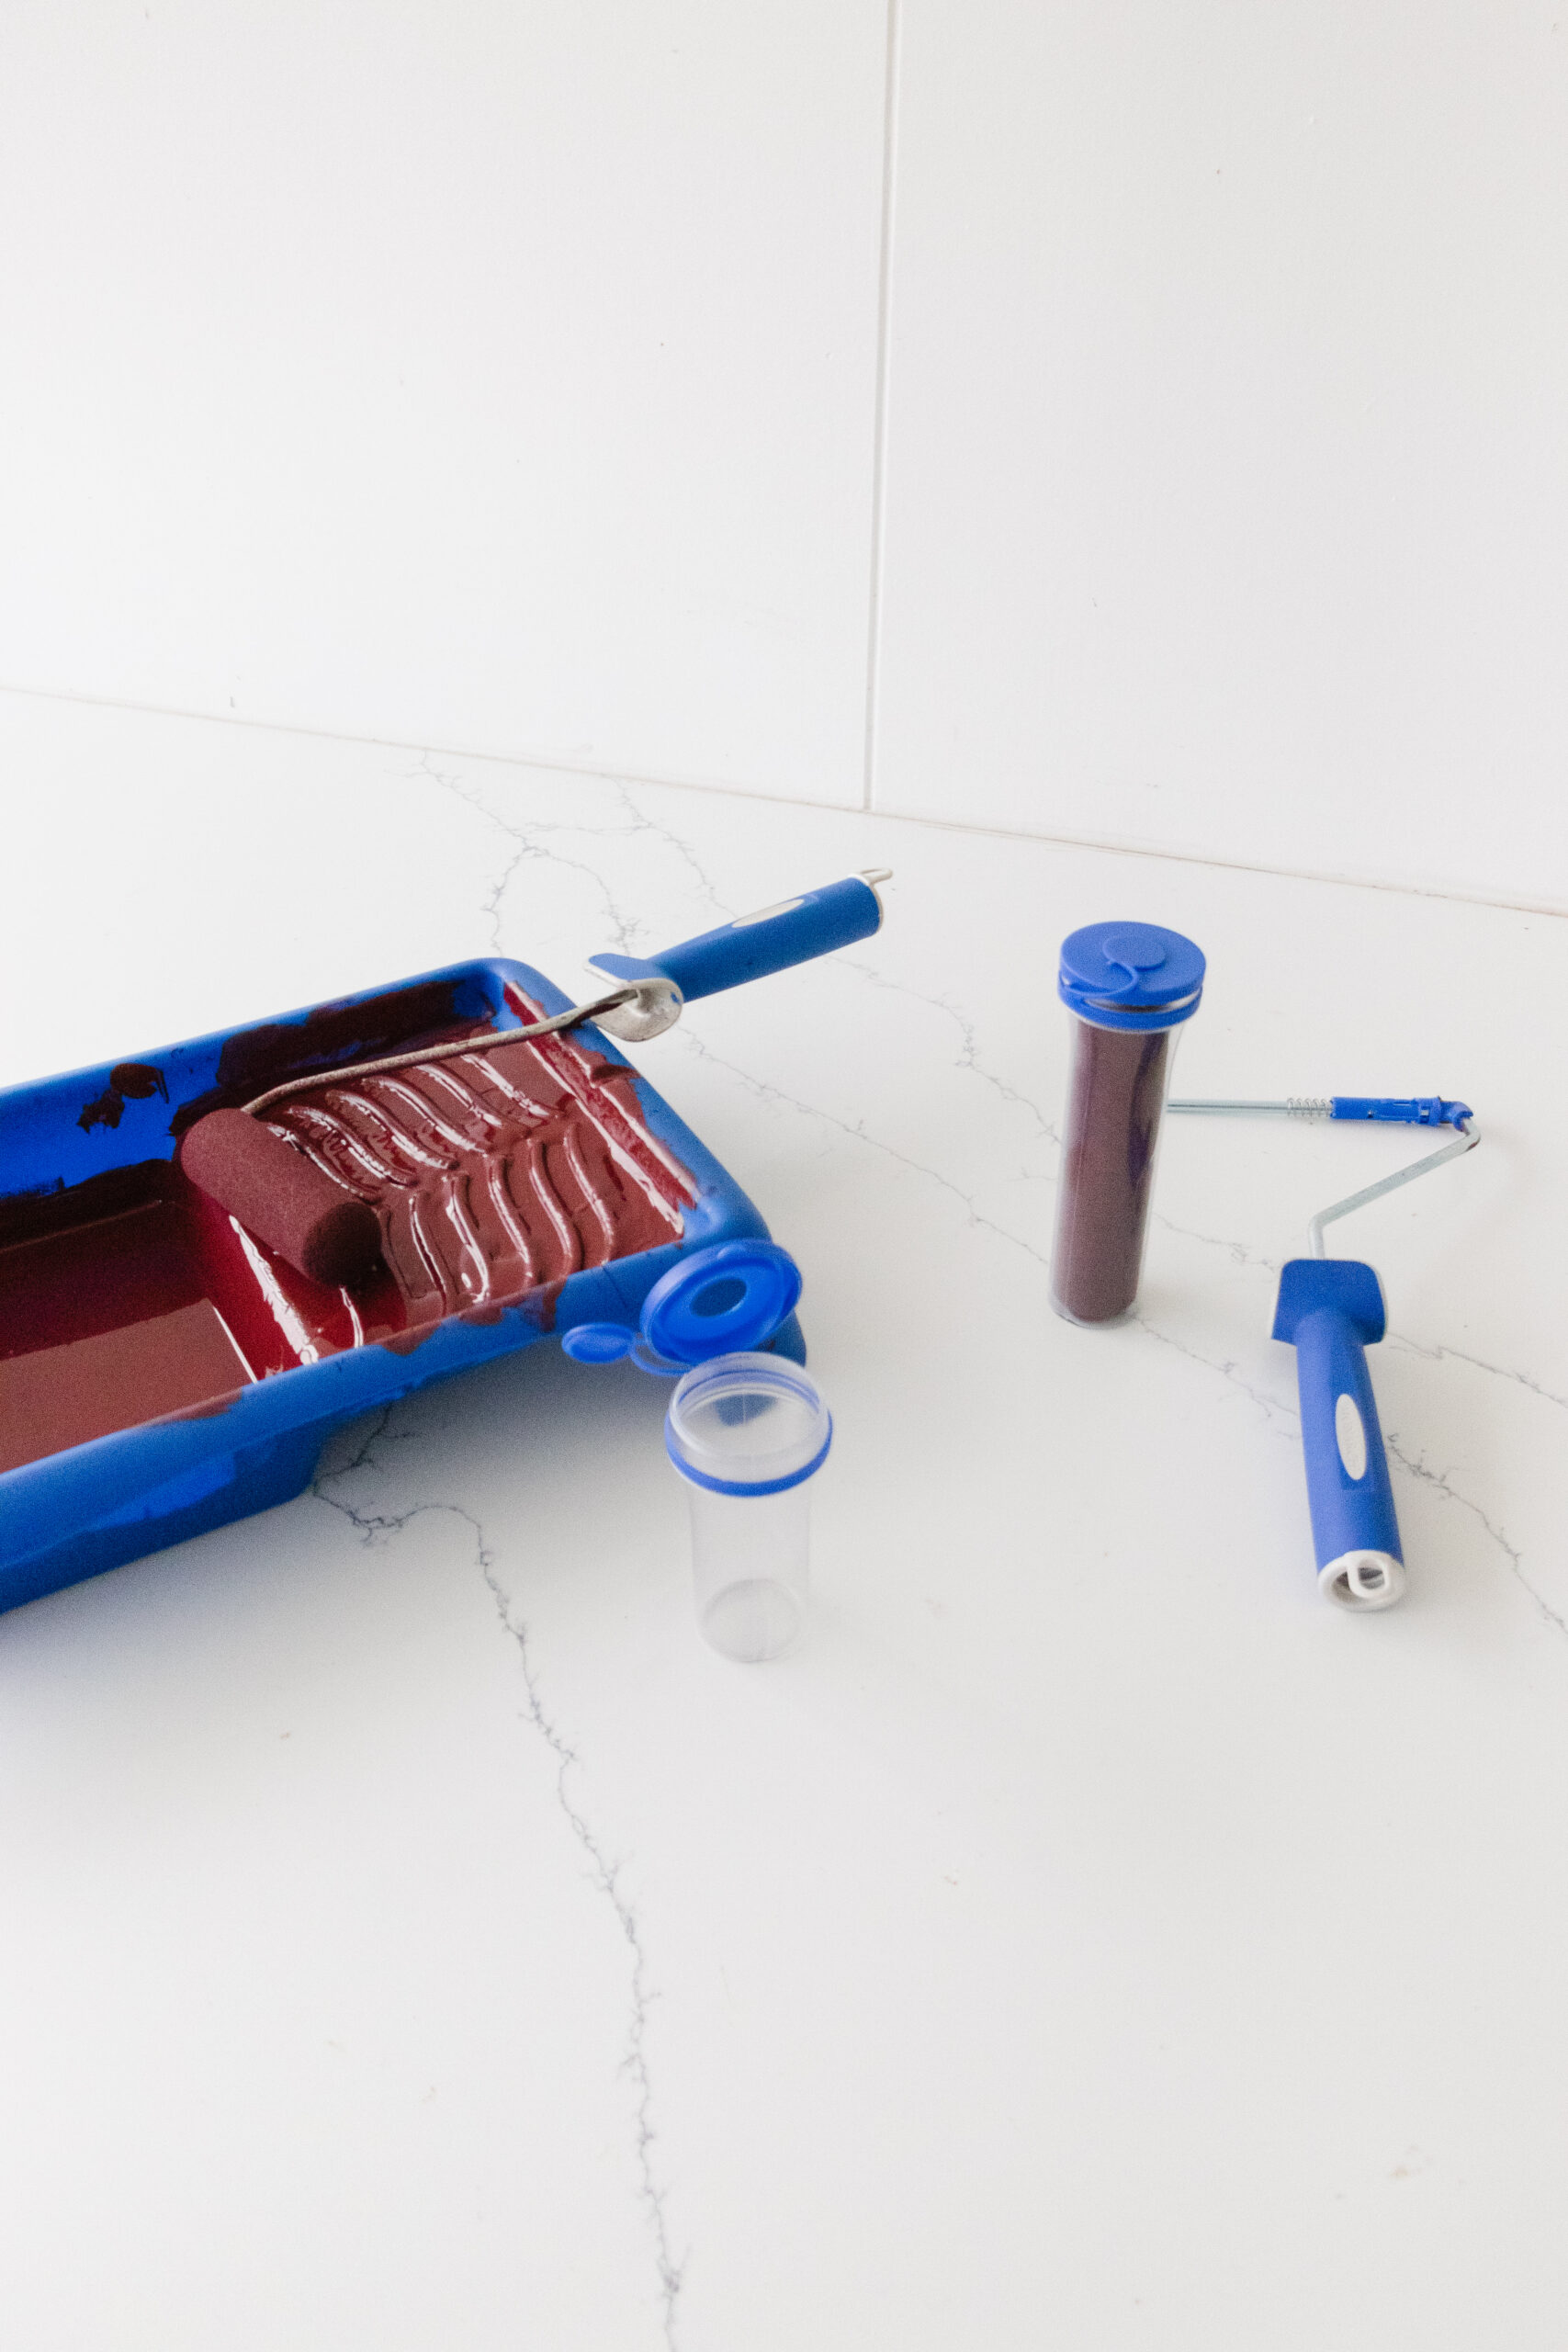
When the primer was dry, Jaharn applied three thin coats of paint to the cabinetry and doors using Monarch Painting Smart Lock Mini Roller 100mmm for Doors, Skirtings & Cupboards and Monarch Painting Smart Lock Mini Roller 160mmm for Doors, Skirtings & Cupboards. Best of all, the mini rollers come with a storage tube to keep the paint fresh in between coats.
Step 4:
When the paint was dry, Jaharn applied a light coat of clear satin sealer onto the cabinetry and doors.
Step 5:
When the sealer was dry, she installed new handles onto each door using the drill and the screws from the original door knobs. Then, she installed the doors back onto the cabinetry.
There you have it, a quick and easy DIY project you could complete this weekend which will completely change the look of your space, ready for entertaining season!
For advice on how to select the perfect paint accessory for your next project, take a look at our product finder tool and discover a bunch of painting tips, tricks and inspiration by following us on Instagram and Facebook.