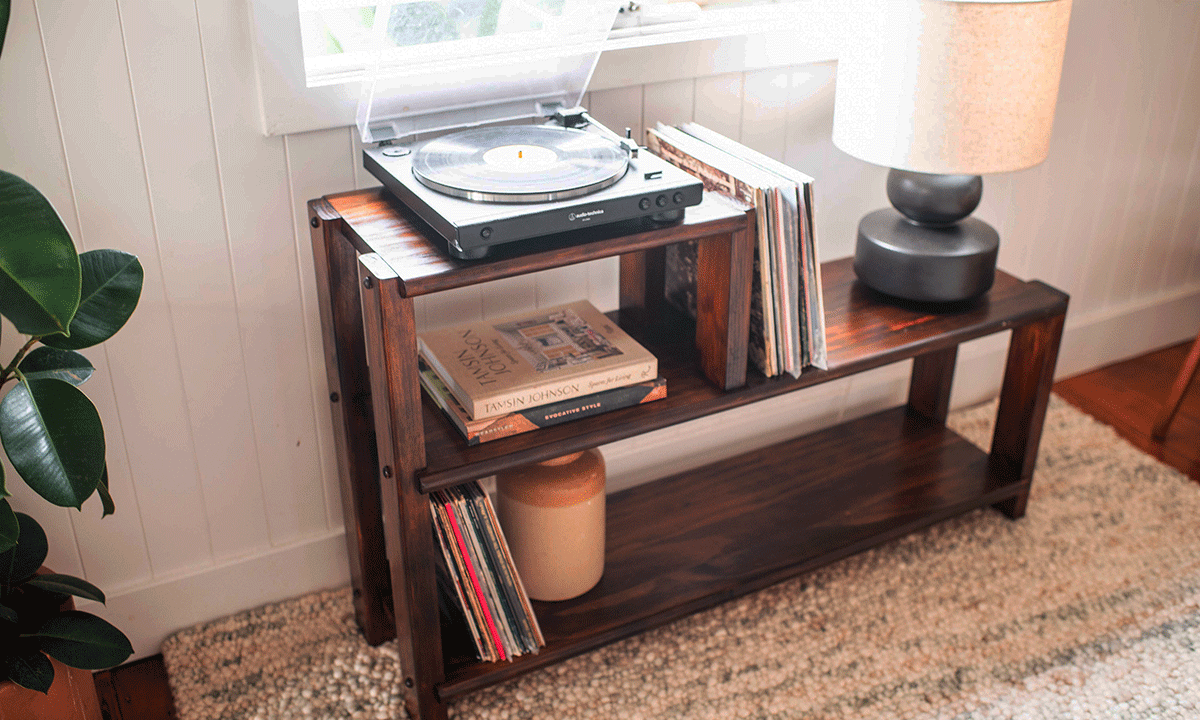
When our favourite revonation guru Geneva Vanderzeil found some old shelves on the side of the road, she knew she’d struck gold! With the help of Monarch’s Painting Tool Kit, Geneva was able to restore these shelves back to their former glory, creating a stylish storage unit for her home.
Materials required to complete this DIY project
To figure out what painting accessories she needed to spruce up these shelves, Geneva selected the Furniture Restoration project on Monarch’s Painting Tool Kit.
The results told her exactly what products to use, and it only took one trip to Bunnings Warehouse to get everything.

-
A pre-loved shelving unit
-
Electric Sander
-
Timber Varnish
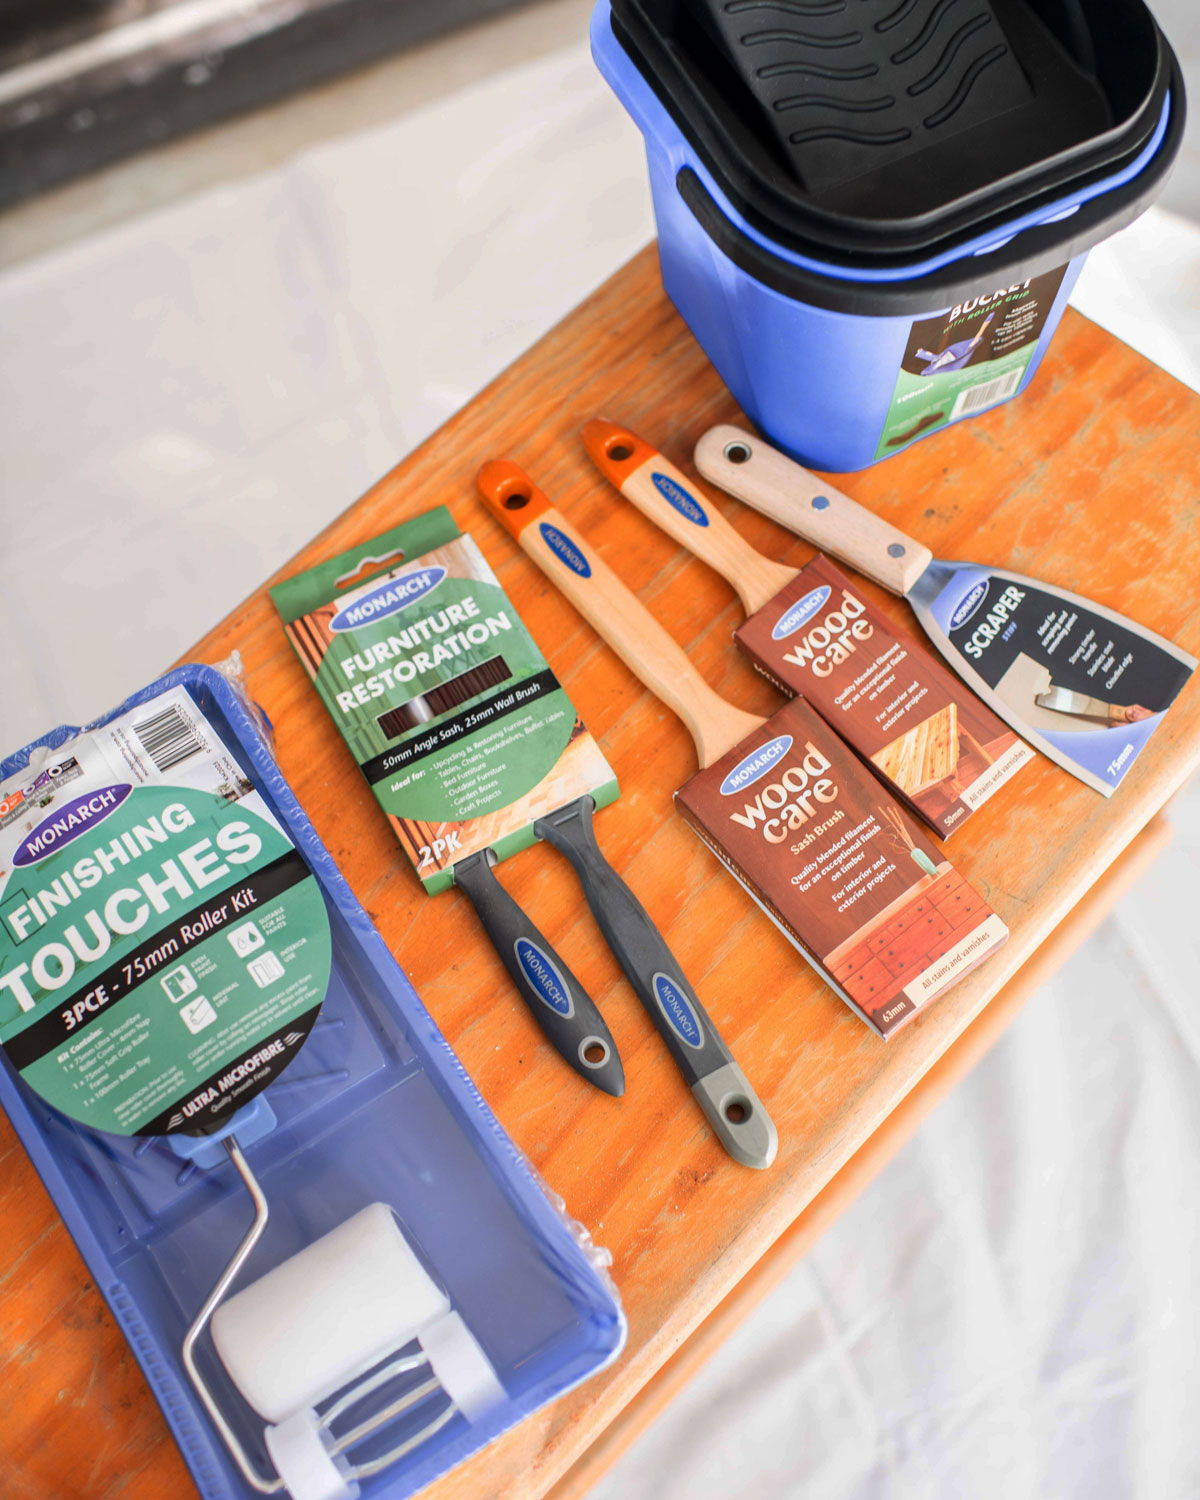
We have put together a step-by-step guide below, detailing everything you need to know to complete this project and recreate the look at home.
Step 1
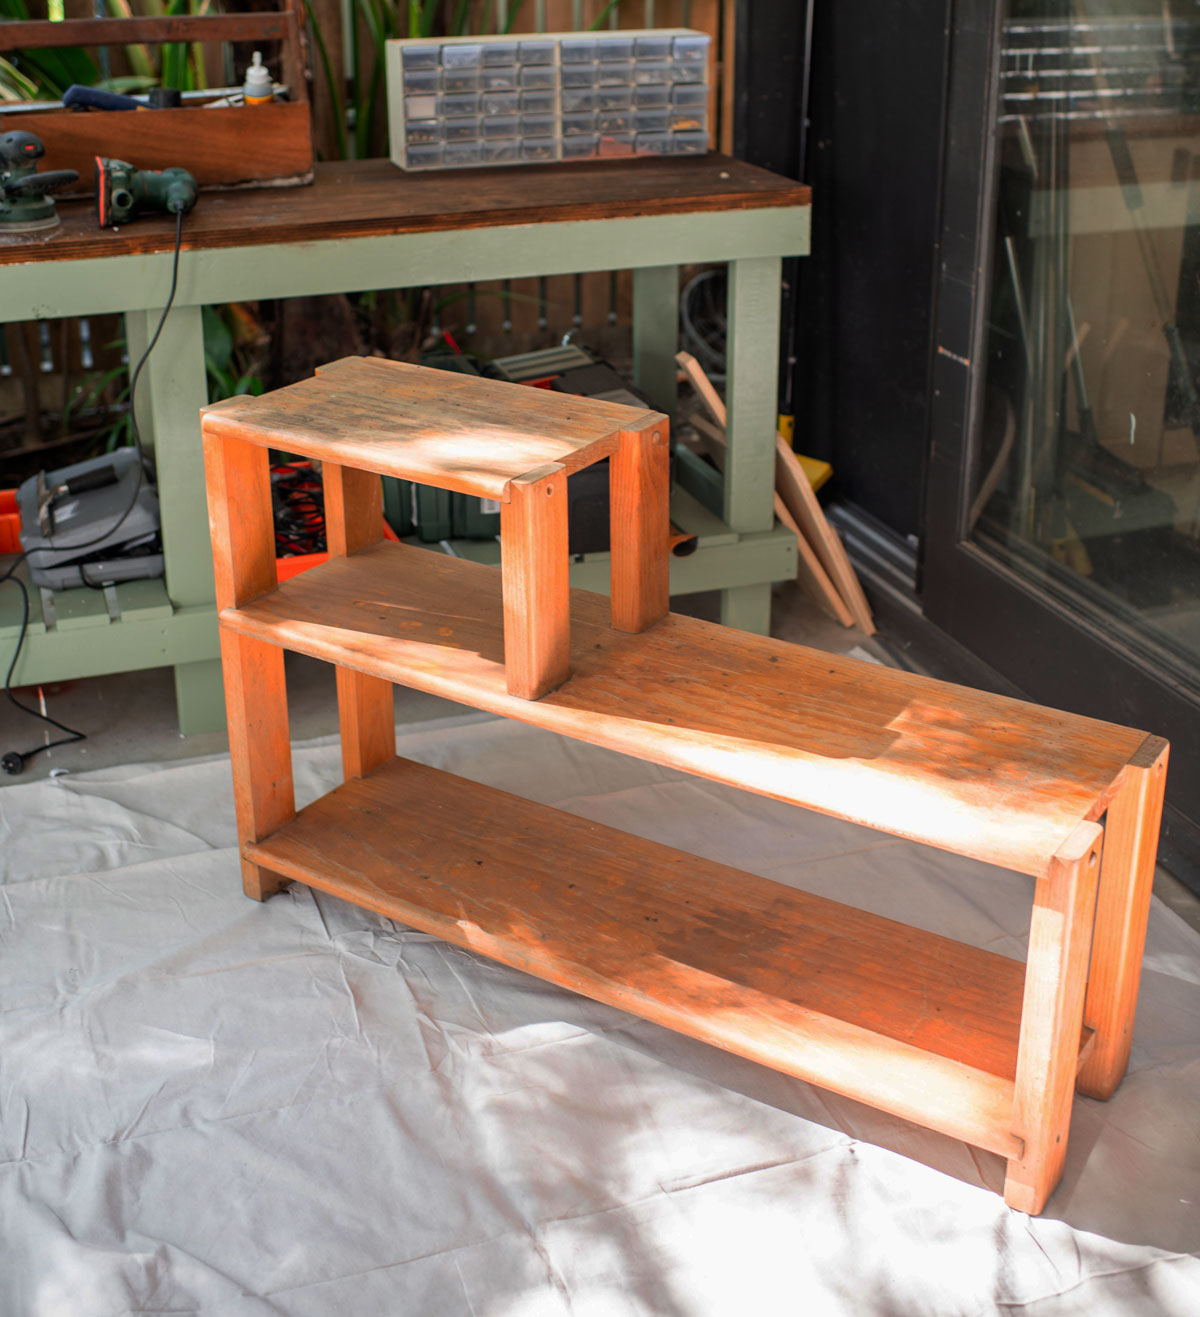
Lay out the drop sheet and place the shelving unit on top of it
Step 2
Wash it down and scrape off any loose flakes.
Step 3
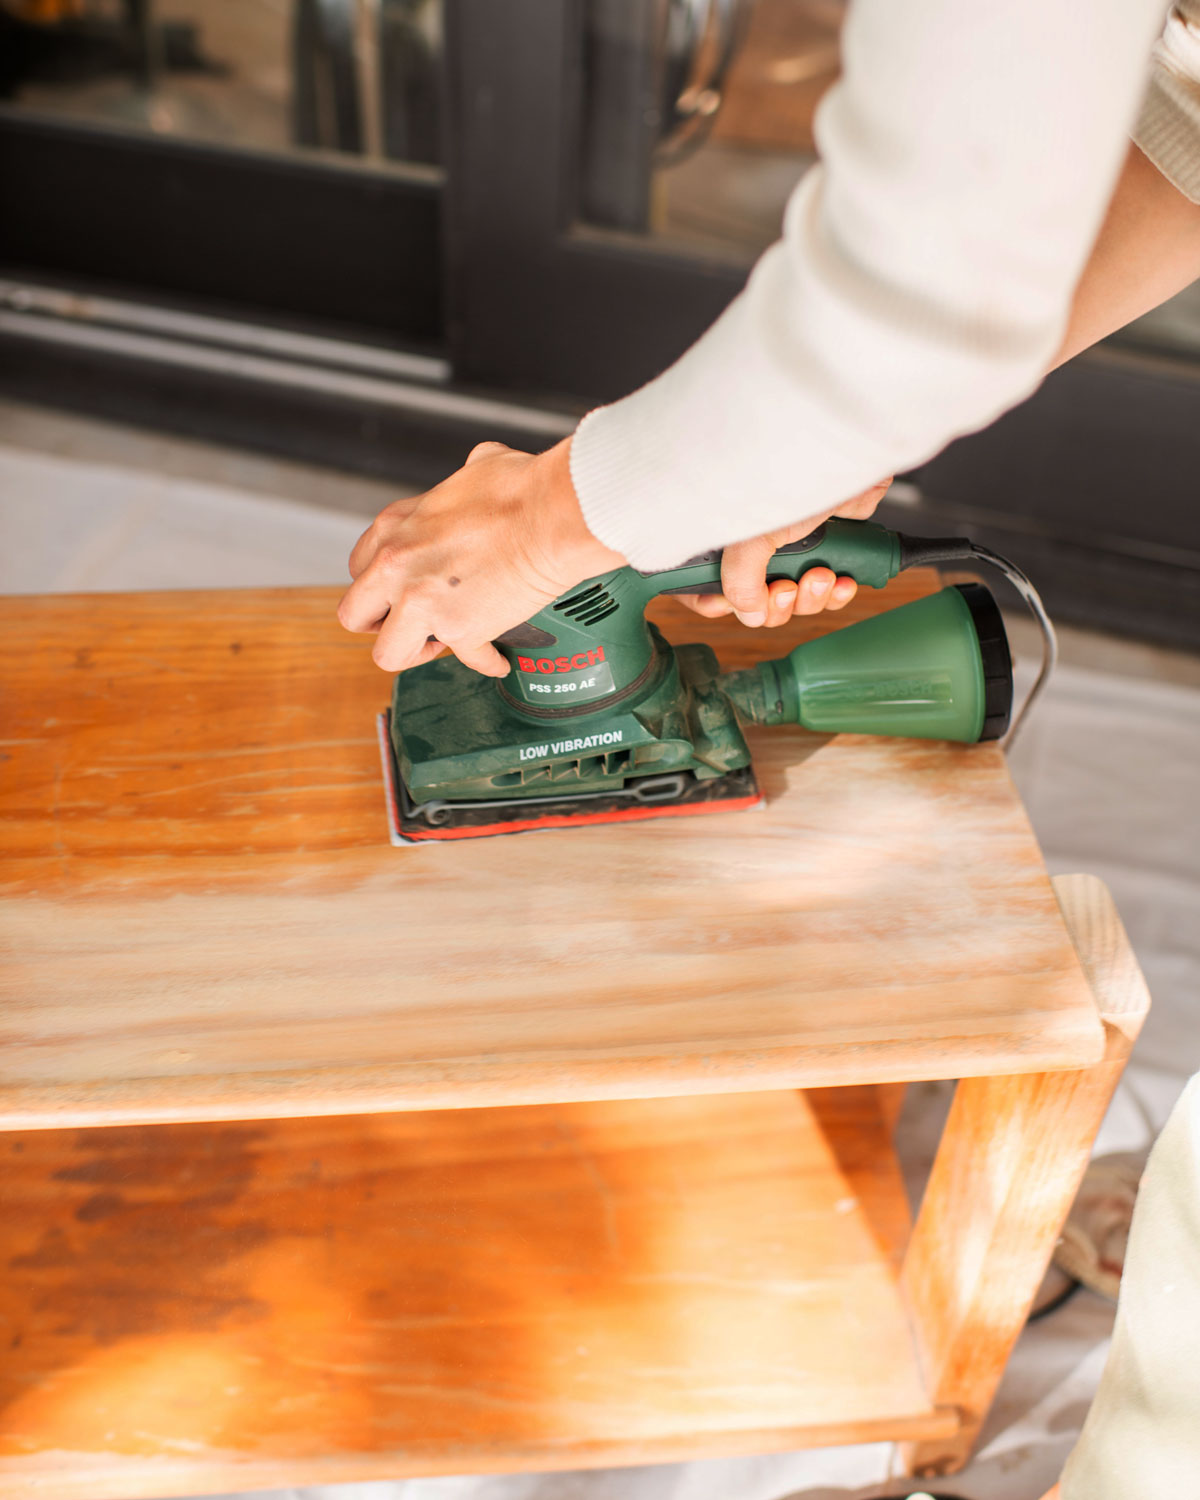
Using an electric sander, take of all the existing varnish. Stripping it back to its natural timber will allow you to see the true colour of the wood and allow you to pick a new varnish to suit it.
Step 4
Using your brushes, stain and varnish the whole unit. Wait for the recommended drying time and apply a second coat.
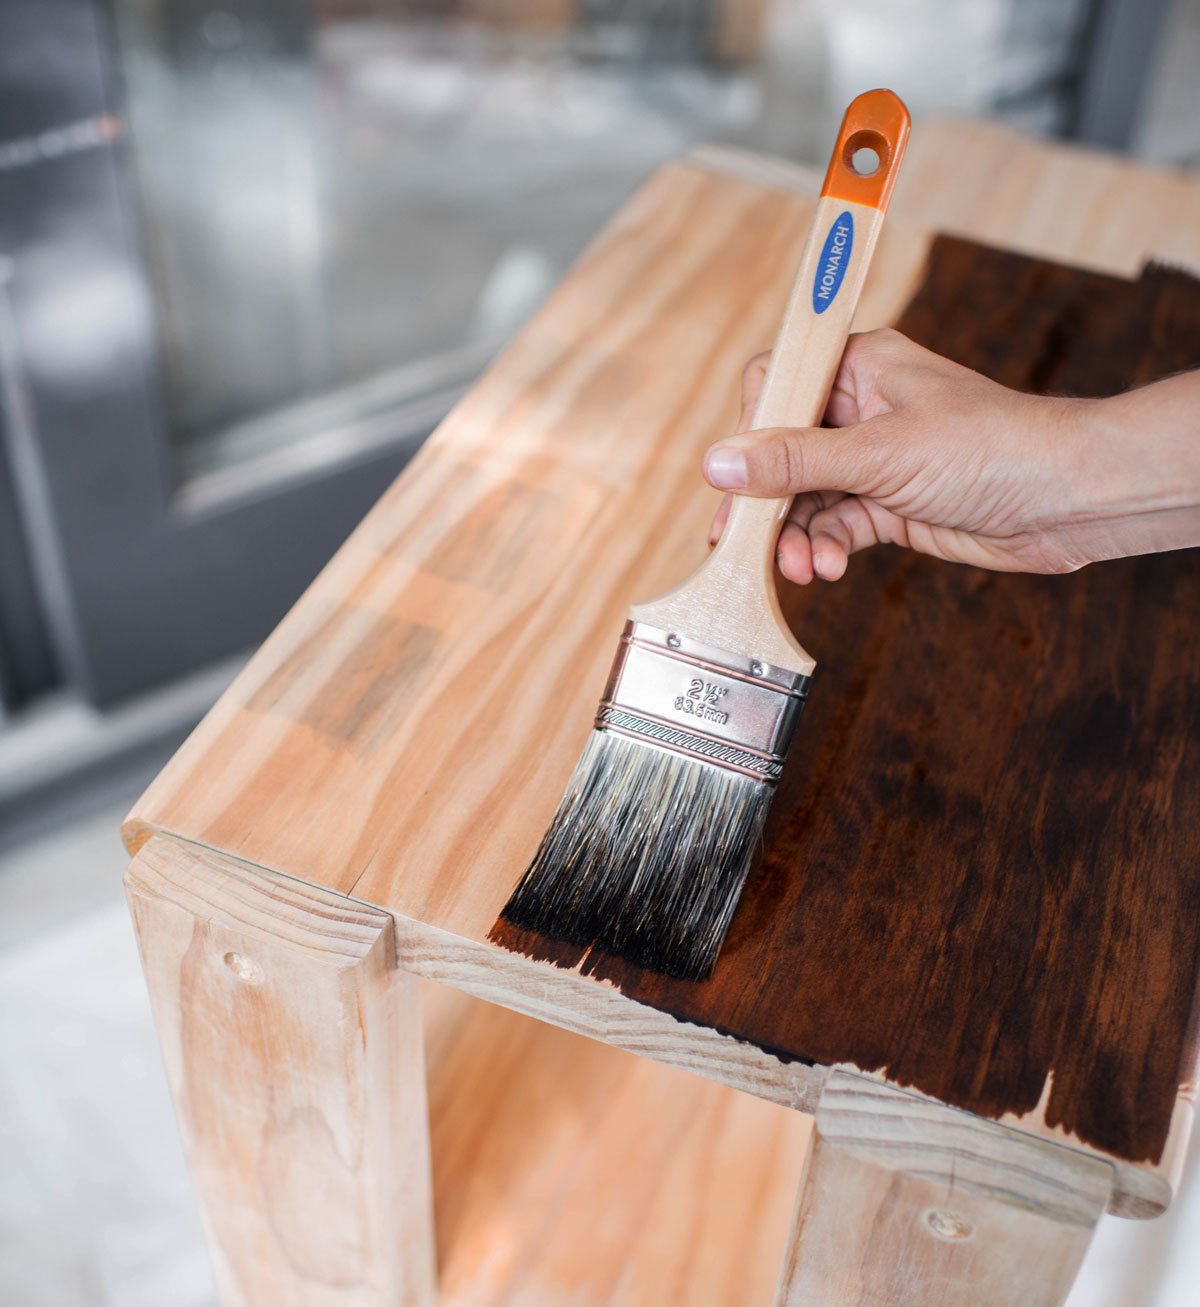
Voila! This project is proof that you can upcycle a piece of furniture with minimal steps!
For advice on how to select the perfect paint accessory for your next project, take a look at our Painting Tool Kit and discover a bunch of painting tips, tricks and inspiration by following us on Instagram and Facebook.

