


Let us show you how to transform your space with VJ Panelling and quality paint accessories! This is the perfect weekend job for advanced DIY’ers, where you can install and prep everything on Saturday and paint on Sunday.
VJ panelling is an excellent choice for home interiors as it creates a subtle design feature and will help to elevate your space. It adds character and charm to a room, giving it a timeless feel. It’s also a cost-effective option for a home renovation, providing an affordable alternative to traditional wall coverings. The versatile material can be painted or stained to match your existing décor, making it easy to integrate into your home's design scheme.
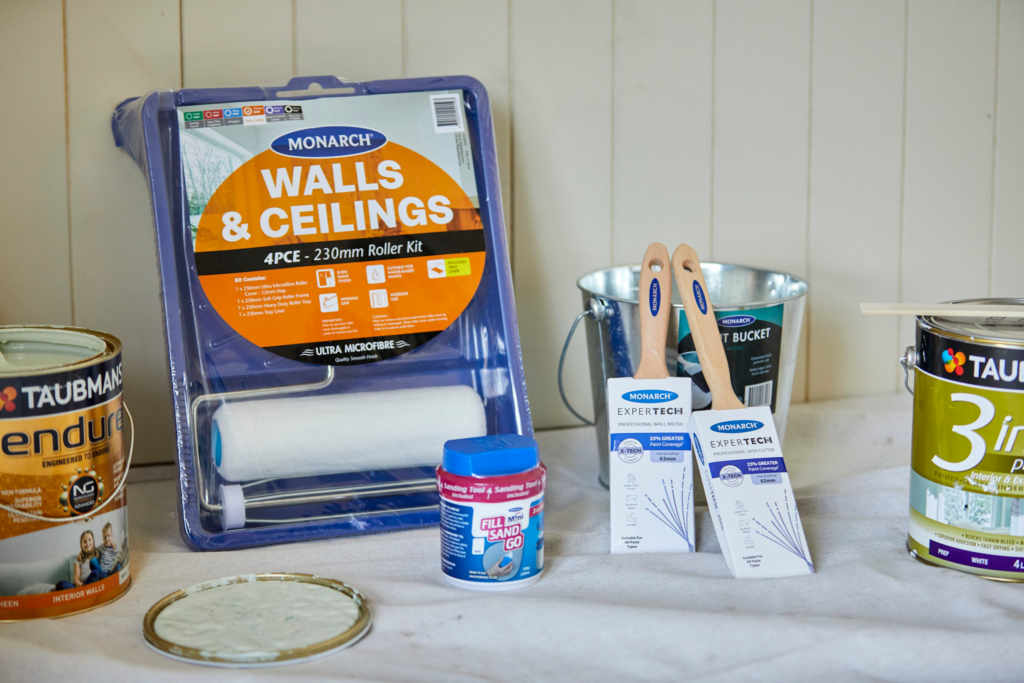
Materials:
- Fill Sand Go
- Mini Construction Adhesive
- Canvas drop sheet
- Walls & Ceilings Kit 4pce
- Expertech Wall Paint Brush
- VJ Panels
- Paint of your choice
- Nail gun or hammer
How To:

Step 1: VJ Panel Installation
First things first, you’ll need to install the VJ panel sheets. Homeowner, Aaron, purchased these from his local Bunnings Warehouse (900 x 1200mm). After cutting the sheets to fit your space, you’ll also need to consider any cutouts required for power points. To adhere the VJ panelling to the wall, we recommend using our Mini Construction Adhesive (perfect for a job this size) and also nailing it into the studs using a nail gun or hammer.
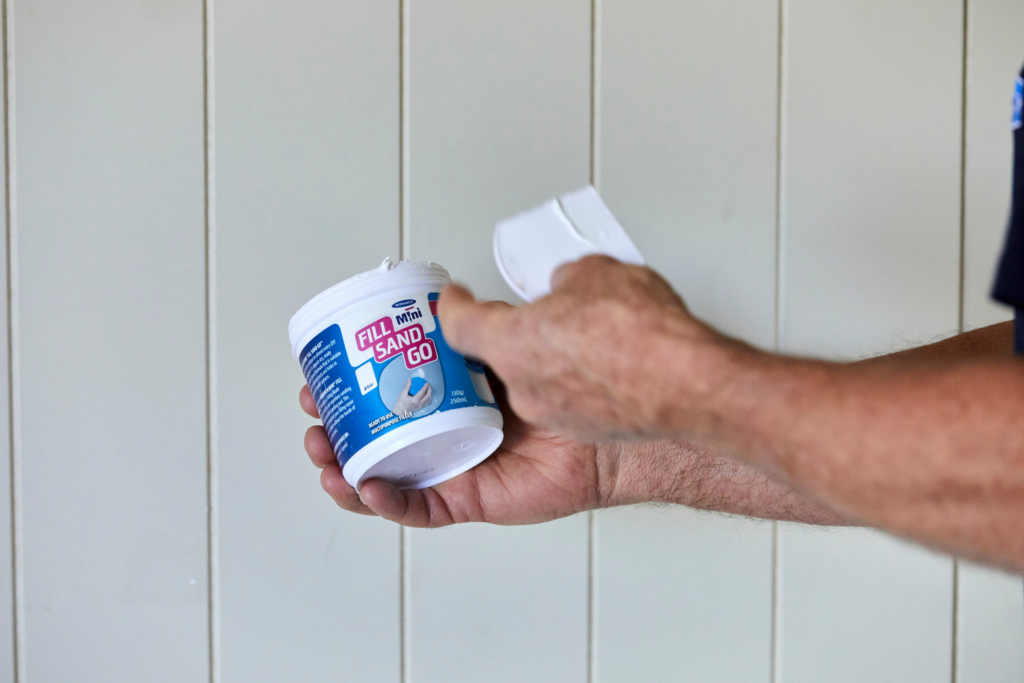
Step 2: Fill in holes
Once you’ve secured your VJ panels to the wall, fill in any holes from the nails with our Fill Sand Go! The compact design of Fill Sand Go allows it to fit in the palm of your hand and comes with a handy applicator and sanding pad for when the filler is dry to ensure you get a smooth finish.
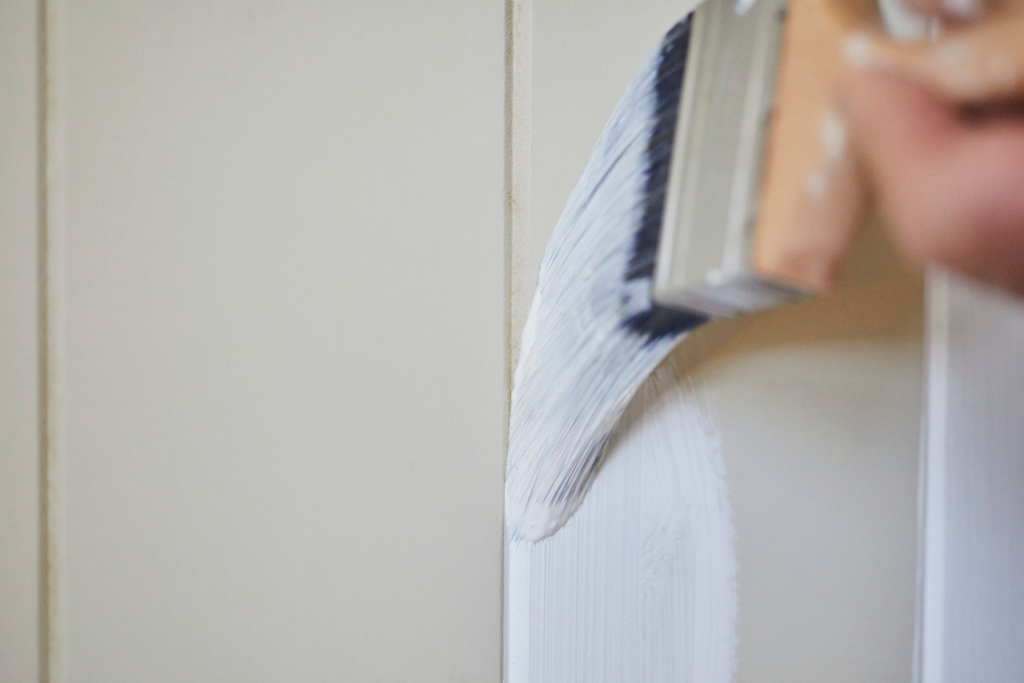
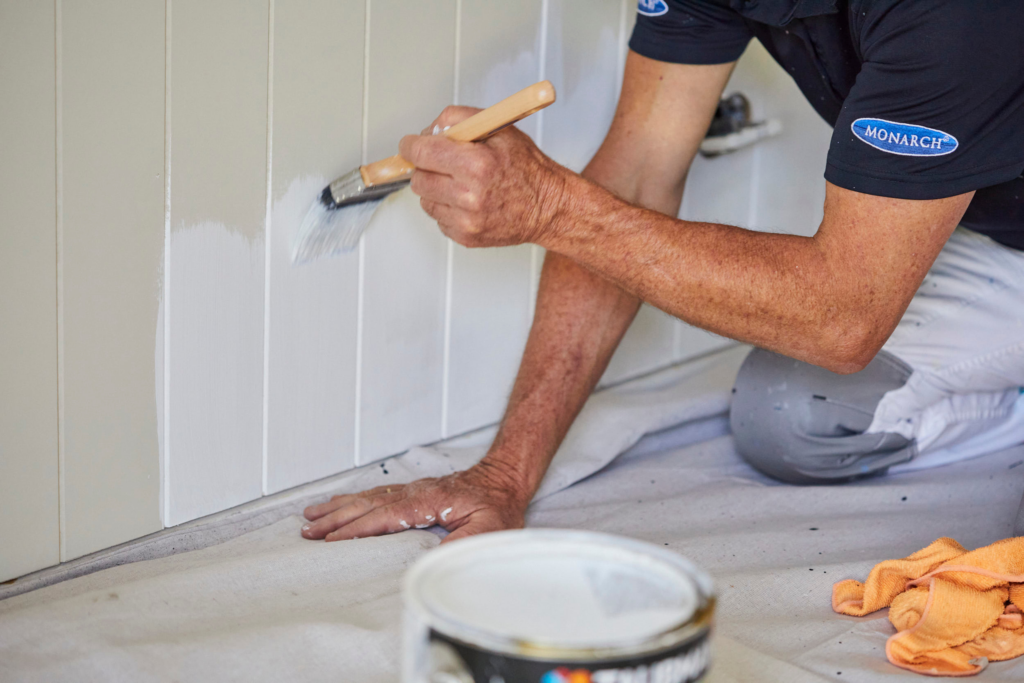
Step 3: Cutting in
Now your VJ panels are all prepped and ready to paint, we can start cutting in with our favourite brush range for advanced DIY’ers - Expertech! When cutting in, it’s important to paint the grooves in the panelling as well as the outer edges of the wall. This extra cutting in time will help get the best finish without using excess paint when rolling.
Tip: Don’t be fooled, when purchasing “pre-primed” panelling you will still need to prime the panels with a base coat if you want to get the best, quality finish.
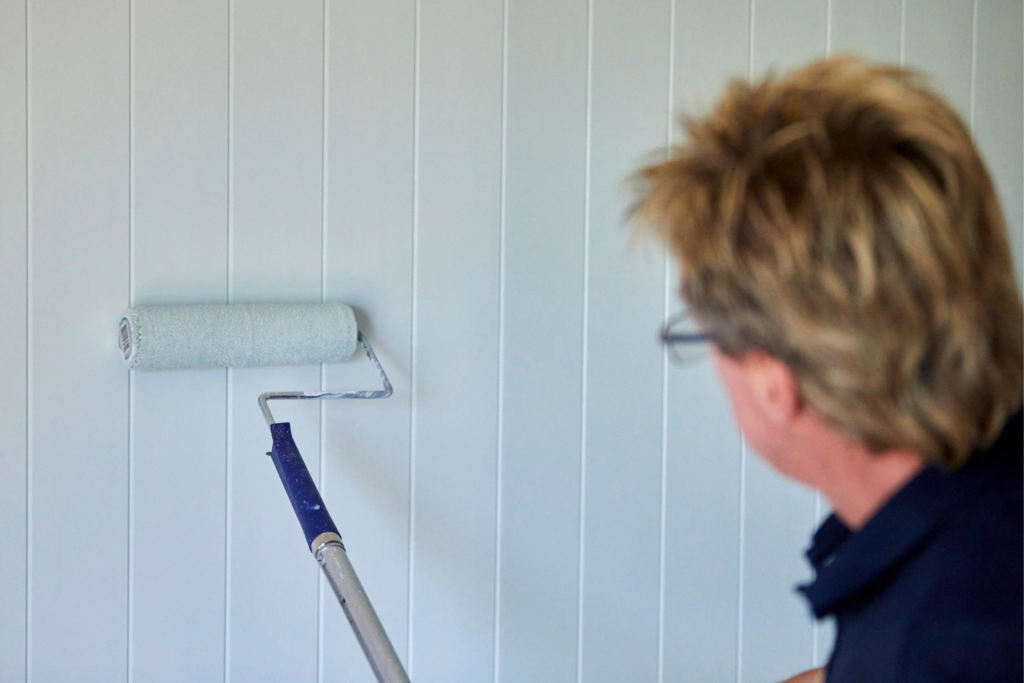
Step 4: Rolling
Let’s roll! Now that you’ve nailed cutting in, you can start rolling. We used a Walls & Ceilings Ultra Microfibre Roller Cover as the 12mm nap holds a good amount of paint for coverage. You’ll need to be careful not to overload your roller with paint as you don’t want it to seep into the VJ grooves. We always recommend doing two coats of your chosen paint colour, depending on how light your chosen colour is, you may need a third or even fourth coat.
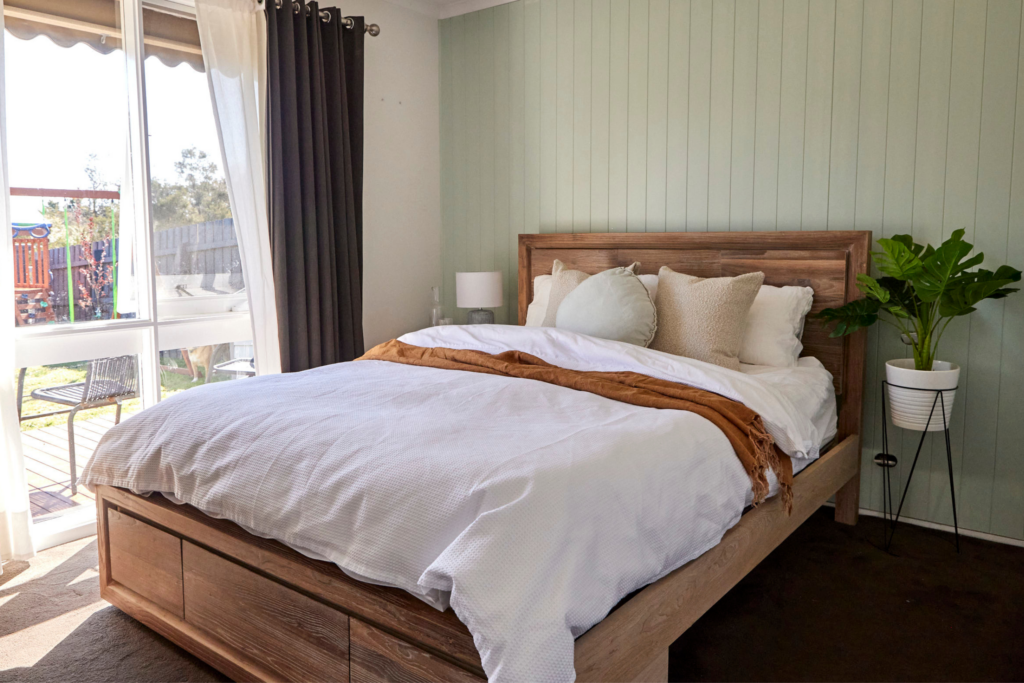
Now you can sit back and enjoy your new feature wall! Got another paint project in mind this summer? Our handy Product Finder tool will help you get the right paint accessories for the job. For more painting tips, tricks and inspiration, follow us on Instagram or Facebook.