


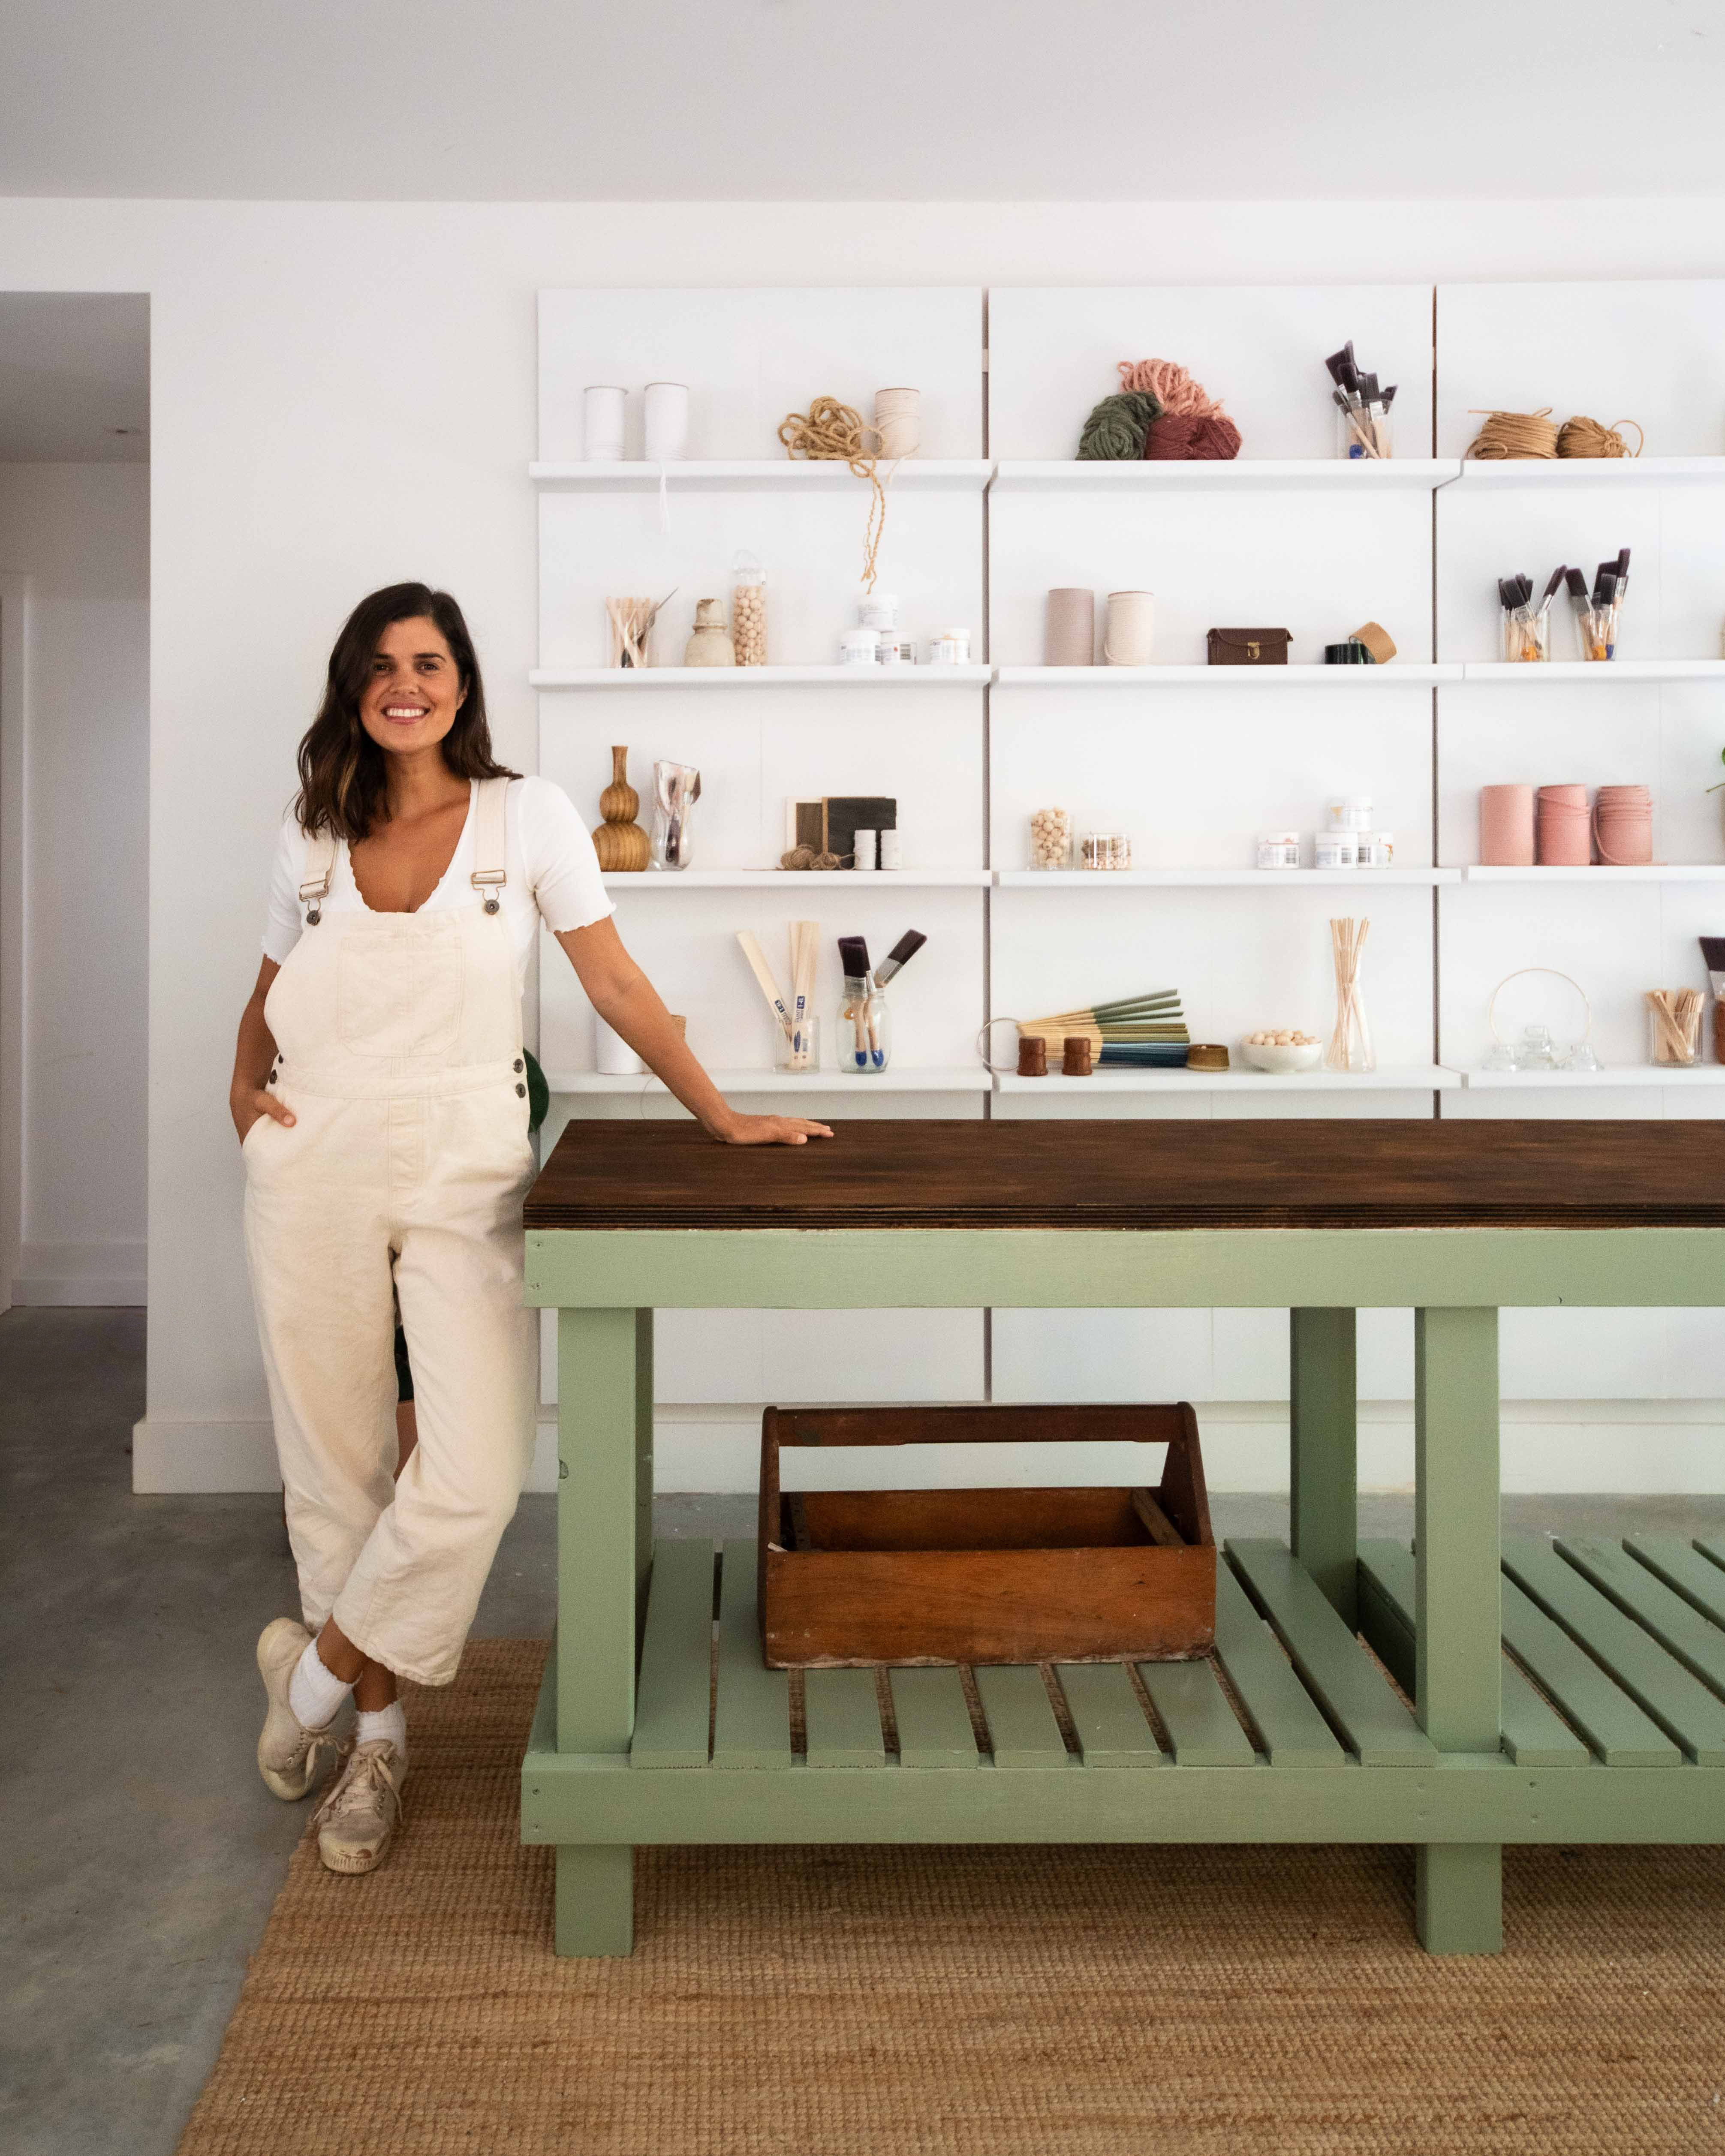
Looking for an easy DIY project to get done over the Easter break? Renovation queen Geneva Vanderzeil shows us how to upcycle an old wooden workbench using a fresh coat of paint.
Geneva had previously created a miniature sage green workbench for a dollhouse, so she was inspired to make a life-sized version to put in her home studio!
Materials required to complete this DIY project
- A pre-loved workbench to upcycle (from Marketplace, a second hand store or you may already own one!)
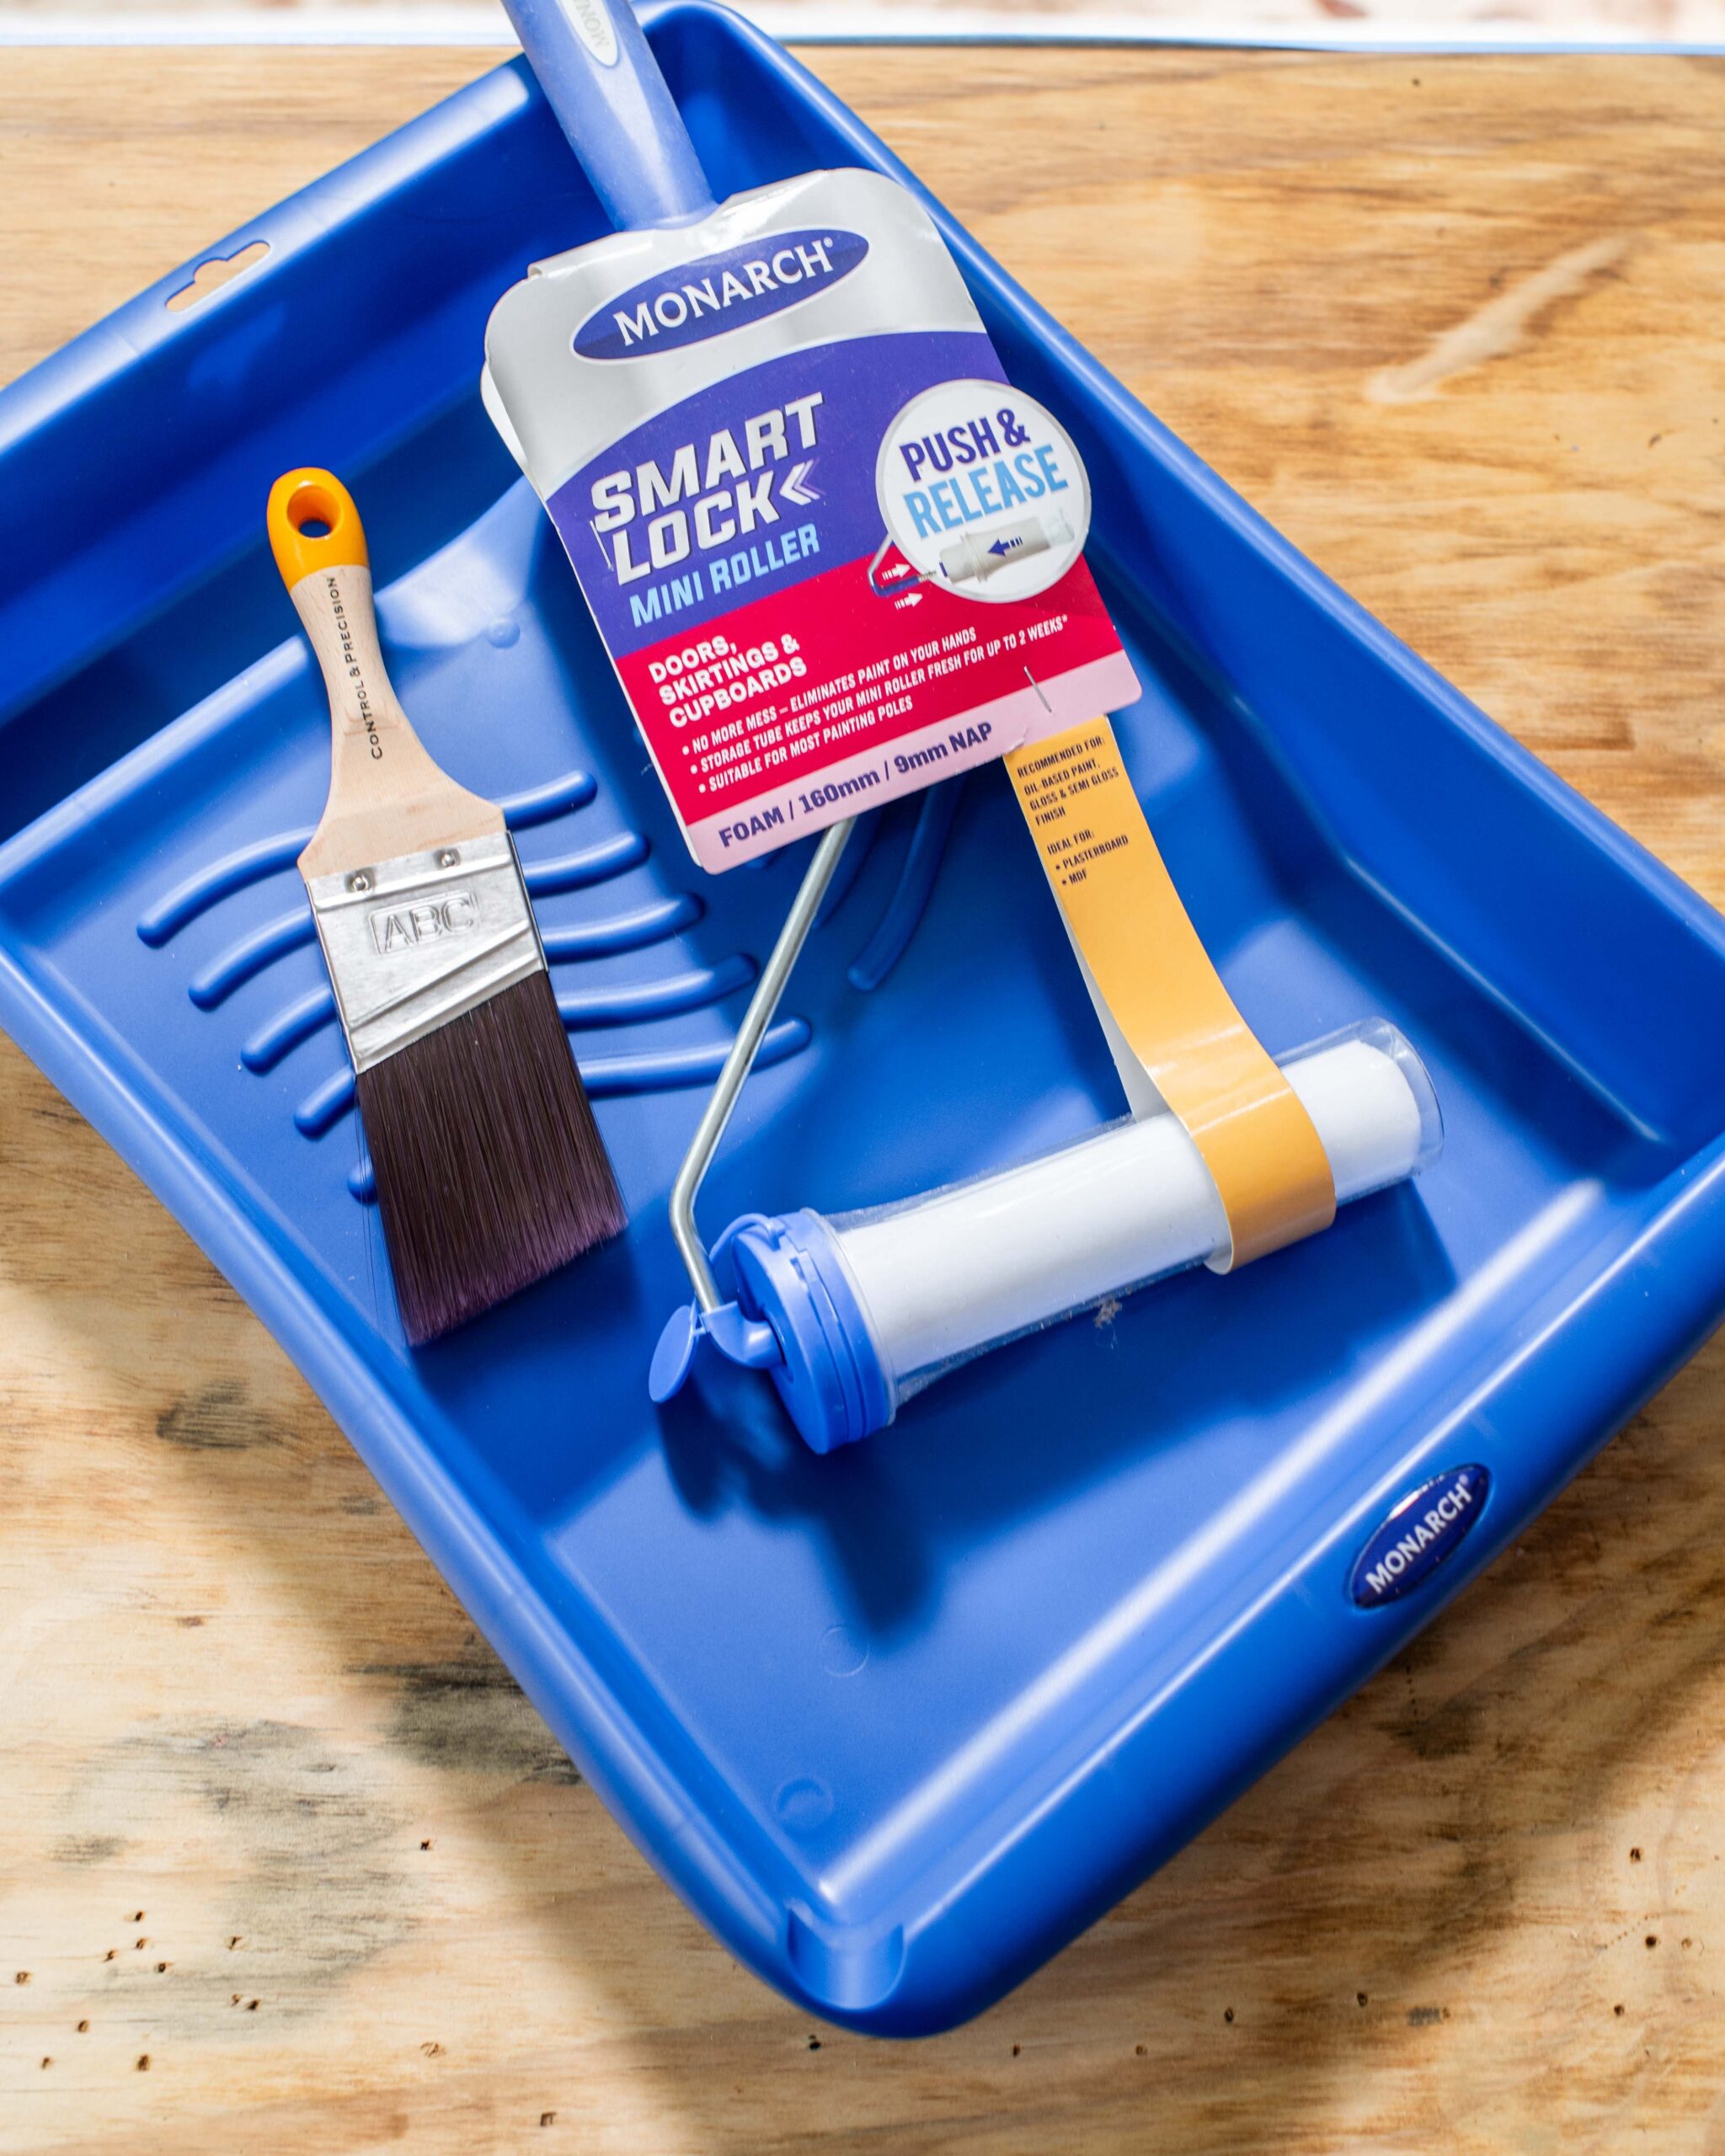
- Monarch Smartlock Mini Roller – Doors, Skirtings & Cupboards
- Monarch Cutting In & Framing Brush
- Monarch Paint Bucket & Tray
- Monarch Leak Proof Canvas Drop Sheet
- Sander
- Paint
We have put together a step-by-step guide below, detailing everything you need to know to complete this project and recreate the look at home.
Step 1
Lay out the drop sheet and place the workbench on top of it.
Step 2
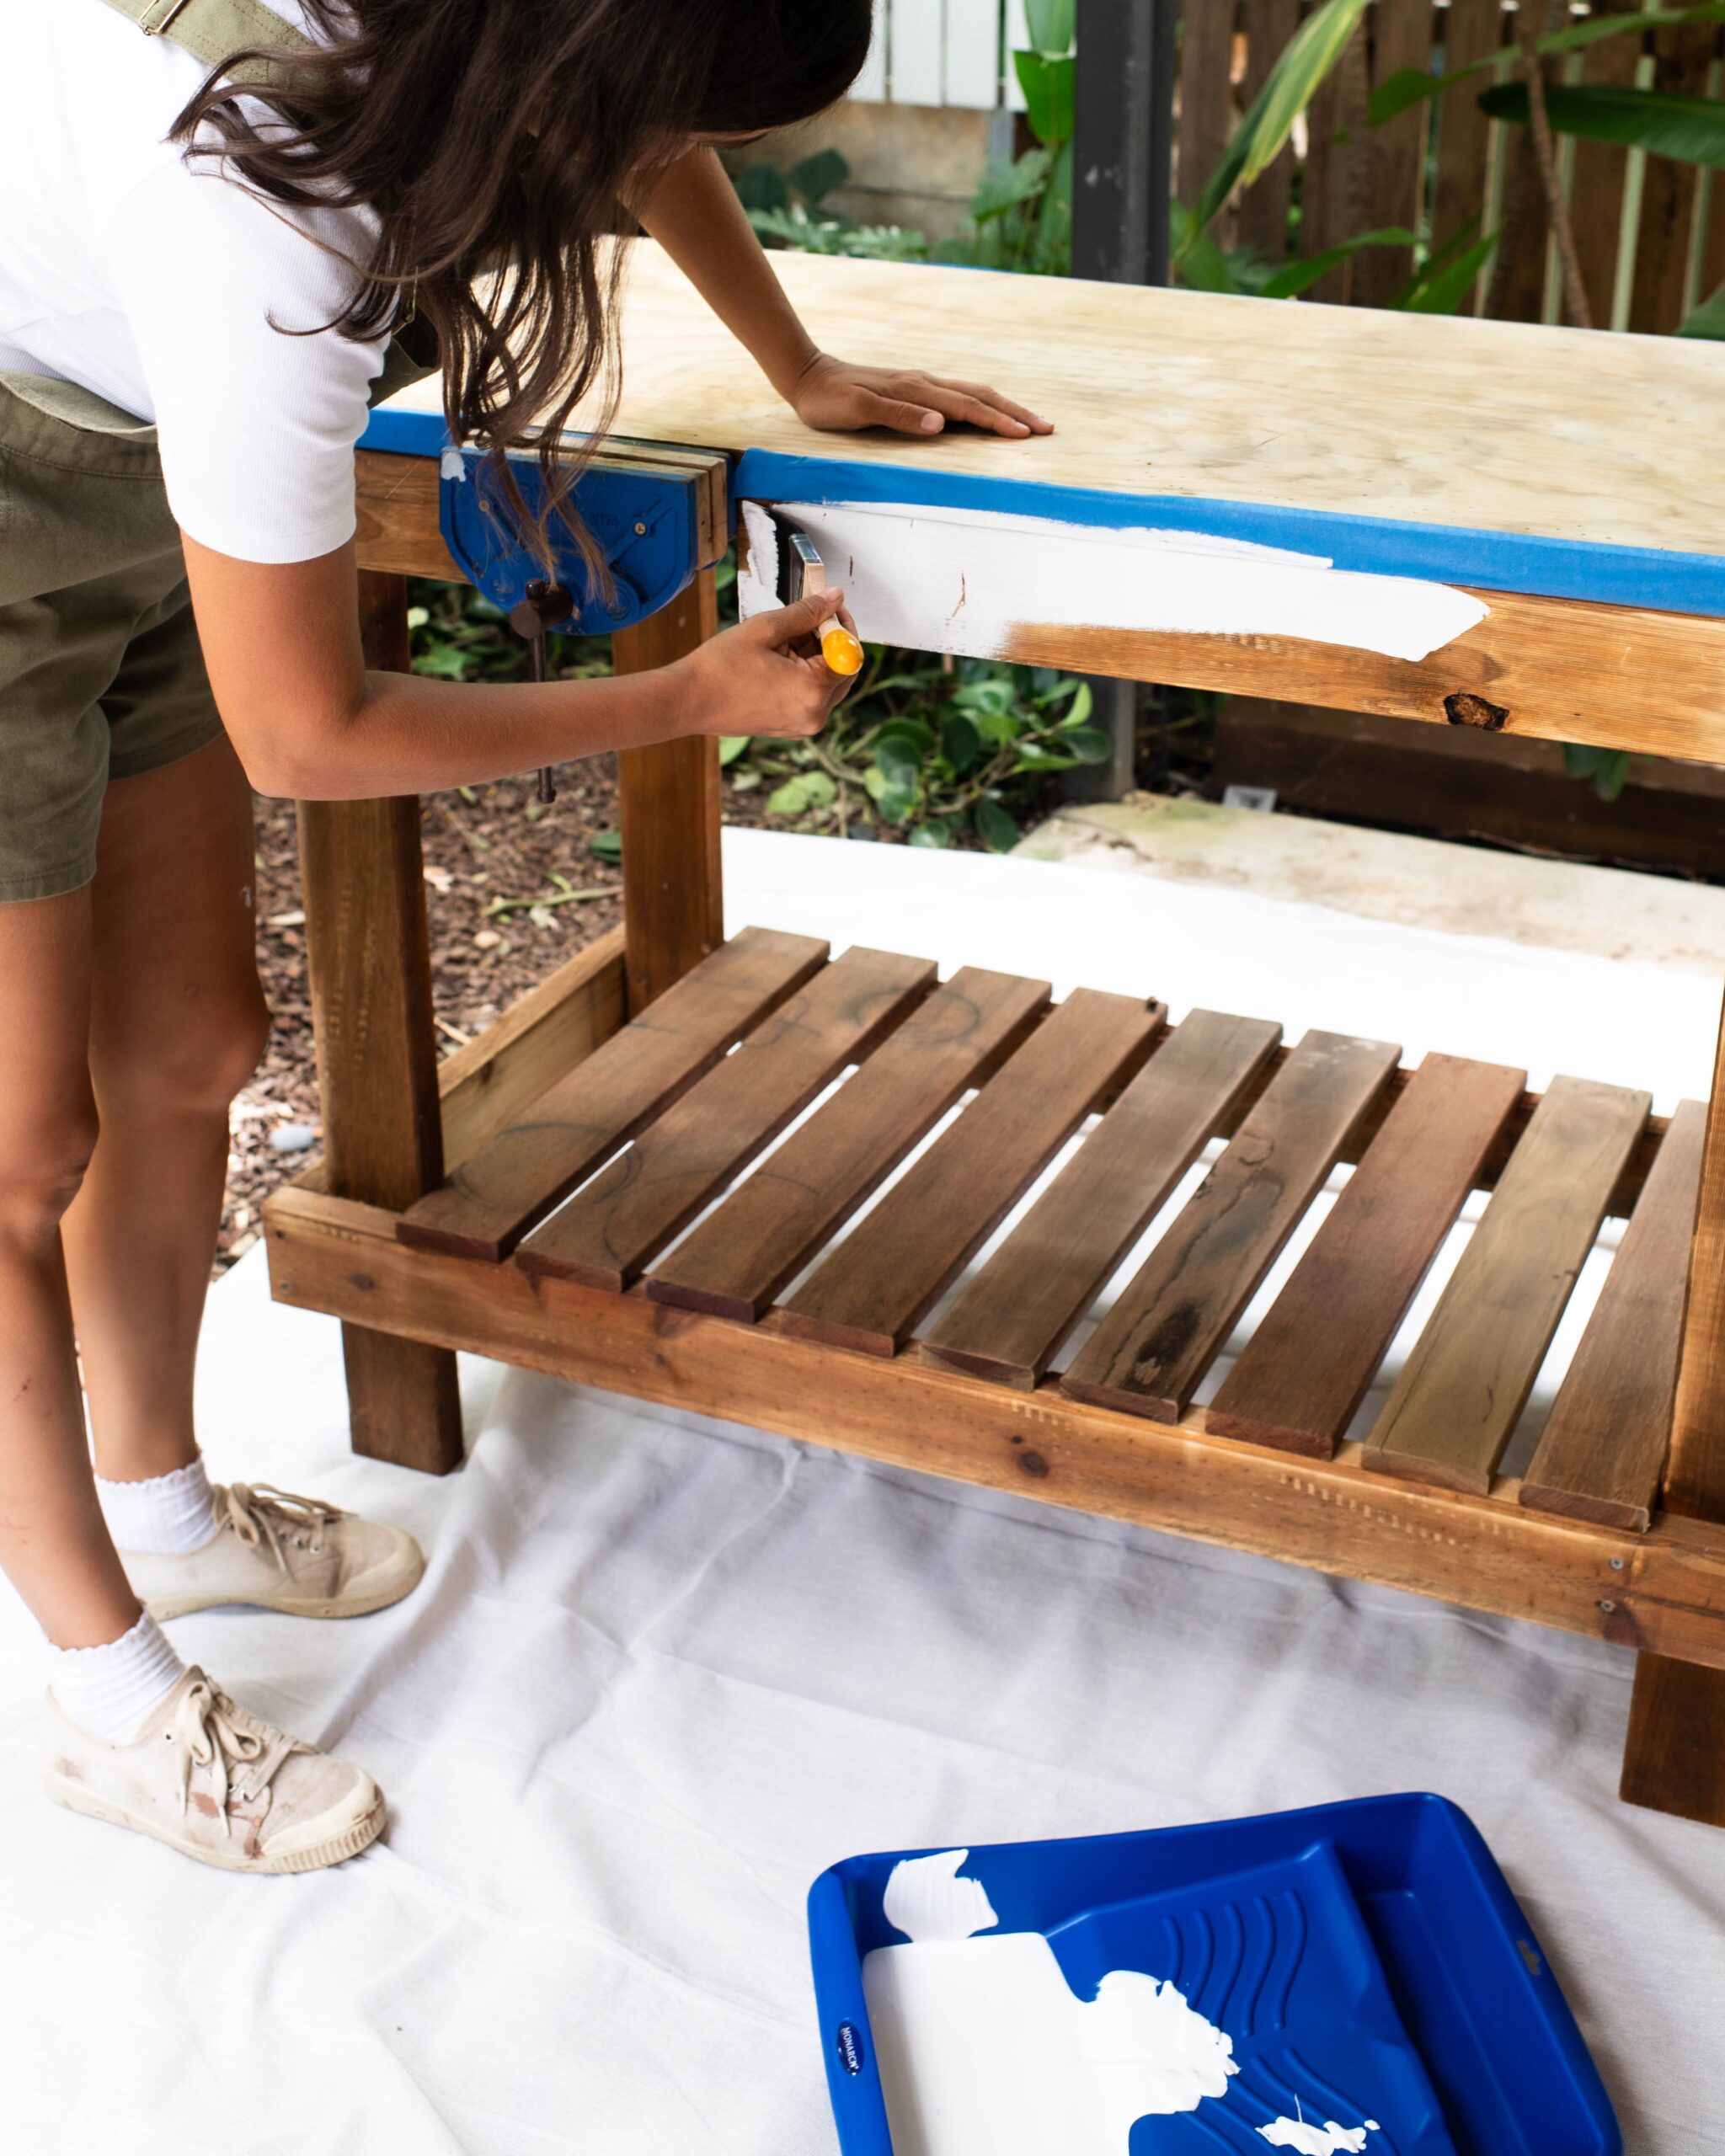
Geneva’s existing workbench was looking a bit worse for wear, so she sanded it right back to make it smooth and applied a white undercoat to it.
Step 3
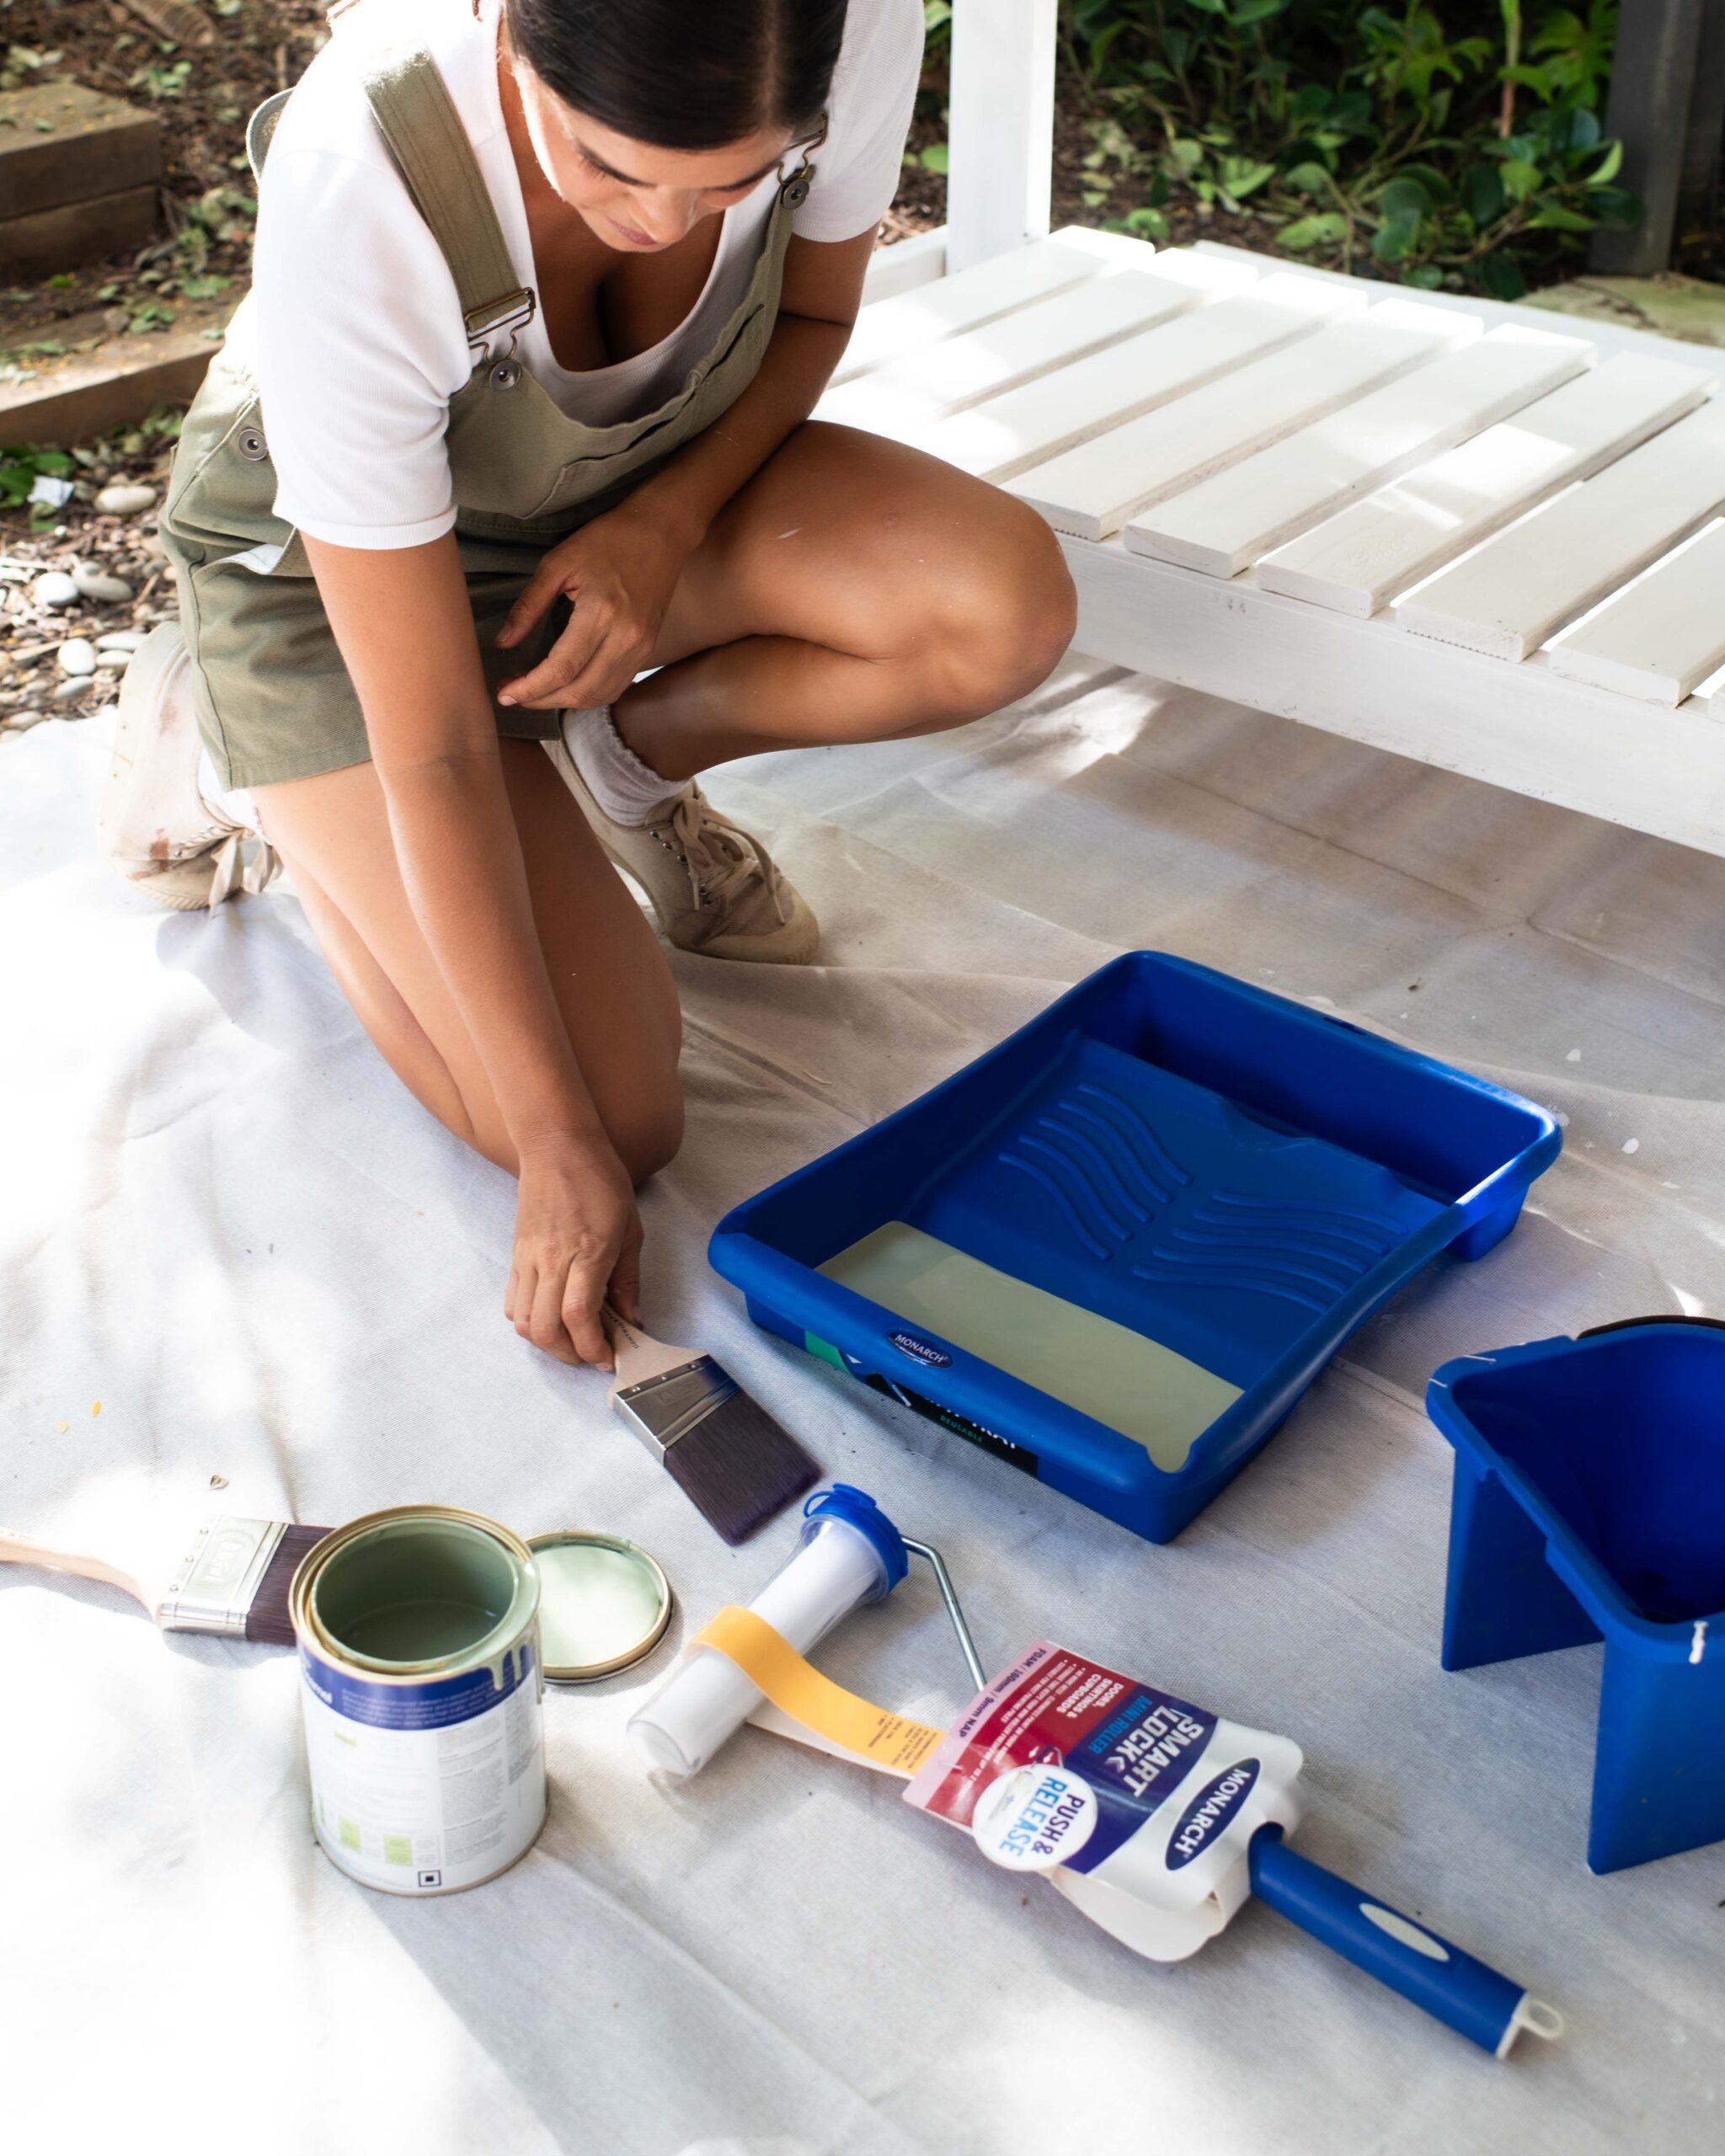
Using the same colour green as the dollhouse workbench, Geneva poured the paint out into her tray. She applied paint to the sides with her brush and rolled out the longer slats with a Smartlock mini roller. Geneva stored her mini roller back into the handy canister after the first coat, as this keeps the paint fresh and prevents the roller from drying out.
Step 4
Due to the state of the original bench, Geneva used the same process as the first coat to paint an additional two coats of colour.
There you have it! An easy, simple DIY project which can be completed in a couple of hours.
For advice on how to select the perfect paint accessory for your next project, take a look at our Painting Tool Kit and discover a bunch of painting tips, tricks and inspiration by following us on Instagram and Facebook.