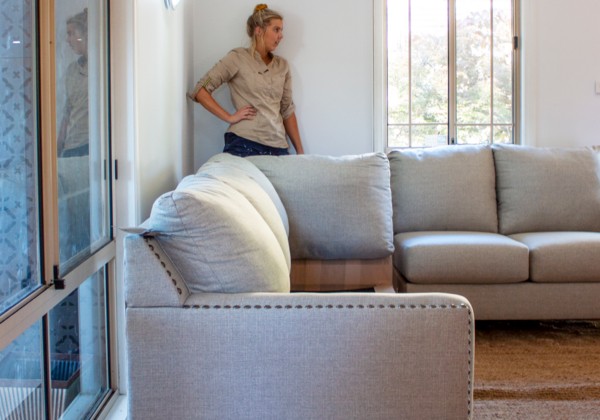
The living room we’re refreshing is in serious need of a redesign. The layout of the space doesn’t work and it’s awkward to use and relax in.
Today in House of Monarch we refresh and redesign a living room into a space that the whole family can enjoy. We refresh the walls with a bright white, accent the stairwell with some black paint, change up the furniture layout and add some cosy styling…
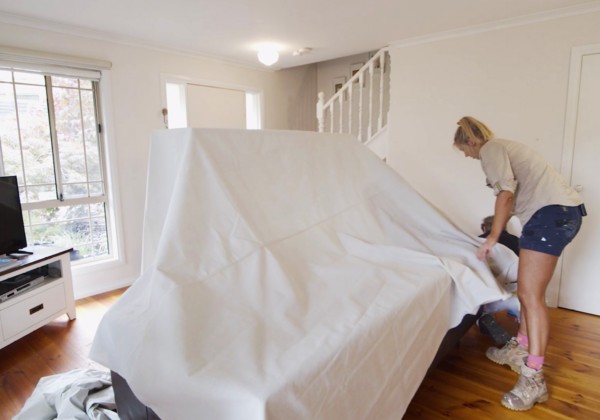
The first step of any painting project is to prep your room and your walls. Start by moving your furniture and other items away from the walls and cover them with a Monarch Leak-Proof Canvas dropsheet to protect them from paint splatters. Protect your floors with more dropsheets and make sure your walls are clean and free from dust, grime and spiderwebs.
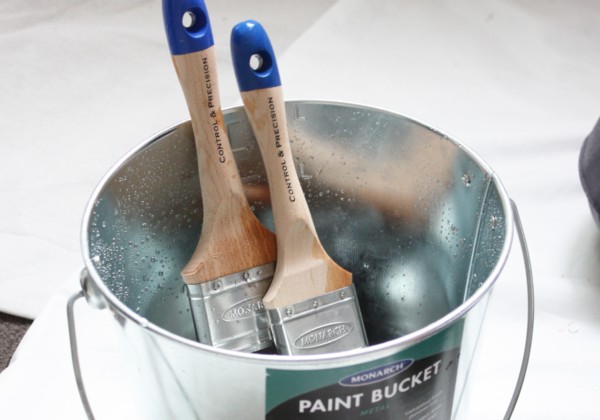
It’s important to prepare your brushes and rollers before you start painting for the best results.
To prepare your brushes, soak them in an inch of water for 15mins. Remove the water from your brush by spinning it between your hands or shaking with large motions.
Prepare your roller covers by washing under running water for a few minutes. To remove the water from the roller cover, attach it to your roller frame then spin the roller cover off a wall. Wipe the wall dry and you’re ready to go.
Pro Tip… Moistening your painting tools in water before painting will help them absorb paint evenly to then release it in a smooth and consistent stream, giving you the best finish.
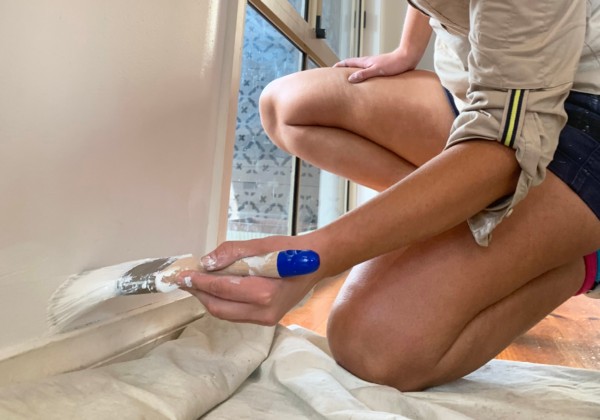
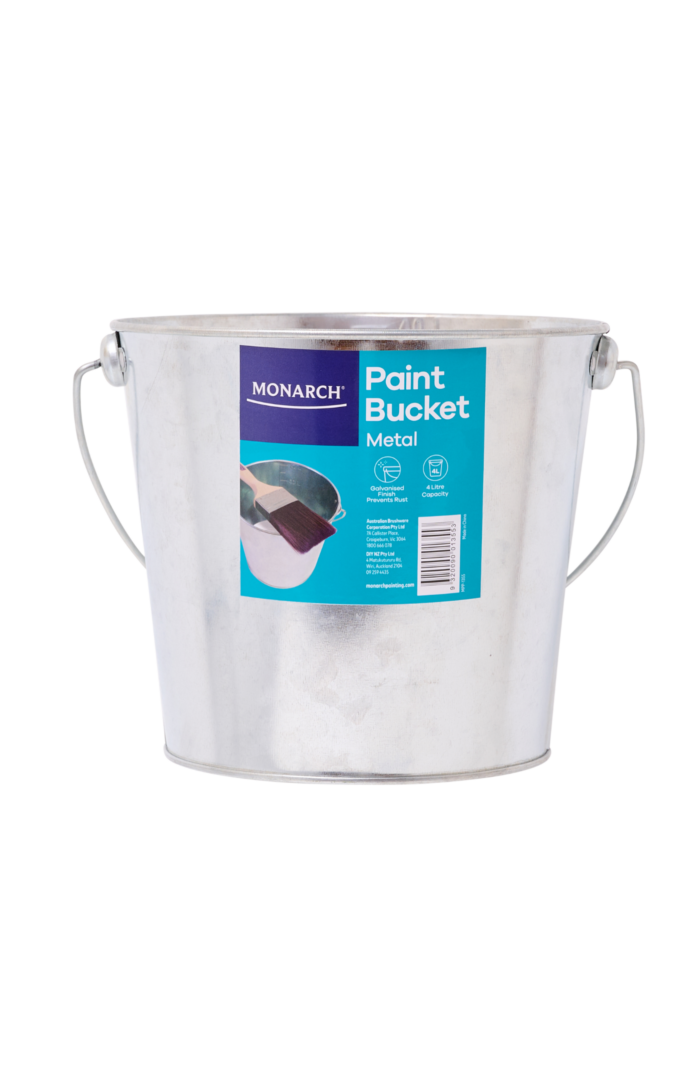
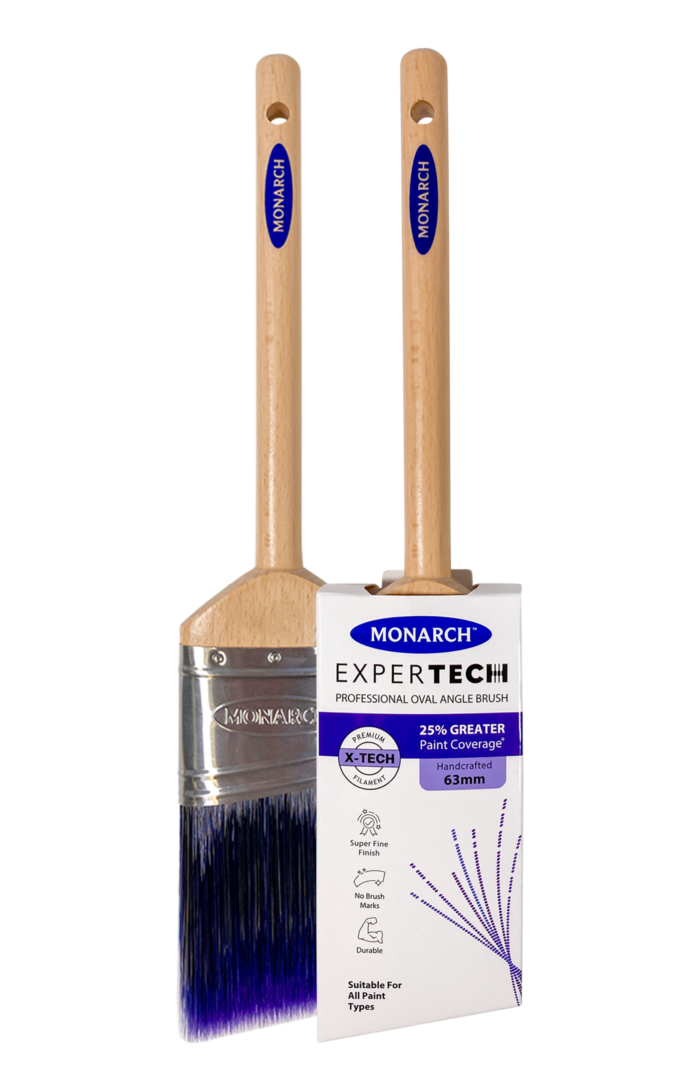
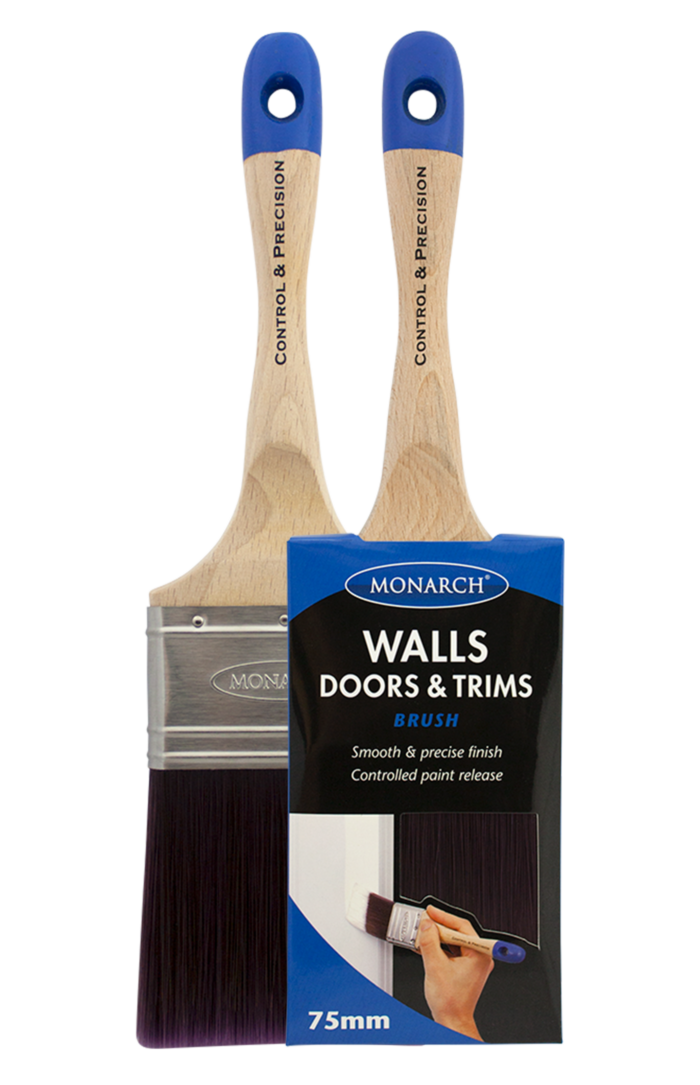
Once your paint has been stirred according to the can’s directions, it’s time to cut in walls. Use a 63mm Walls, Doors & Trims brush to cut in the room, starting from the top. For higher areas you’ll need a step ladder, and it’s recommended to have your paint in a paint bucket to make it easier to reload your brush without getting down from the ladder. Make sure you cut in around features and fittings that would be hard to get a roller into; like around doors, windows and light switches.
Pro Tip… Cut in like a professional! Apply your first line of paint a few cm away from the edge, then use your second stroke to smooth the paint up to the line. This method gives you great control of the paint and makes it easier to get a perfectly straight line without using tape.
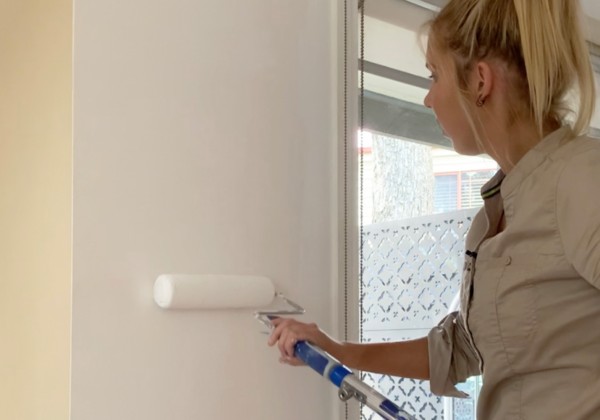
You’ll want to roll the walls while the cutting in paint is still wet. Use a quality ultra-microfibre roller cover like our Monarch 230mm Walls & Ceilings roller cover to get a premium quality finish.
Attach your roller frame to an extension pole to be able to reach the entire height of the wall without using a ladder. Pour a few centimetres of paint into your paint tray and load your roller cover, being careful not to dip the roller too deep and getting paint over the end cap. Apply paint to the walls in smooth strokes from the very top, all the way to the bottom.
Apply a second coat of paint to your walls once the first coat is dry (refer to your paint can for recoat times).
Pro Tip… A loaded quality roller gives you fantastic coverage with two roller widths before needing to be reloaded. This is a more reliable method than trying to spread the paint as far as it will go and getting a patchy finish.
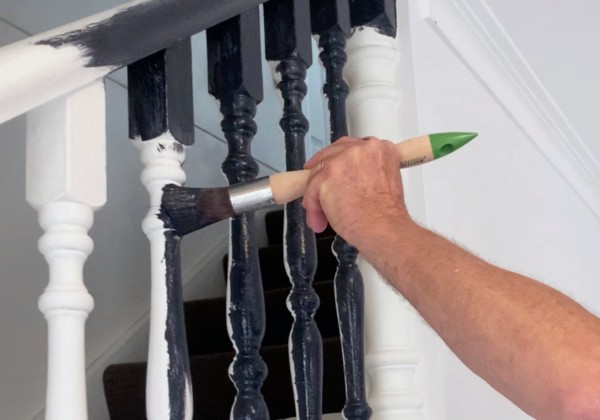
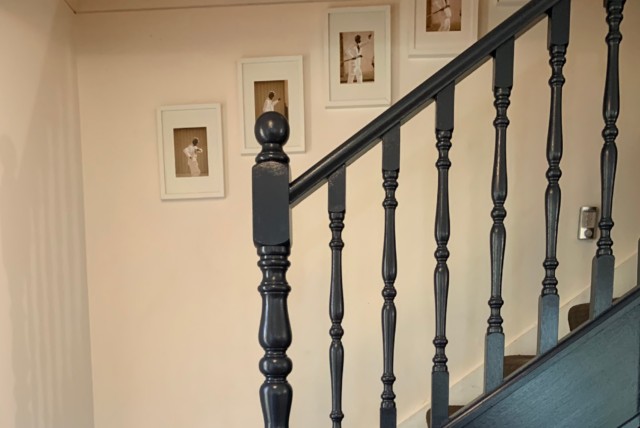
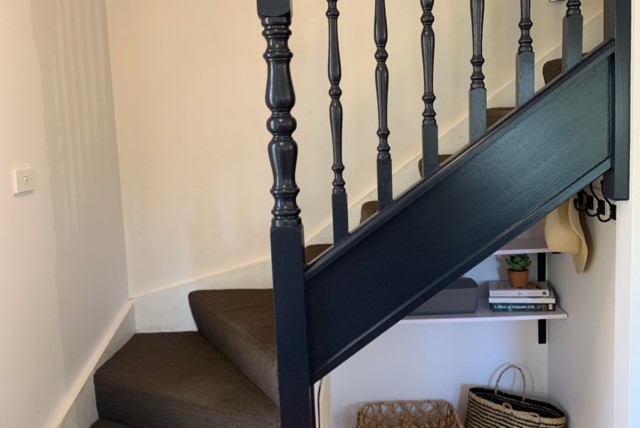
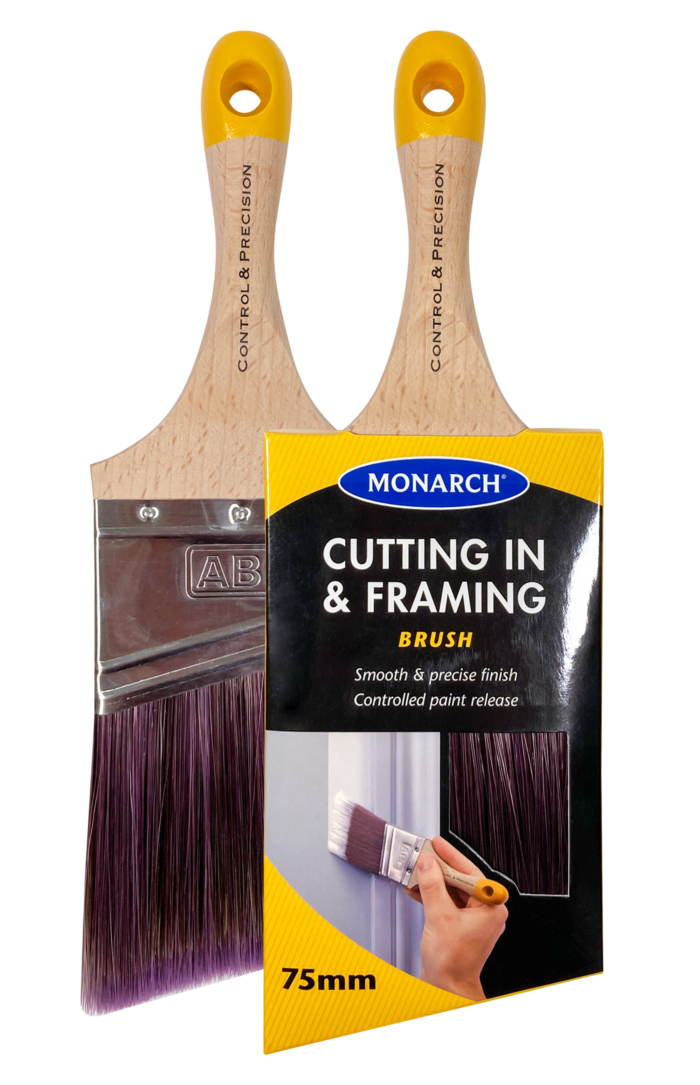
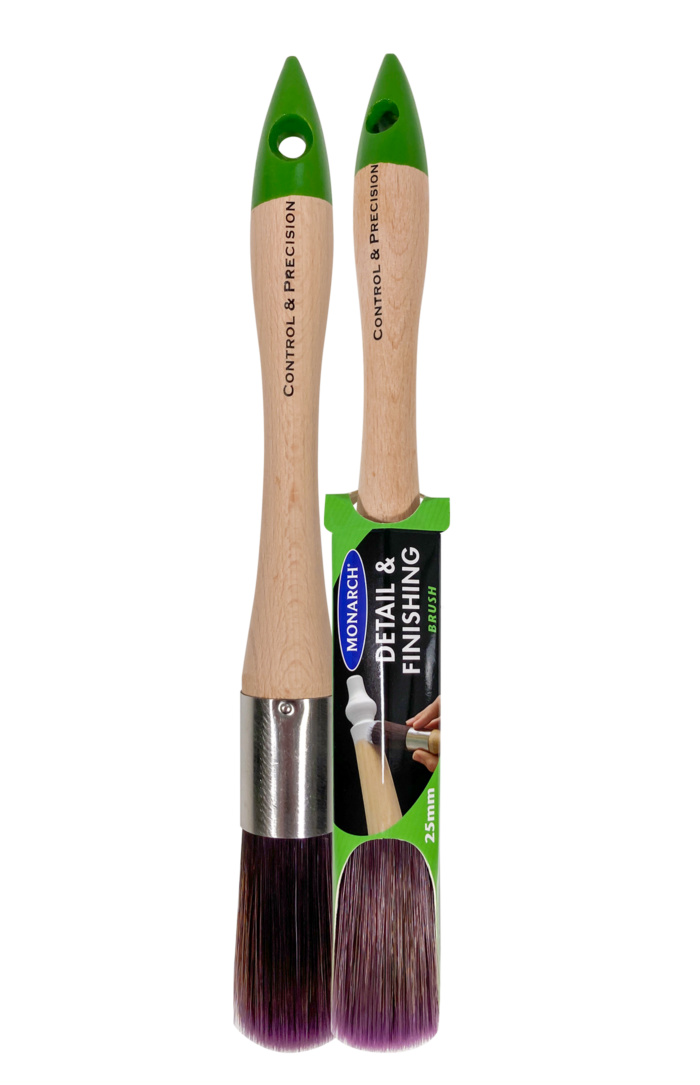
Painting a balustrade might look intimidating but it’s a breeze when you have the right painting tools. For the square sections of the balustrade, use the Monarch Architrave & Skirting brush, which is small enough to get into tight areas and has bristles that match the angle of the surface. Then for the rounded shapes, use the Monarch Detail & Finishing brush to get perfect precision around the curves.
Pro Tip… If you’re painting a dark colour over a lighter one, don’t worry about getting patchy coverage on your first coat, it’s more important that the paint application is smooth.
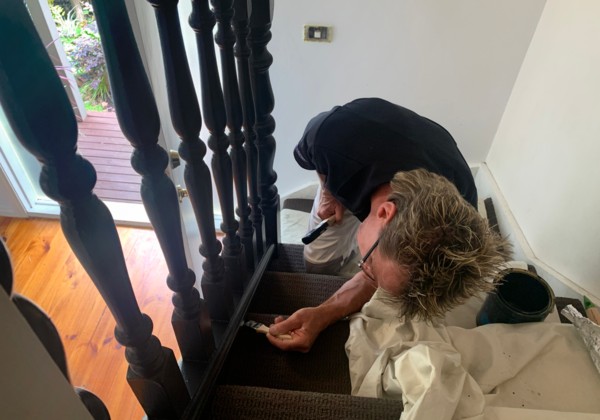
If you’re using a dark colour over a lighter one you’ll need more than one coat of paint. Apply your next coat with the same two Monarch brushes, ensuring you leave adequate drying time between coats (refer to your paint can for recoat times).
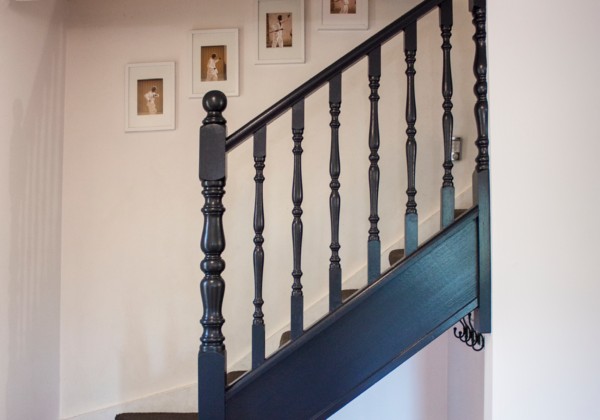
With the walls and the balustrade painted you’re done with the painting. Pour any left-over paint back into the tin, wash out your brushes, rollers and trays and store them for next time. If you’ve used any painters’ tape make sure you remove it while the paint is still wet to get crisp edges.
Pro Tip… Worried about dried paint or pet hair contaminating your paint? Strain your paint through a cheesecloth or panty hose when you pour the leftovers back into the tin.
Once your paint has been stirred according to the can’s directions, it’s time to cut in walls. Use a 63mm Walls, Doors & Trims brush to cut in the room, starting from the top. For higher areas you’ll need a step ladder, and it’s recommended to have your paint in a paint bucket to make it easier to reload your brush without getting down from the ladder. Make sure you cut in around features and fittings that would be hard to get a roller into; like around doors, windows and light switches.
Pro Tip… Cut in like a professional! Apply your first line of paint a few cm away from the edge, then use your second stroke to smooth the paint up to the line. This method gives you great control of the paint and makes it easier to get a perfectly straight line without using tape.
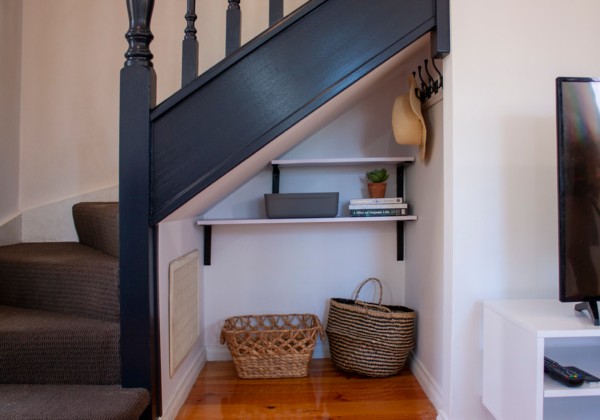
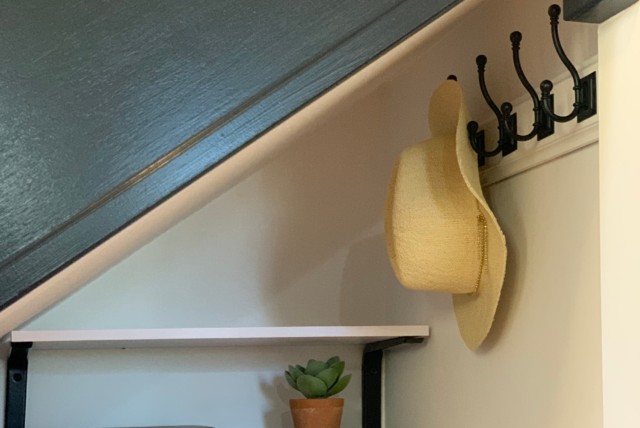
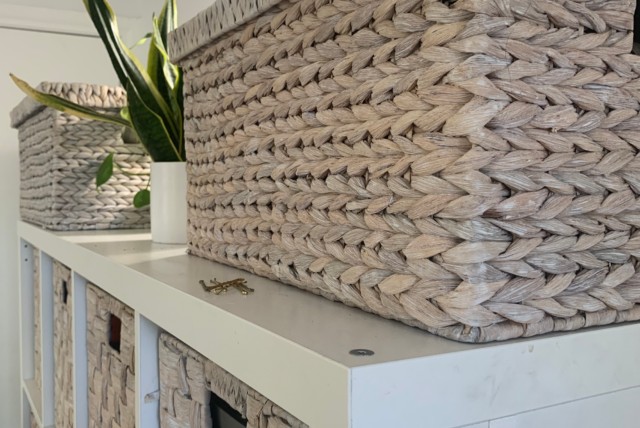
Space under the stairs is the perfect spot for a bit of storage, especially for shoes, school bags and seldom-used items. Add a couple of shelves, some wall hooks for bags and some Inabox Storage Containers too make the most of these tight corners.
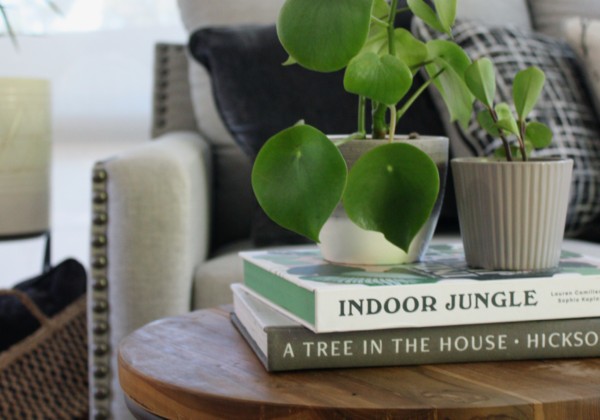
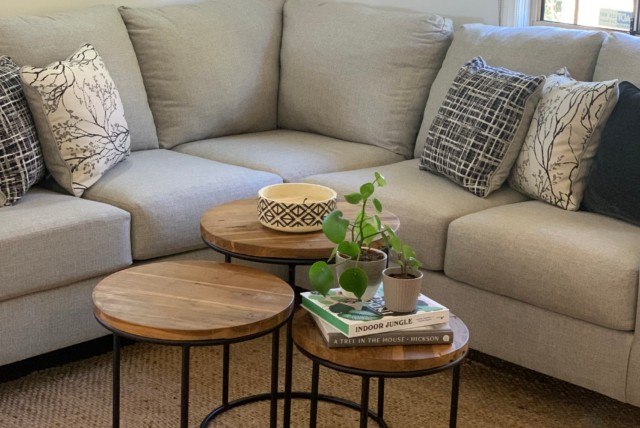
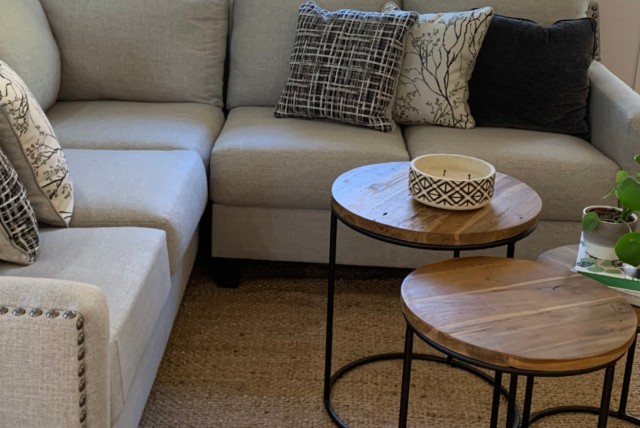
The theme for our living room was a cosy, inviting space that the whole family can spend time in. We used a lot of earthy tones, with a lot of throws and accent pillows to tie into the colour scheme of the wall and balustrade paint. If you need any tips, check out our Living Room Design Ideas to get some inspiration.