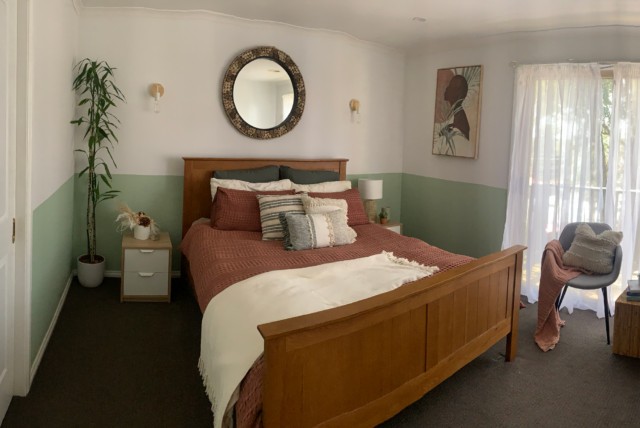
One of the easiest ways to give a room new life is to update the wall colour with some on-trend and fresh paint colours. Today in House of Monarch, learn how you can update a master bedroom into a calming, tranquil space with plenty of helpful tips and expert advice to get this project done in a weekend.
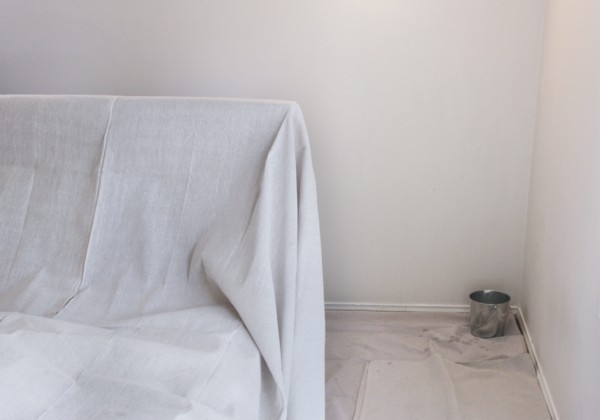
The first step of any painting project is to prep your room and your walls. Start by moving your furniture and other items away from the walls and cover them with a Monarch LeakProof Canvas dropsheet to protect them from paint splatters. Protect your floors with more dropsheets and make sure your walls are clean and free from dust, grime and spider webs.
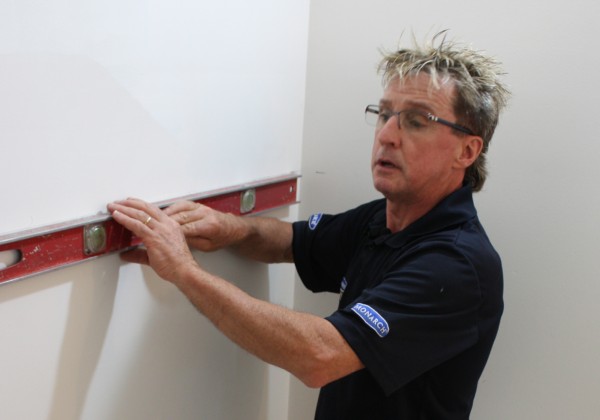
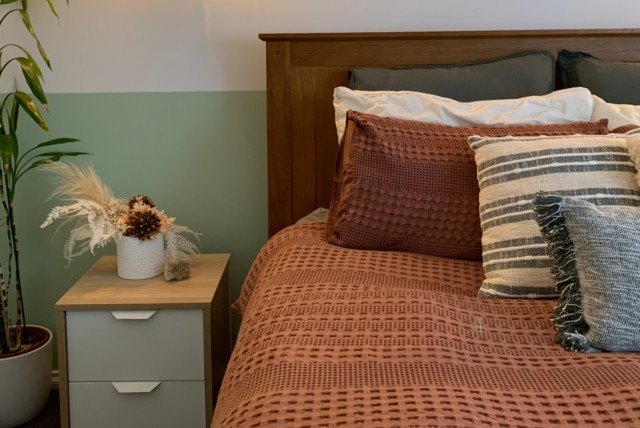
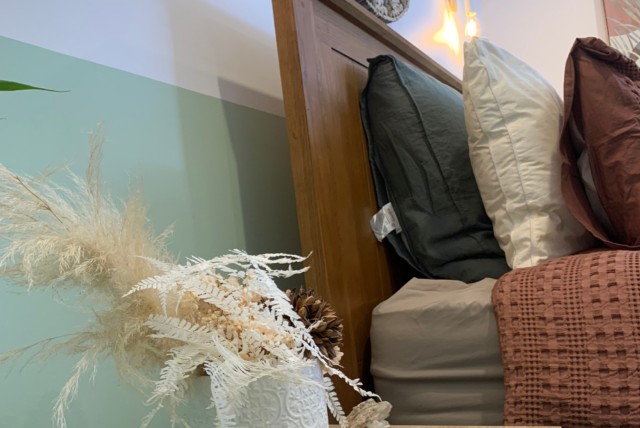
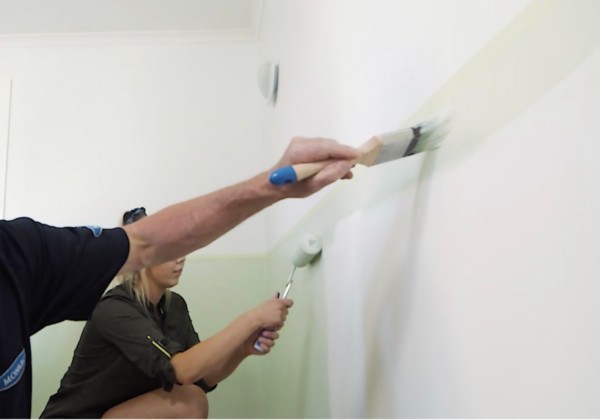
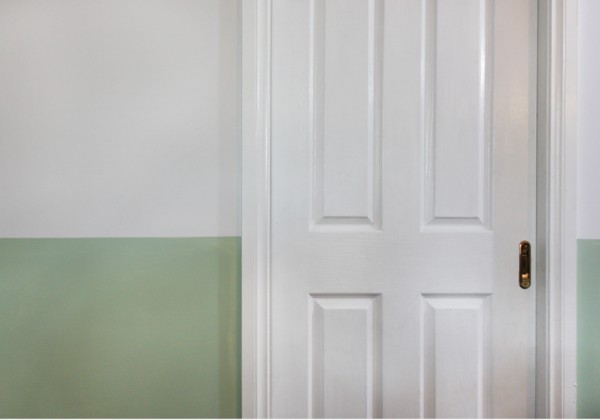
The painting effect we’ll be doing today is a split wall in a bright white and pale green. Use a tape measure and pencil to mark the height of the colour split and use a level to continue the line around the whole room. If you don’t have a large level; use the tape measure to mark the correct height at intervals and draw lines between them with a large ruler or another straight edge. Just be sure to check that your lines are straight; you don’t want wonky paint lines!
Pro Tip… Use a pencil line instead of painters tape on the walls for the first colour as we will be rolling past the line to ensure a crisp transition between colours.
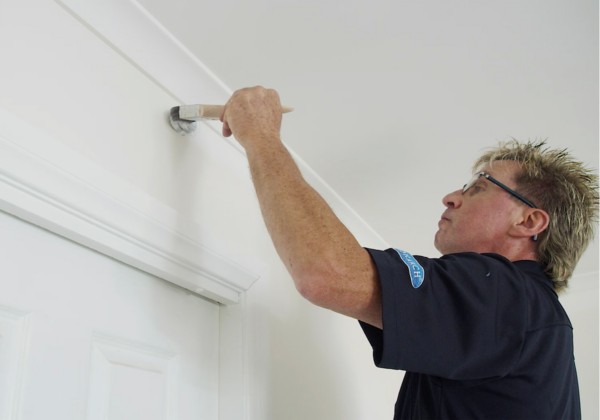
Once your paint has been stirred according to the can’s directions, it’s time to cut in around the walls. Start cutting in from the top of the room so that any paint drips can be fixed up when you cut in at the bottom. Use a Monarch Cutting In & Framing brush to get a crisp line against the ceiling without using painters tape. Cut in the top half of the room, including around doors, windows and any fixtures.
Pro Tip… Cut in like a professional! Apply your first line of paint a few cm away from the edge, then use your second stroke to smooth the paint up to the line. This method gives you great control of the paint and makes it easier to get a perfectly straight line without using tape.
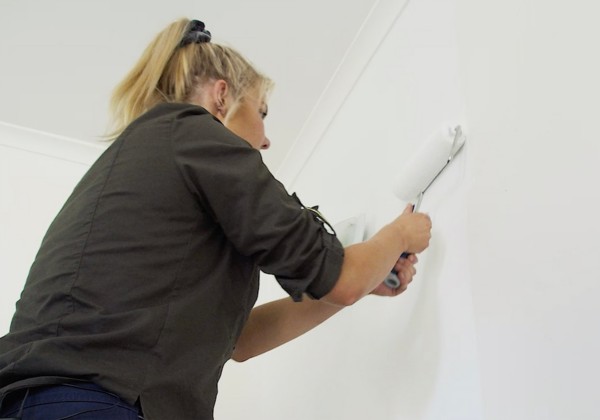
While the cutting in paint is still wet, start rolling the walls. Load your Monarch 230mm Walls & Ceilings roller cover with paint and apply paint in smooth strokes up and down the wall. Roll down to and just past the pencil line to ensure a smooth transition to the second colour. Depending on the previous wall colour you may need more than one coat of paint. Refer to your paint can for the ideal re-coat time.
Pro Tip… A loaded quality roller gives you fantastic coverage with two roller widths before needing to be reloaded. This is a more reliable method than trying to spread the paint as far as it will go and getting a patchy finish.

Once the top paint colour is dry it’s time to prepare the lower wall for the second colour. Apply Safe-Release painters’ tape in a straight line above the pencil line around the whole room.
Pro Tip… It’s important to use high-quality tape as the freshly applied paint can be easily damaged and you’ll want a perfectly crisp edge once the painting is done.
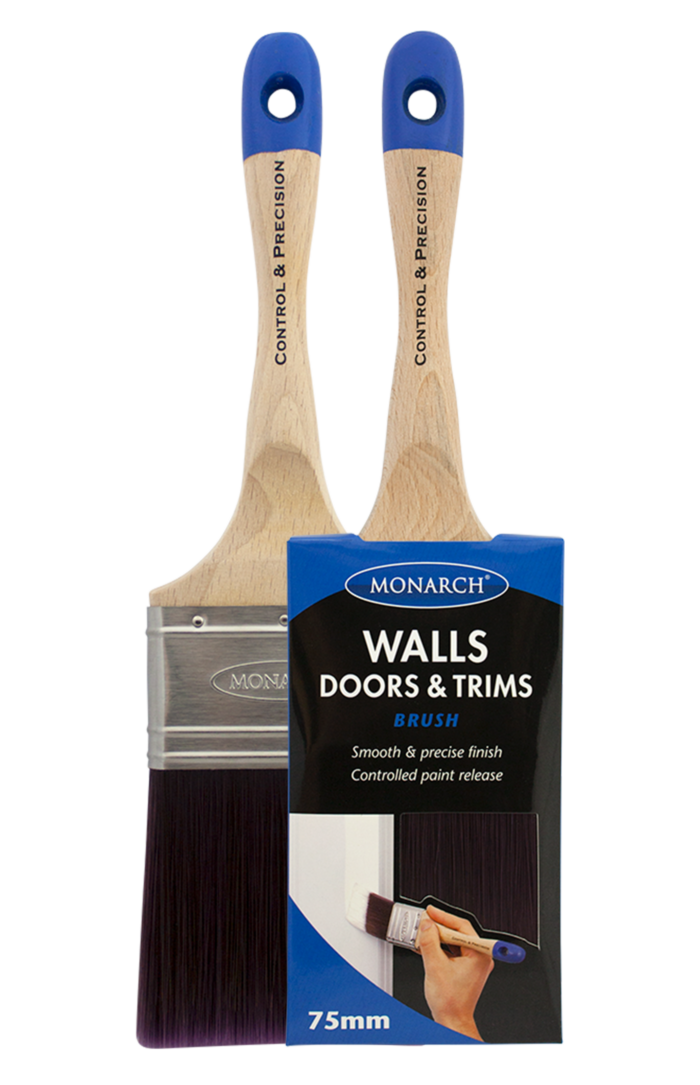
Cut in the lower half of the room using a Monarch Walls, Doors & Trim brush, including the skirting boards, around doors, windows, power points and other fixtures, as well as along the centre painter tape.
Roll the lower walls using the same up/down technique as before.
Pro Tip… It’s important to cut in against the painter’s tape using a quality brush to ensure no paint bleeds under the edge of the tape.
Now that the painting is done, pour any left-over paint back into the tin, wash out your brushes, rollers and trays and store for next time. Make sure you remove any painter’s tape from your walls before the paint dries for crisp edges.
Pro Tip… Worried about dried paint or pet hair contaminating your paint? Strain your paint through a cheesecloth or pantyhose when you pour the leftovers back into the tin.
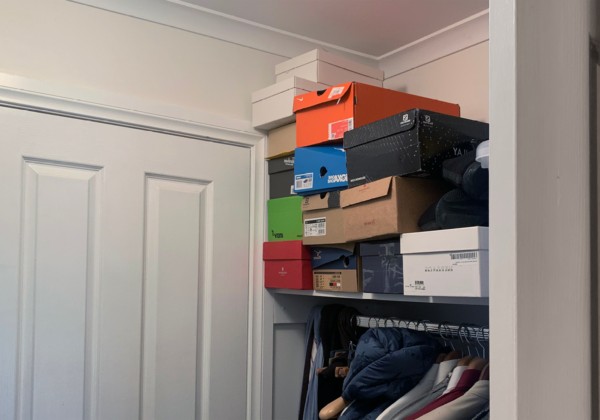
As much as it hurts, the best way to begin any declutter project is to start fresh in an empty space.
So, start by emptying all shelving, draws and hanging space in your wardrobe until you’re down to an empty room.
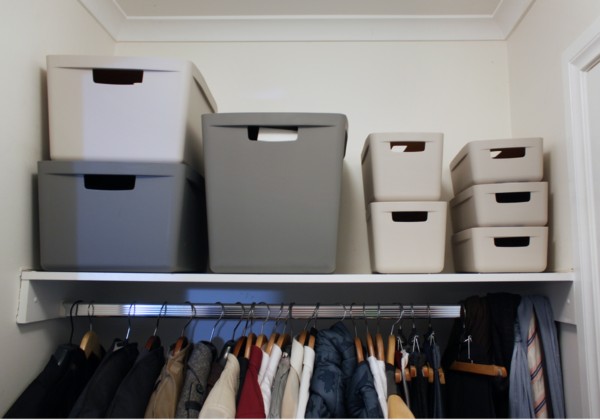
At this point it’s up to you how much downsizing of clothes and shoes you want to do, but once you’ve sorted your possessions, it’s time to think about putting them back into the wardrobe in an organised way. This is where a storage system is so important. We recommend using the Inabox storage boxes for organising everything from shoes to accessories to out-of-season clothes you want out of the way. They come in a series of different sizes and beautiful colours and the stackable design will keep everything nice and organised.
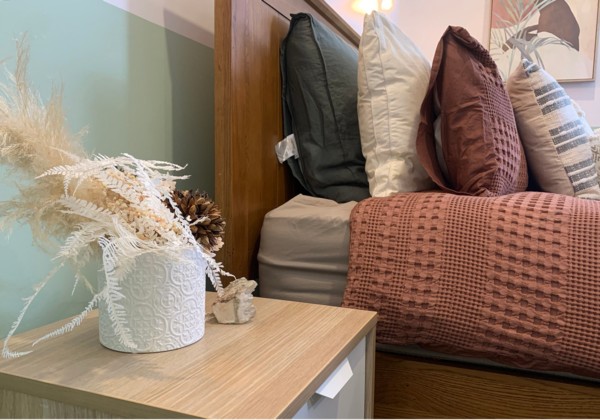
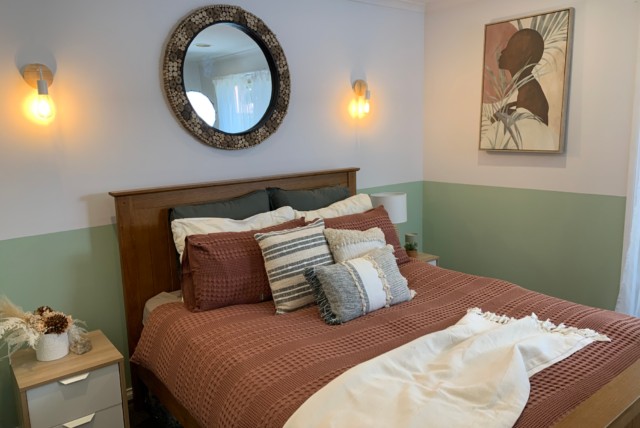
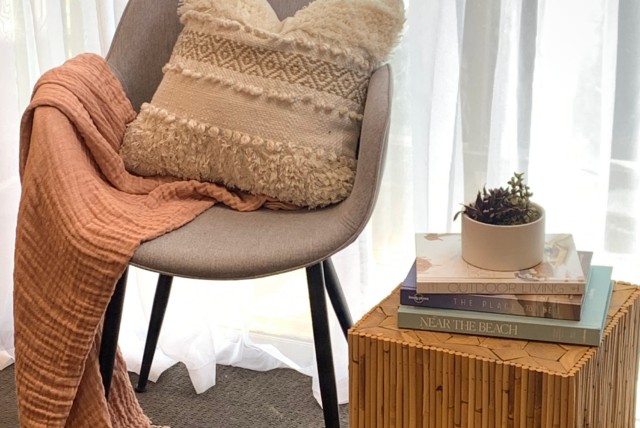
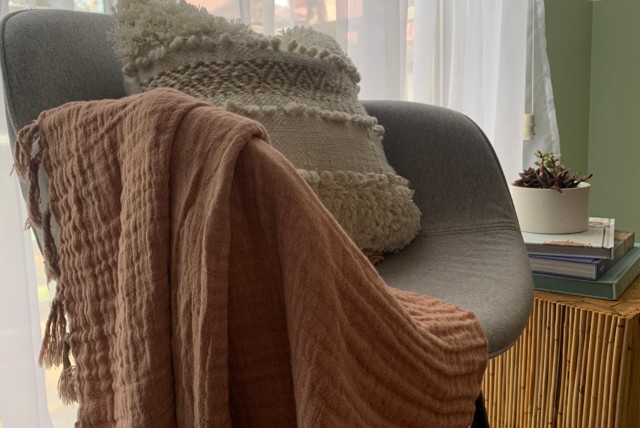
At this point in the project, you should have a good idea of what colours you’re planning to use to match your freshly painted walls. For our room, we went with natural, earthy tones to create a calming and inviting space.
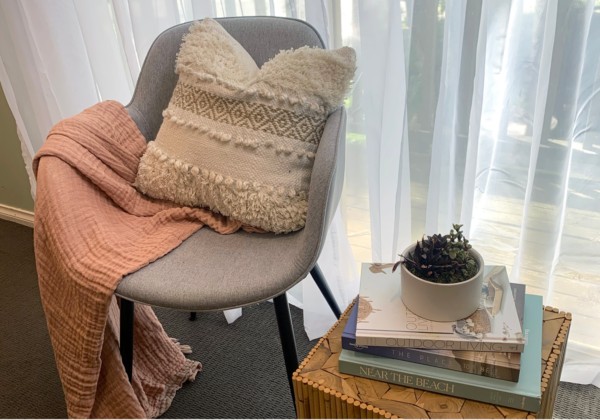
Tying a room together is all about accessorising. Think; mirrors, artwork, flowers, candles, personal objects and anything the evokes the mood you’re looking for.
If you’re unsure where to start, check out our Master Bedroom Design Ideas to get some inspiration.