With a lot of people transitioning to working from home, it’s more important than ever to have a well-designed workspace that you like to be in.
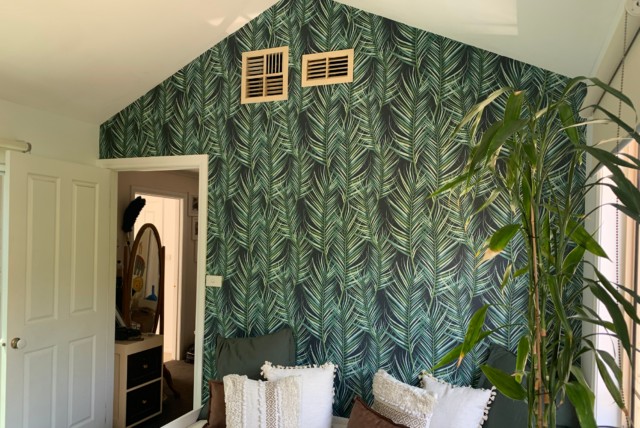
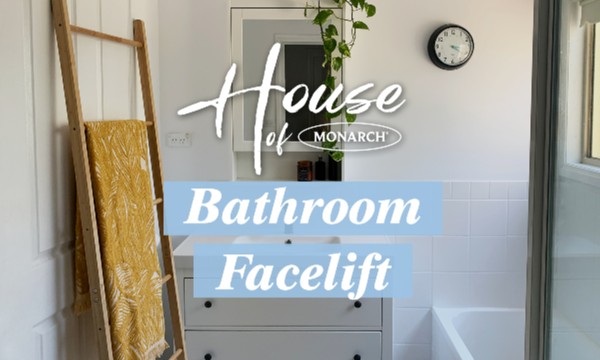
Today in House of Monarch, we transform a cluttered and outdated study into a stylish tropical paradise using some amazing wallpaper by Superfresco, a sturdy, timber benchtop from Kaboodle and some on-point styling.
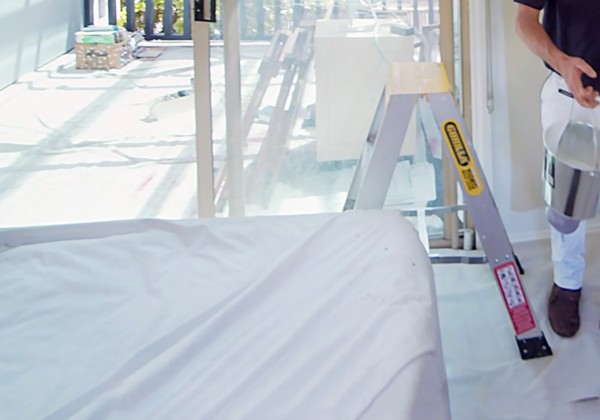
The first step of any painting project is to prep your room and your walls. Start by moving your furniture and other items away from the walls and cover them with a Monarch Leak-Proof Canvas dropsheet to protect them from paint splatters. Protect your floors with more dropsheets and make sure your walls are clean and free from dust, grime and spiderwebs.
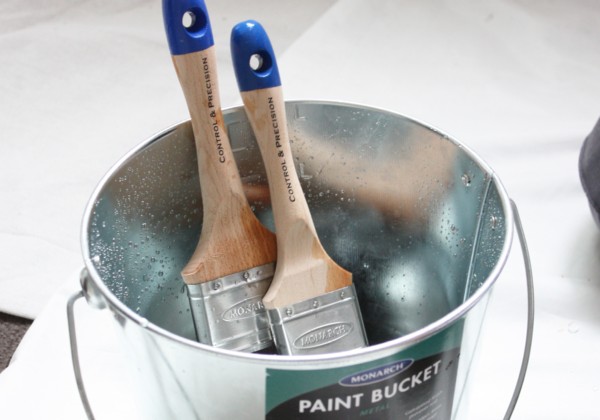
It’s important to prepare your brushes and rollers before you start painting for the best results.
To prepare your brushes, soak them in an inch of water for 15mins. Remove the water from your brush by spinning it between your hands or shaking with large motions.
Prepare your roller covers by washing under running water for a few minutes. To remove the water from the roller cover, attach it to your roller frame then spin the roller cover off a wall. Wipe the wall dry and you’re ready to go.
Pro Tip… Moistening your painting tools in water before painting will help them absorb paint evenly to then release it in a smooth and consistent stream, giving you the best finish.
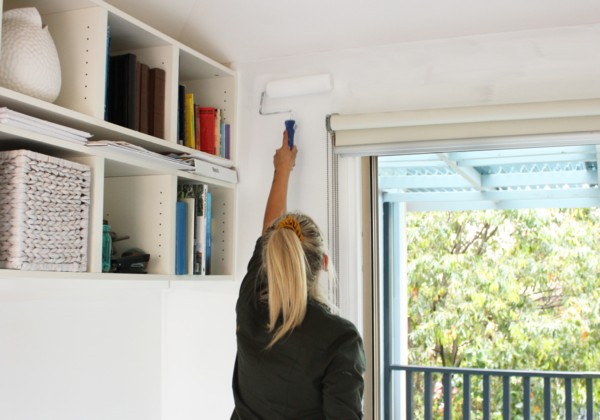
t’s time to start painting! Keep in mind we’re leaving one wall blank for the wallpaper.
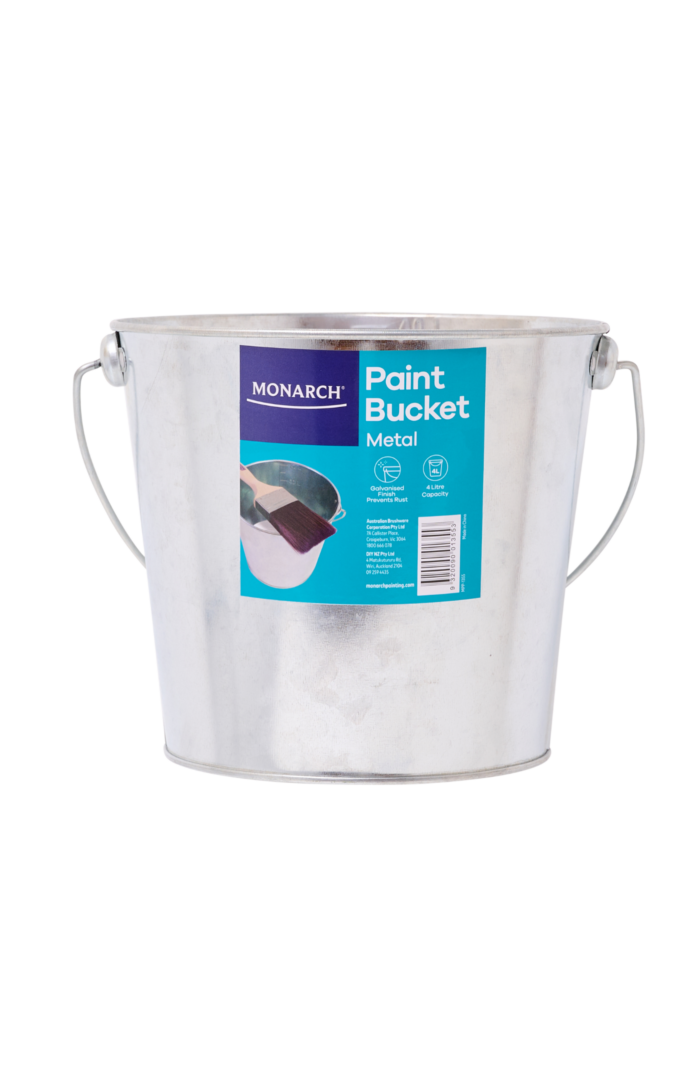
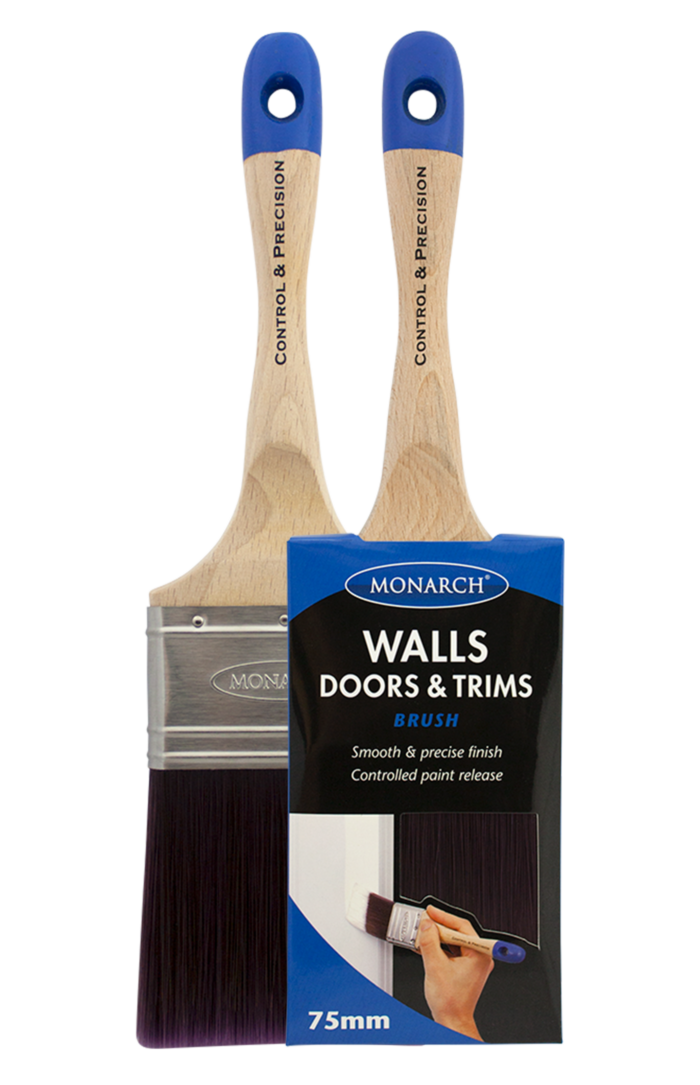
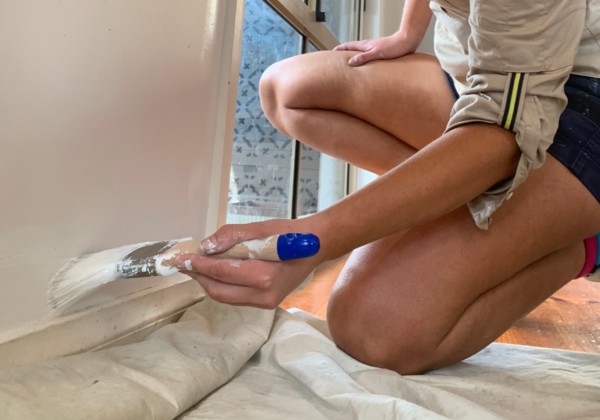
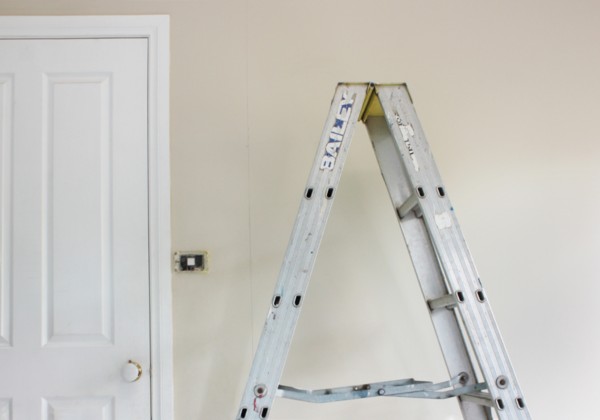
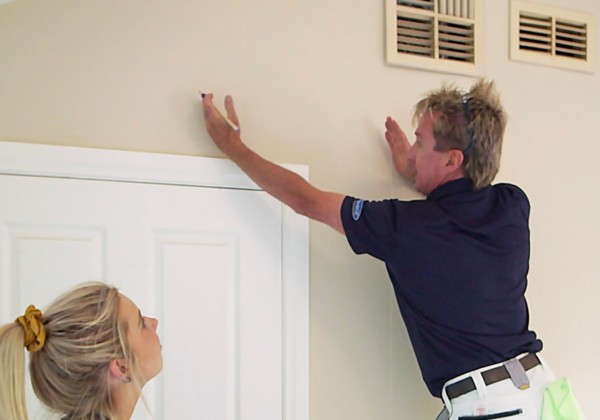
Use a 63mm Walls, Doors & Trims brush to cut in the room, starting from the top. To cut in along the top of the wall, use a step ladder and have your paint in a paint bucket to make it easier to reload your brush. Cut in around all the features and fittings including around doors, windows, light switches and power points.
Pro Tip… Cut in like a professional! Apply your first line of paint a few cm away from the edge using the thin side of the brush, use your second stroke to cut in the paint up to the edge, then smooth over with the wide side of the brush. This method gives you great control of the paint and makes it easier to get a perfectly straight line.
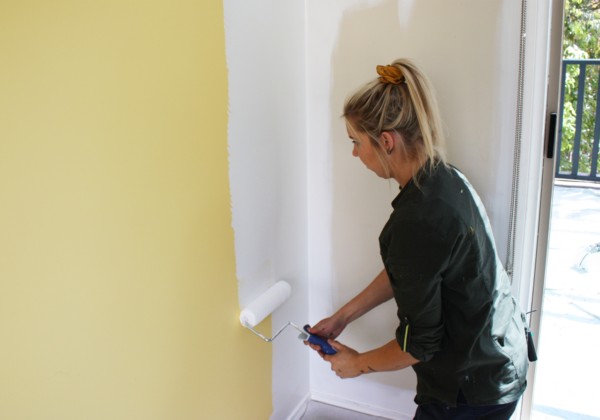
You’ll want to roll the walls while the cutting in paint is still wet.
Attach your Monarch 230mm Walls & Ceilings roller cover to your frame and pour a few centimetres of paint into your paint tray. Load your roller cover with paint, being careful not to dip the roller too deep which will get paint over the end cap. To reach the top of the wall, either use a step ladder, or attach the roller frame to an extension pole. Apply paint to the walls in smooth, straight strokes starting in the middle of the wall, then roll straight up to the top and then down to the bottom.
Pro Tip… A loaded quality roller gives you fantastic coverage with two roller widths from floor to ceiling before needing to be reloaded. This is a more reliable method than trying to spread the paint as far as it will go and getting a patchy finish.
Depending on your previous wall colour you’ll probably need to apply a second coat to your walls. Following the same steps as before, cut in your three walls and then roll with your roller cover. Refer to your paint can for the recommended recoat times.
Pro Tip… Keep your paint fresh between coats; load your brush and roller with paint then wrap in aluminium foil. Cover your paint tray with foil as well. Simply remove the foil when you’re ready to start painting again.
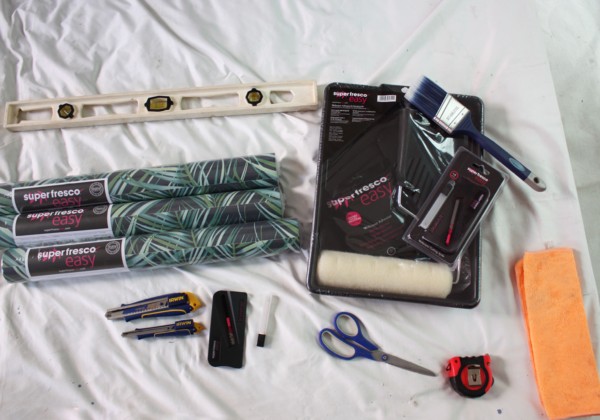
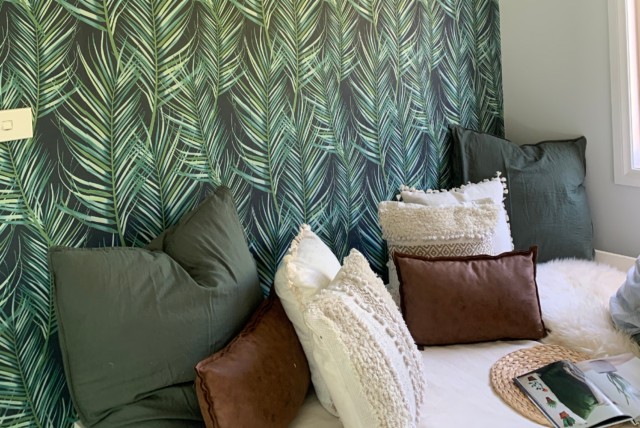
For our wallpaper feature wall, we used the wonderful Superfresco Easy range available at Bunnings. With Superfresco wallpaper, the paste is applied to wall instead of the paper so there’s no mucking around with armloads of wet paper. They also have a large range of helpful tools, including the complete Wallpaper Paste and Hanging Kit that has everything you’ll need to hang 8 rolls.
Pro Tip… Make sure you’ve measured the size of your wall before you go shopping so you’ll know how many rolls of wallpaper to buy.
Before wallpapering you need to prepare your wall to give your wallpaper a clean surface to stick to. Make sure your walls are clean, dry and free from dust and grime.
Remove any light switch and power point covers and loosen any wall vents; we will be applying the wallpaper behind them.
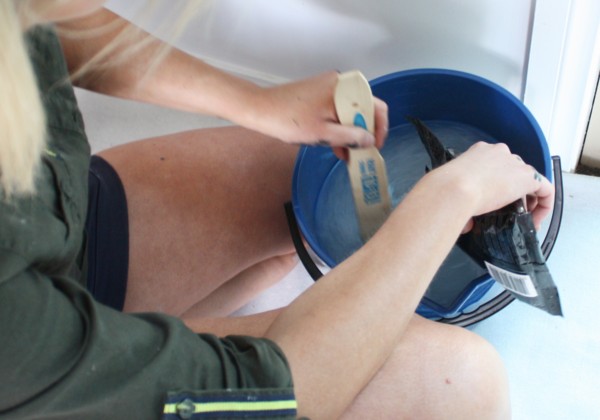
Whether you bought your wallpaper paste as part of a kit or separately, the first step is to mix your paste. You’ll need a large bucket and a flat stick to stir it with and then follow the instructions on the back of the packet.
A plumb bob is a small weight on a string that is used to get a perfectly straight starting point when hanging wallpaper. You’ll want to hang your plumb bob high up on the wall so that it can hang freely above the ground. Attach your plumb bob to the wall with blue tac, a thumb tack (if your walls are plasterboard) or hook it over a wall vent like we did. Once the plumb bob is still, mark the straight guideline on the wall with a pencil.
Pro Tip… Don’t start your wallpaper at the edge of a doorframe. Instead, start your wallpaper so that it crosses over the doorway (or window) to make the join between sheets less obvious.
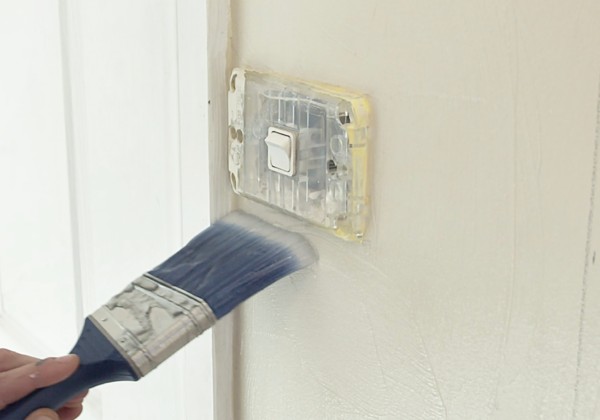
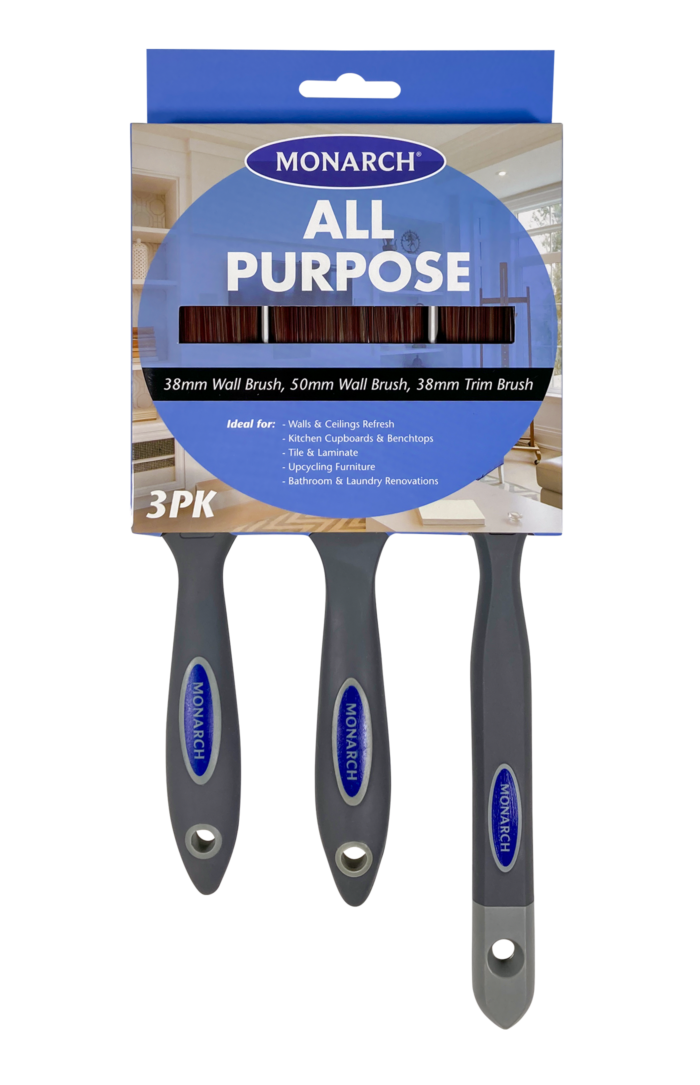
Apply your wallpaper paste to the wall to the area you’ll be hanging your first sheet. Use a Monarch All Purpose brush to cut in as you would if it was paint, then use a roller to apply one wallpaper rolls’ width of paste to the wall.
Be generous with your paste application so that it won’t dry out too quickly while you’re applying your paper, and will adhere firmly once it’s dry.
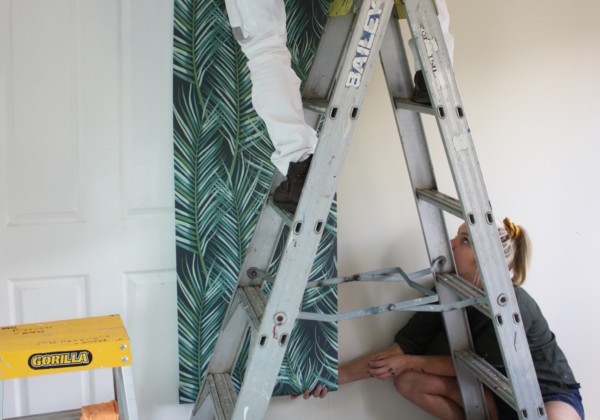
Apply your first sheet of wallpaper to the pasted wall area, aligning it with your guideline on one side, and leaving enough excess paper at the top to be able to trim to the roof line. It would be helpful to have a second person for this part; with one person at the top of the ladder positioning the top of the paper, and the second person below, guiding the roll to the floor with some excess for trimming while keeping it straight.
Once the paper is loosely applied to the wall, use the wallpaper smoother to press the paper from the middle to the edges in long strokes. This technique will remove air bubbles and help you align the paper to the guideline.

Once the first piece of wallpaper is applied to your satisfaction it’s time to trim the excess at the top of the paper.
Smooth the wallpaper up to the roof then cut along the edge with a sharp blade. It can be dangerous to have both hands full while up a ladder, so we recommend getting the Superfresco Easy Trimmer. This little tool is a wallpaper smoother with a built-in cutting blade so you can smooth and trim with one hand and steady yourself with the other.

You should have already removed the switch and power point covers which will give you a bit of leeway when trimming (the edges will be covered once the switch cover goes back on).
Begin by cutting a rough X shape over your light switch then trimming it to a hole. Slowly trim the hole larger until there is only a small amount of overlap with the switch. Make the final trim, one side at a time so that the paper fits snuggly around the switch.
Pro Tip… You should only trim around wall features once you’re happy with the wallpaper placement. If you make a mistake you may need to remove the whole sheet from the wall and start over.
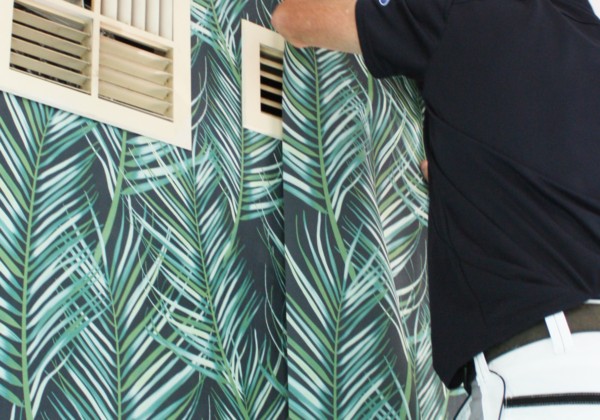
Hanging your remaining sheets should follow the same method as before with one extra step; aligning your pattern (if you have one). The wallpaper we were using was a beautiful palm leaf design with a repeating pattern every 30cm or so. When hanging your second sheet you not only need to make sure your pattern lines up, but you still need to leave enough excess paper at the top and bottom of the wall for trimming.
Pro Tip… If you’re reaching the end of the roll and it won’t reach the full room height, it’s better to start a new roll than to have two sheets meeting in the centre of the wall.
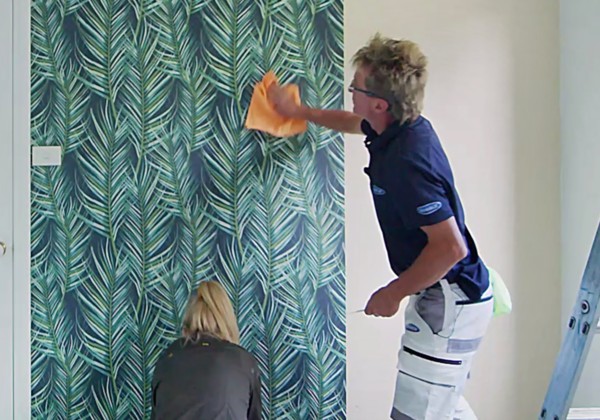
Every time you add a new wallpaper sheet, be sure to go back over the seam with a clean cloth to wipe up any excess paste that has gotten on the surface. If you leave the paste to dry on the surface it will leave shiny patches on your wall which you don’t want.
Continue alternating between hanging a sheet of wallpaper and pasting the walls for the next sheet to go on along the entire wall, trimming as you go.
If, despite your best efforts, there are still some bubbles under your wallpaper don’t panic, they’re easy to remove. Just take your blade and gently and carefully pierce the bubble and smooth the paper flat. Be very careful to make small holes which will go unnoticed once the paper is dry.
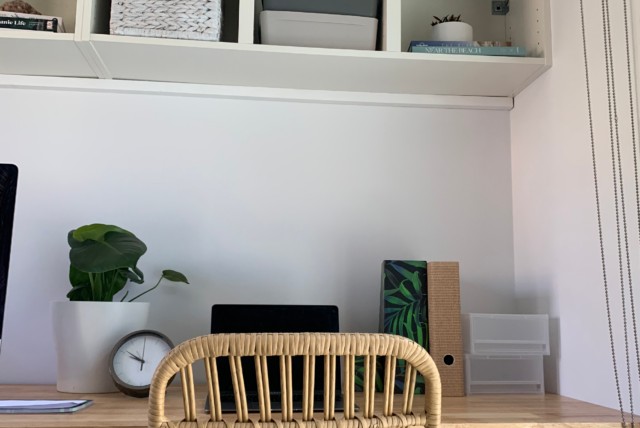
For our study desk, we’re using a solid timber benchtop from our friends at Kaboodle to bring a nice, natural feel to the room.
Kaboodle timber benchtops come as untreated wood so they need a bit of work before they can be installed. To start, lay the benchtop on a flat surface to let it climatise for 24-48 hours.
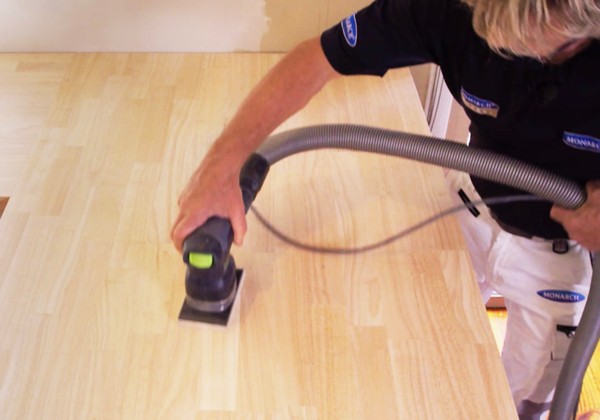
Next, prepare the benchtop for sealing by sanding the top and sides with 120 grit sandpaper. Vacuum the surface to remove all dirt and dust then wipe down the benchtop with a damp cloth to make sure it’s completely free of any dust. Make sure the benchtop is completely dry before moving to the next step.
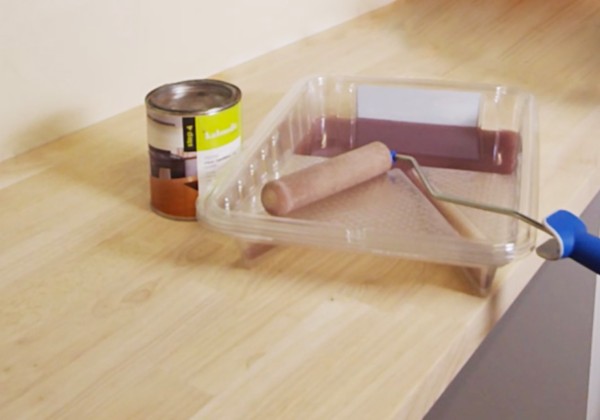
We’re using the Kaboodle Clear Hardwax Oil to protect the surface of our benchtop and to preserve the look of the timber.
Stir the hardwax oil thoroughly before use. Use a Monarch Smartlock Foam Mini Roller to apply a thin coat in long, even strokes, following the direction of the timber grain. Keep an eye out for any drips on the edges and wipe them away. Make sure you coat the edges of the benchtop as well as the top.
Leave the first coat to dry for 12 hours.
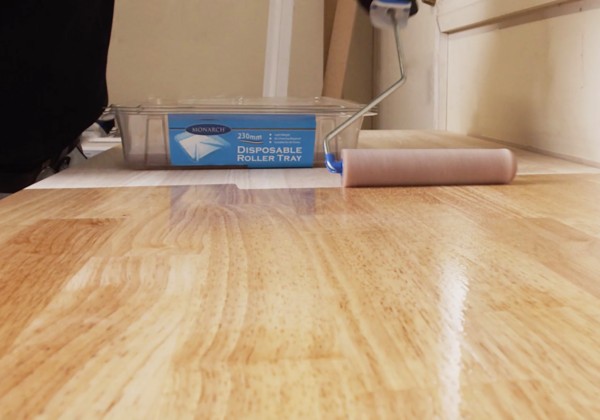
After 12 hours, sand the surface of the benchtop with 240 grit sand paper then vacuum and wipe down the surface. Apply a second coat of the Hardwax Oil to the top and sides.
Allow the benchtop to completely dry before moving.
To get the best results, we recommend two coats on the top and all sides, allowing the benchtop to completely dry.
Pro Tip… When a sealant like the Hardwax Oil is applied to raw timber, the grain of the wood will rise while it dries. Sanding between coats (then wiping up the dust) will ensure you get a silky-smooth finish when it’s dry.
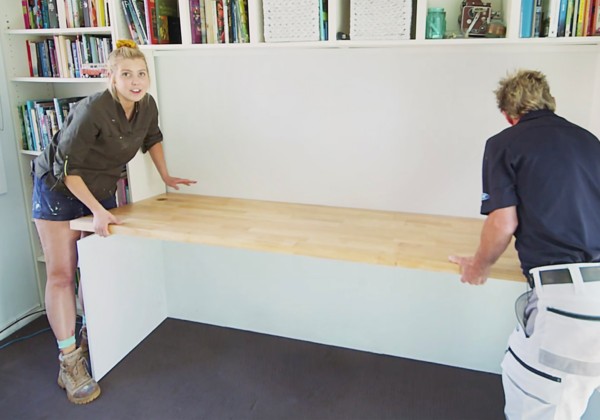
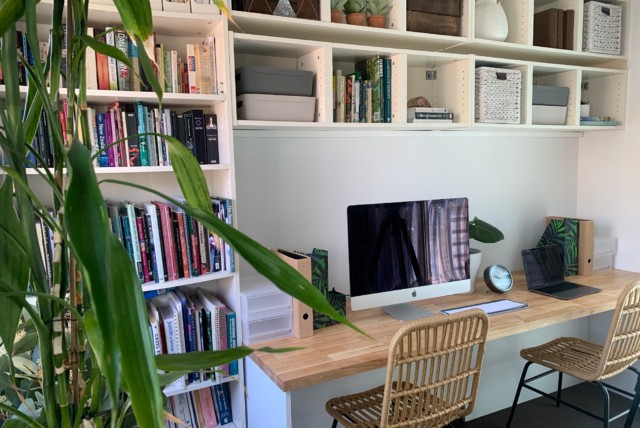
Once the benchtop is completely dry it’s time to install it. You have a few options for installation; sit your benchtop on a pair of drawers or filing cabinets to add some storage to your room , add some table legs to the underside to keep a really clean profile or mount the benchtop to the wall.
We chose to use a three-sided panel frame with built-in cable storage to keep the underside nice and clean.
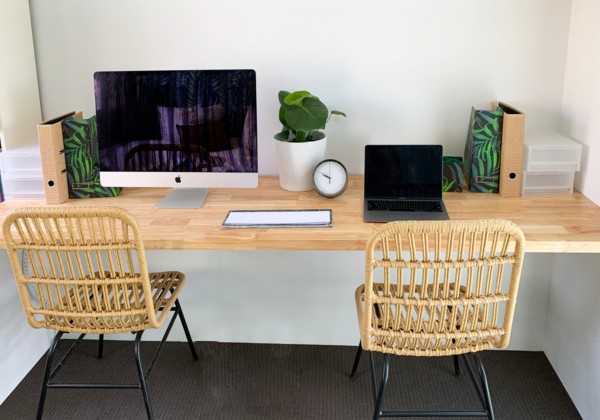
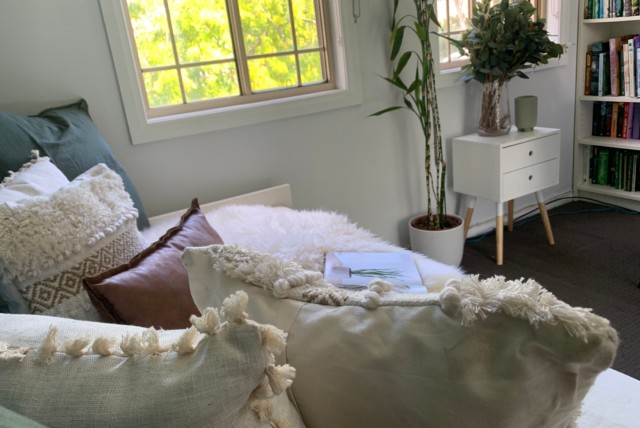
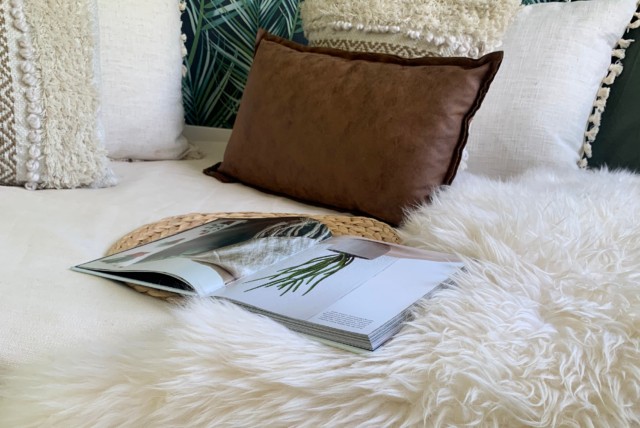
With all your upgrades done its time to move your furniture back into the room. It’s the perfect chance to revaluate the items in the room and maybe do some decluttering.
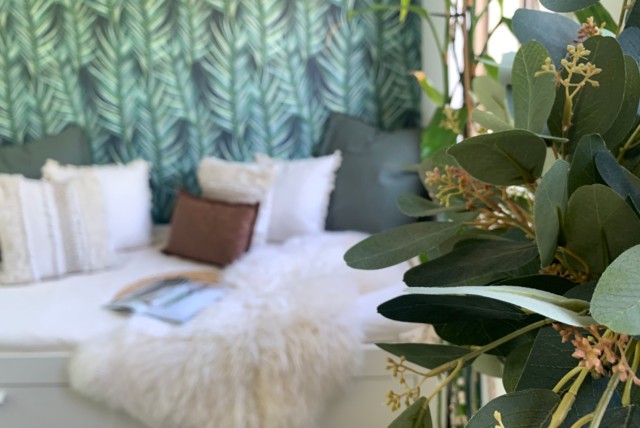
Add some leafy green style elements to complete your room and check out our Design Ideas document to get the details on our styling choices.