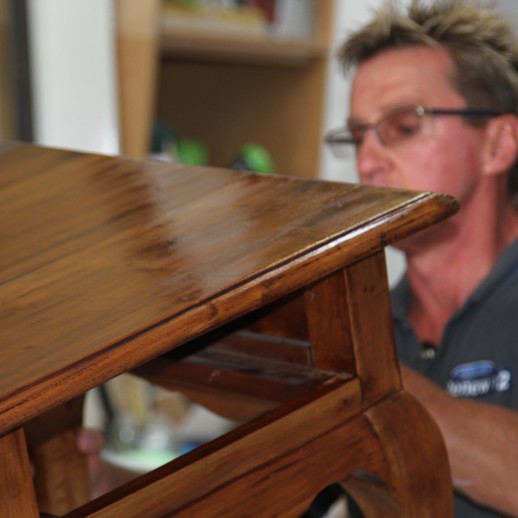
Bathroom makeovers take their toll on renovators in terms of time, effort and cost. It may seem impossible, but an affordable bathroom remodel is absolutely attainable with just a few coats of paint. At Monarch we have cracked the code to refresh your whole bathroom by painting two kinds of surfaces, the walls/ceiling and the tiles.
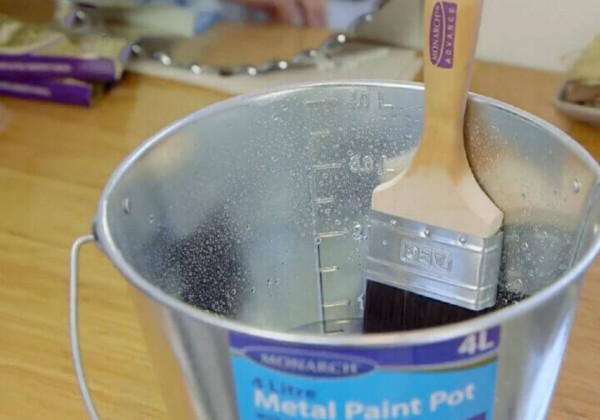
If you’re using water-based paint soak your brush in an inch of water for 10-15min, then remove and spin in between your hands to remove excess water. If you’re using oil-based paint, follow the same steps using turps.
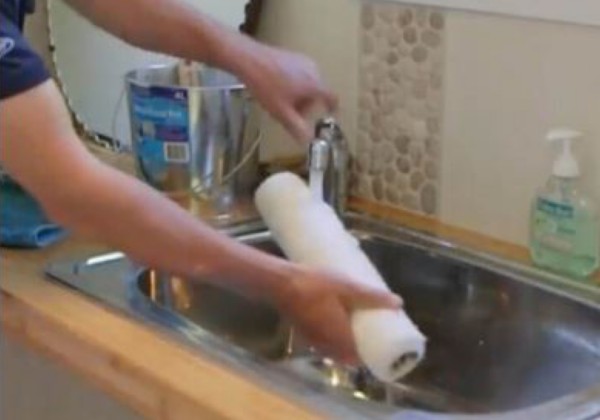
Whether you’re using water-based or oil-based paints, rinse your roller in running water and run your hand up and down the roller to get rid of excess lint. Shake the roller. Attach the roller to the frame and spin it quickly off a wall or other flat surface to remove the extra water – just make sure it’s not the wall you’re about to paint!
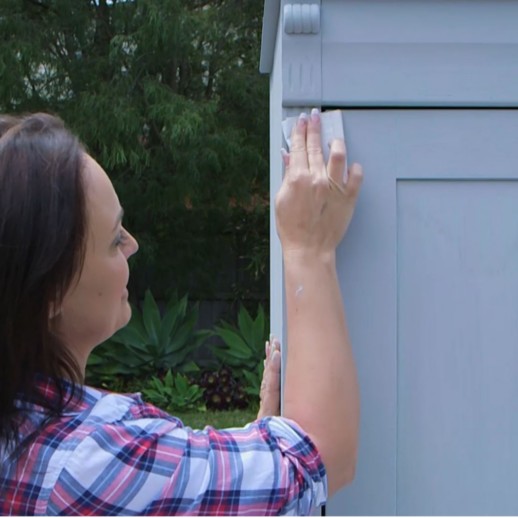
Start by checking your walls & ceiling for damage. If there are any cracks, leaks, mould, or other damage to your wall or ceiling, consult a professional before continuing. If there are bubbles on the surface or areas where paint has flaked away, sand them down so that the area is smooth.
Fill in all the holes with gap filler in two three rounds, making sure the filler dries and sanded down between applications.
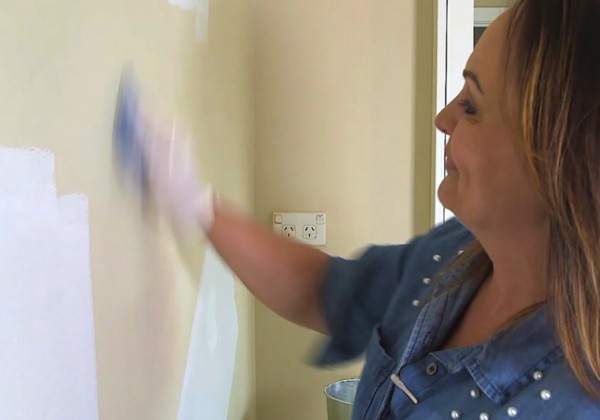
Next, wash down your walls and ceilings with Monarch Sugar Soap to remove any grime to create a smooth painting surface.
PRO-TIP: Remove light fittings and other fixtures so you don’t end up with a cutting in line around them. This will make it easier to update your light fittings or other fixtures down the track.
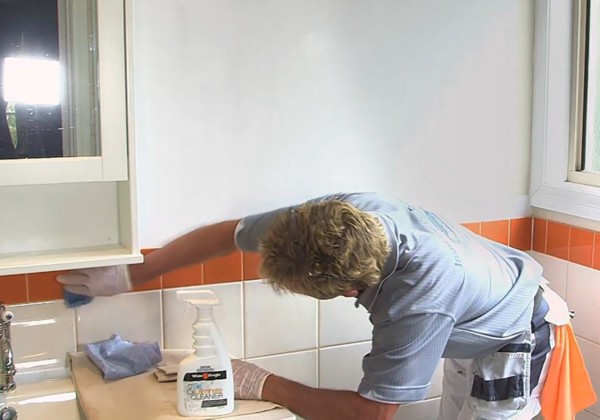
Start by checking your tiles for cracks or damage. If there are any cracks or other damage to your tiles, consult a professional before continuing. Start by cleaning your tiles with specialty tile & laminate cleaner, that way your primer & paint will better adhere to your tiles.
PRO-TIP: Use White Knight’s Tile & Laminate Cleaner for optimal results.
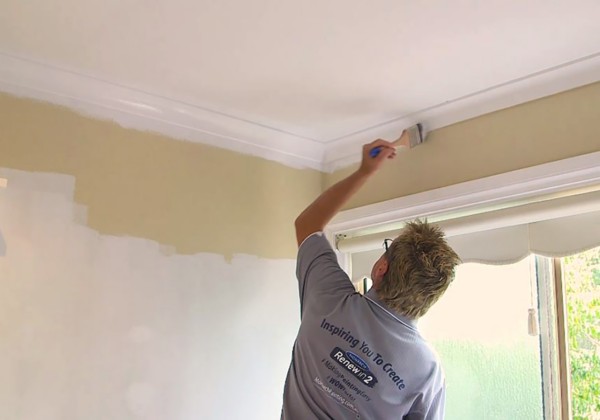
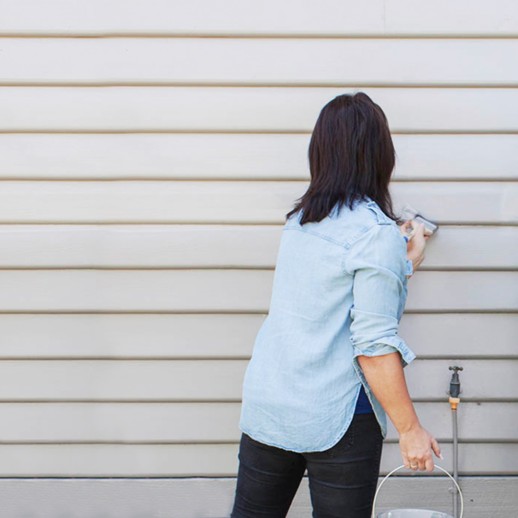
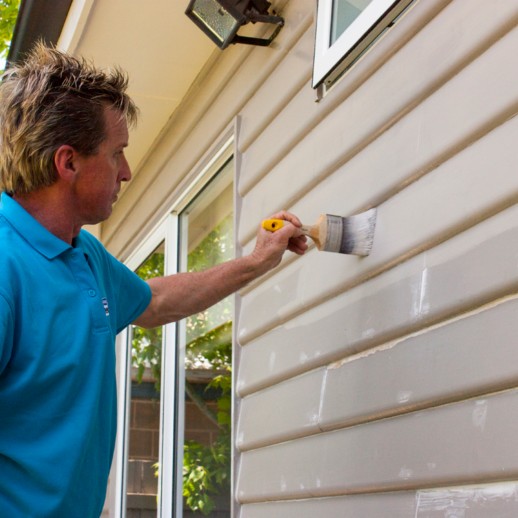
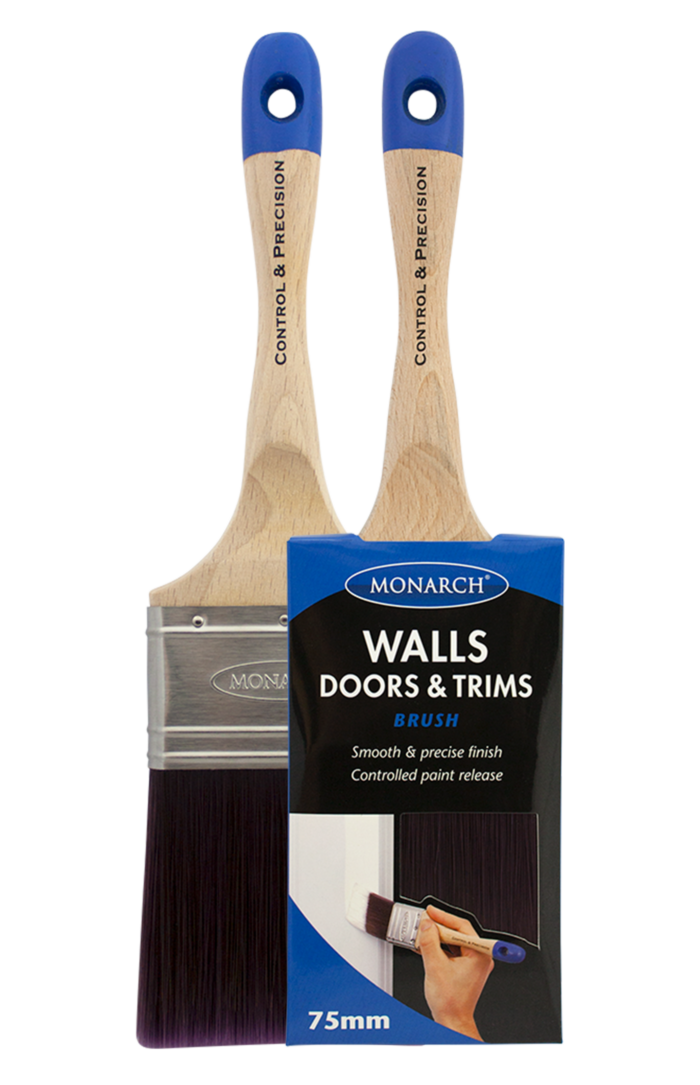
Start by first painting the ceilings. Use a Monarch 63mm Walls, Doors & Trims brush to cut in around the edge of the ceiling, including the corners. Then, roll the surface with a Monarch 270mm Walls & Ceilings Roller.
Once the first coat is applied to the ceiling, repeat the process for the walls. Cut in with a Monarch 63mm Walls, Doors & Trims brush before rolling with a Monarch 270mm Walls & Ceilings Roller. Once your first coat on the walls and ceiling is dry, apply a second coat if necessary.
PRO-TIP: Use low-sheen paint on walls & ceilings for long-lasting results.
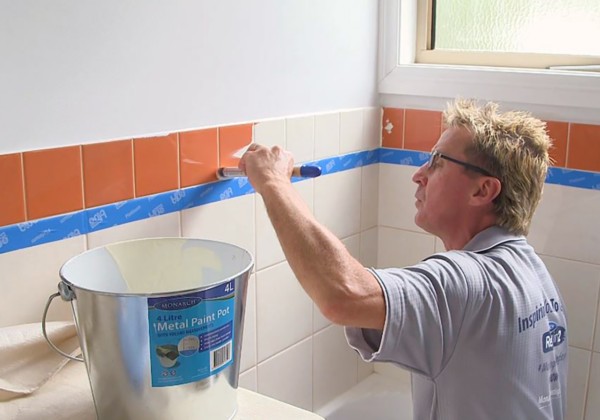
Once your tiles are clean and dry, start by applying quality tile & laminate primer to ensure that the following coats of paint adhere to the tiled surface. Once the primer is dry, sand and dust off the tiles before applying your top coat. To get
a consistent paint finish, paint 2 or 3 tiles at a time before moving to the next section. This will ensure a smooth finish with less brush marks.
Once the first coat is dry, apply a second coat if necessary.
PRO-TIP: While painting tiles, don’t overload your brush with paint and ensure you ‘tip off’ each tile with quality brush, to minimise brush marks.
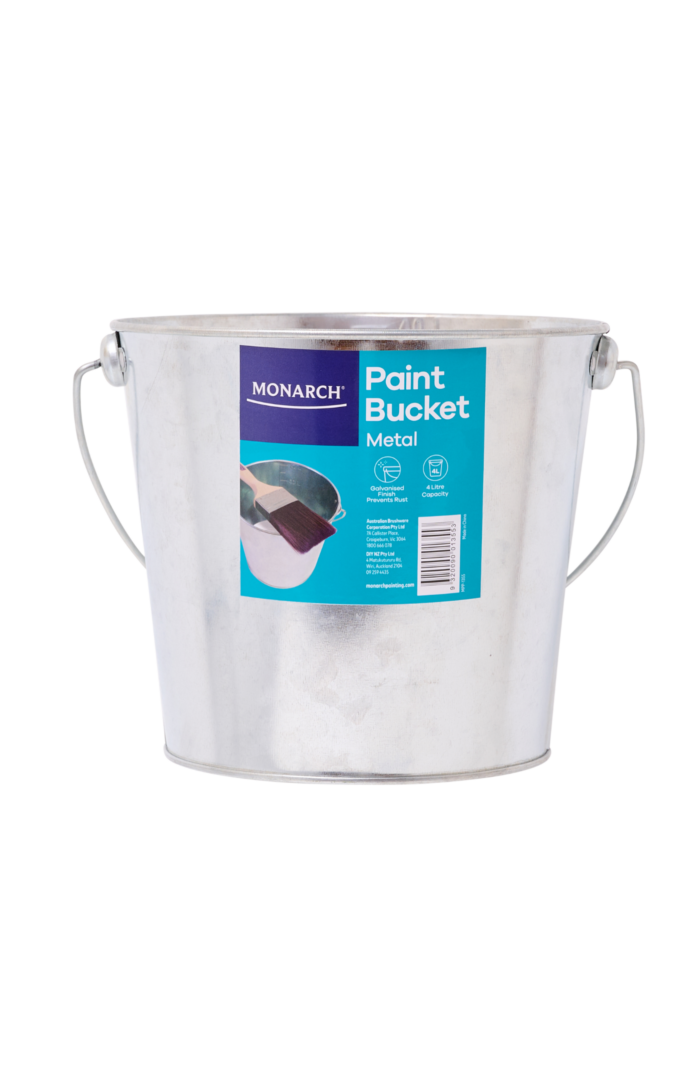
Congratulations, you’re done! Scrape any leftover paint back into the paint can for re-use. Wash your brushes and rollers thoroughly so you can use them for your next project.