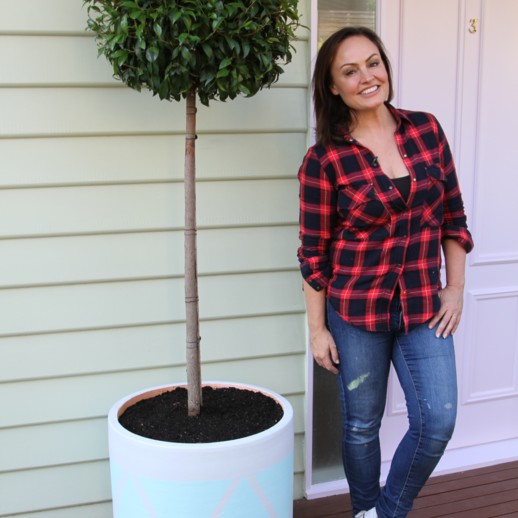
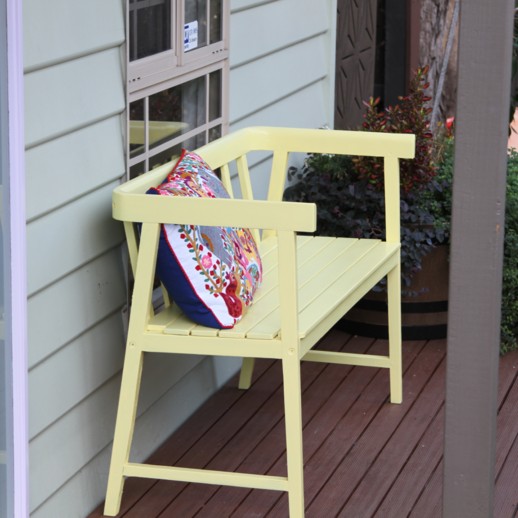
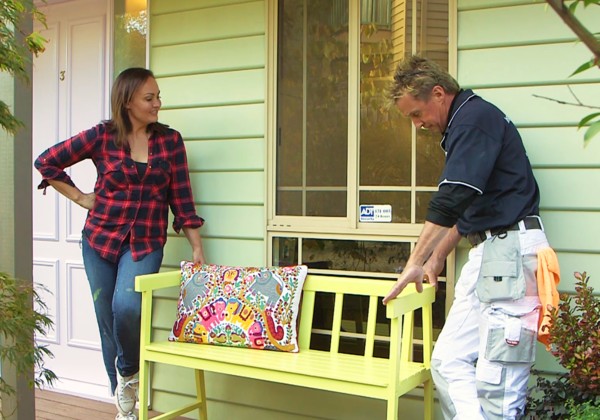
An outdoor bench can be a great asset to any external area whether it is lavish or small. Winter rains and cold weather can wear out your outdoor bench. With just 2 coats of paint you can refresh your bench and create an impact in your outdoor living space.
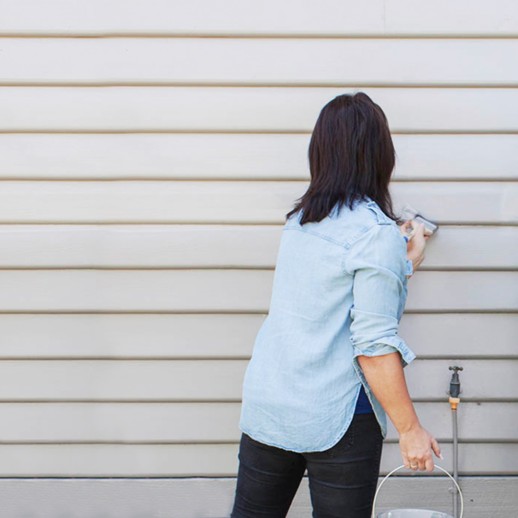
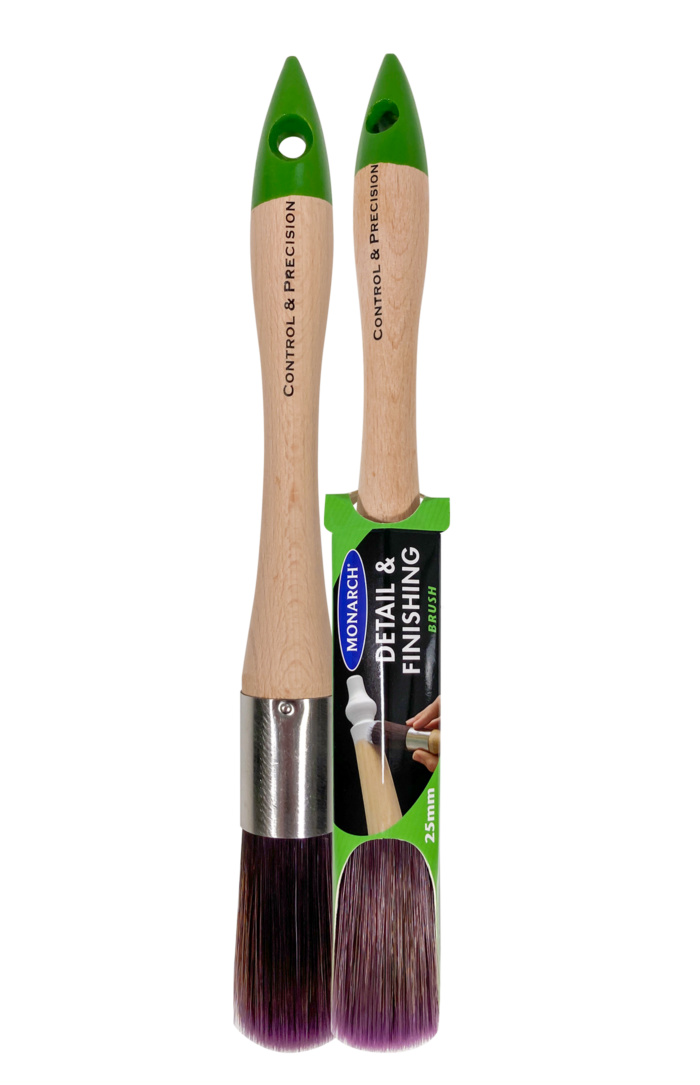
If you’re using water-based paint soak your brush in an inch of water for 10-15min, then remove and spin in between your hands to remove excess water. If you’re using oil-based paint, follow the same steps using turps instead of water.
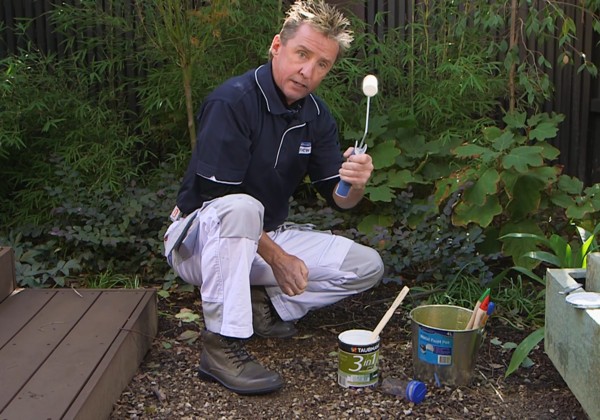
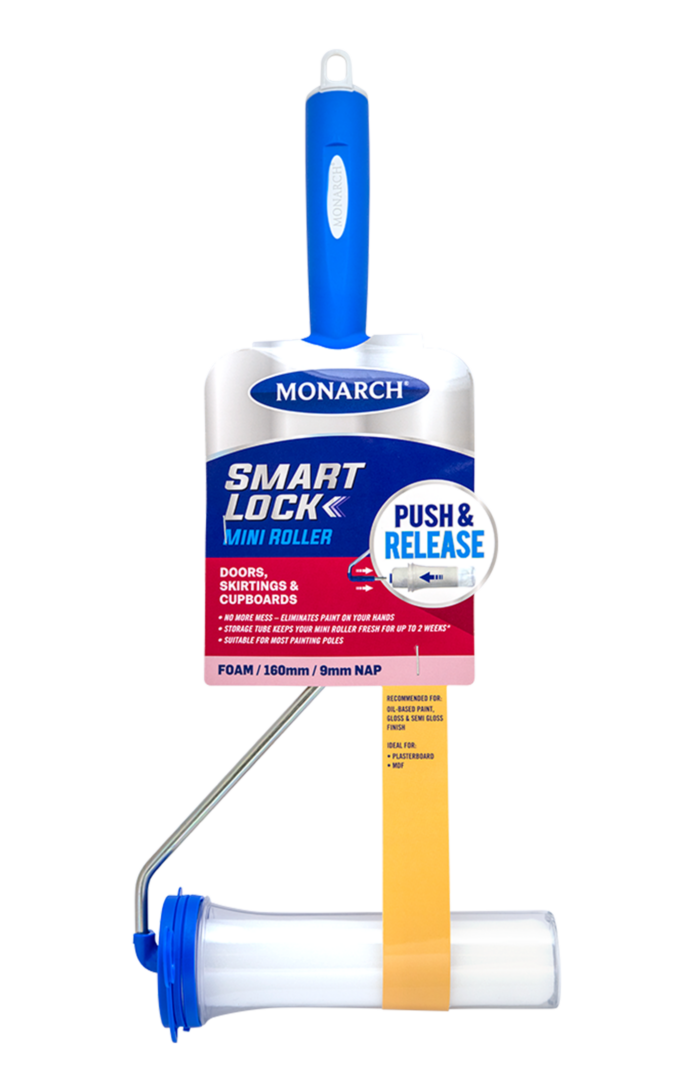
Whether you’re using water-based or oil-based paints, rinse your mini roller in running water and run your hand up and down the roller to get rid of excess lint. Attach the roller to the frame and spin it quickly off a wall or other flat surface to remove the extra water.
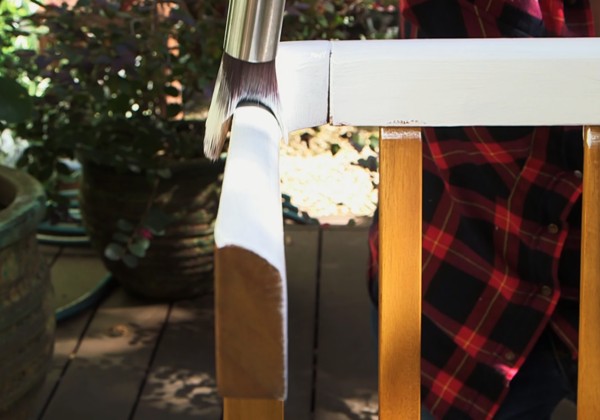
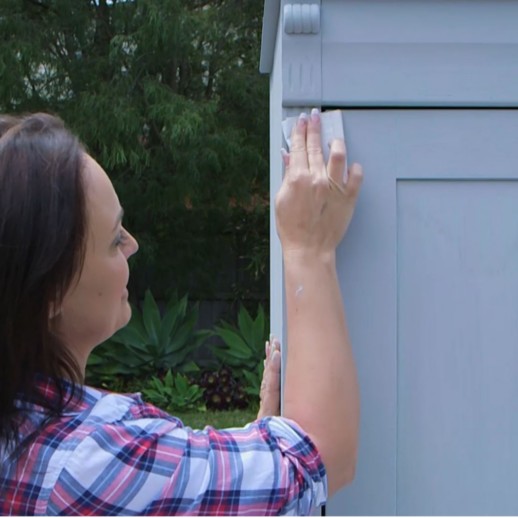
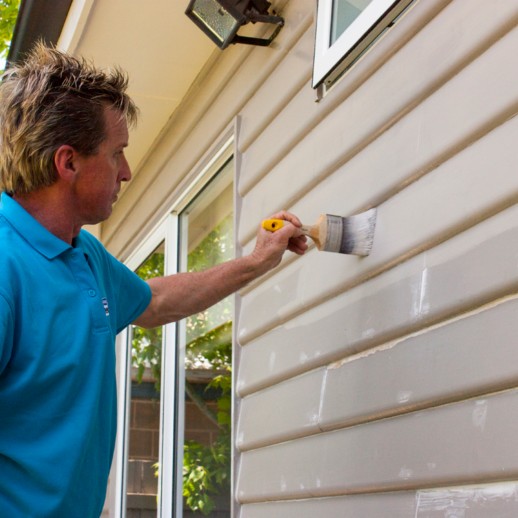
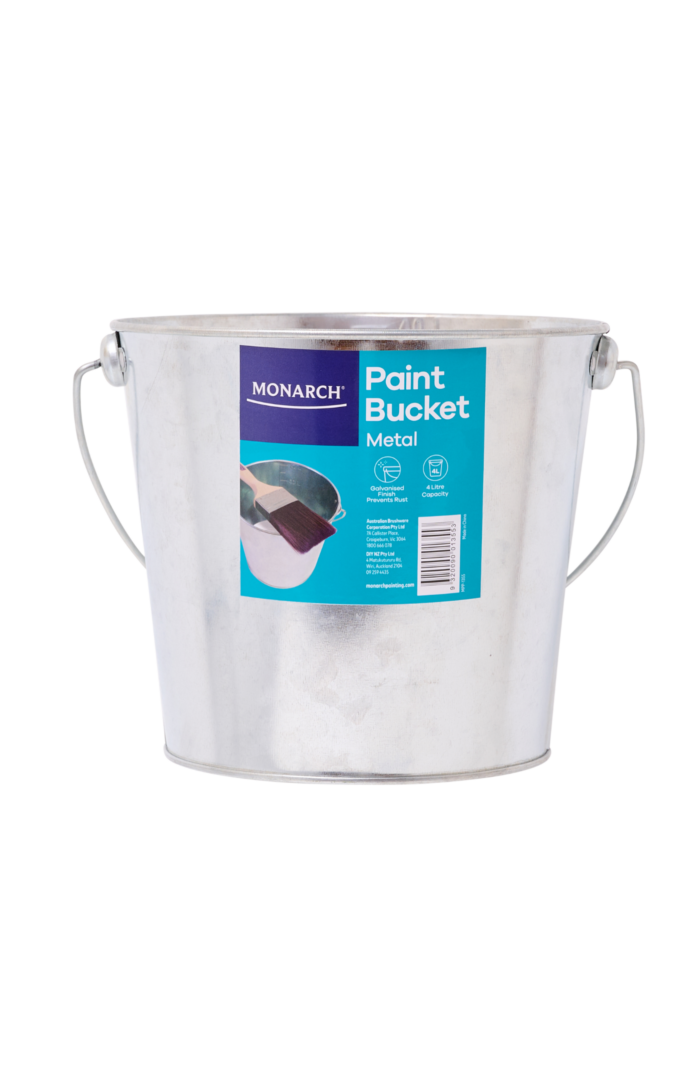
Using your Monarch Smart lock microfibre mini roller and Monarch detail and finishing brush, apply an undercoat to the whole bench. Applying undercoat will ensure that the sealing in your tenants and the wood stain doesn’t seep through. It will also give great coverage.
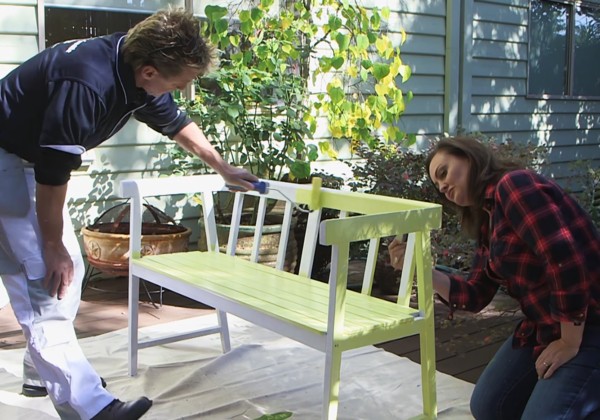
Chose a bright colour for your topcoat to bring out the vibrancy of the bench. Using the same tools (Monarch mini roller and Monarch detail brush) apply your 2nd coat of paint. Ensure all the corners and edges have been painted, leaving no spots or gaps.
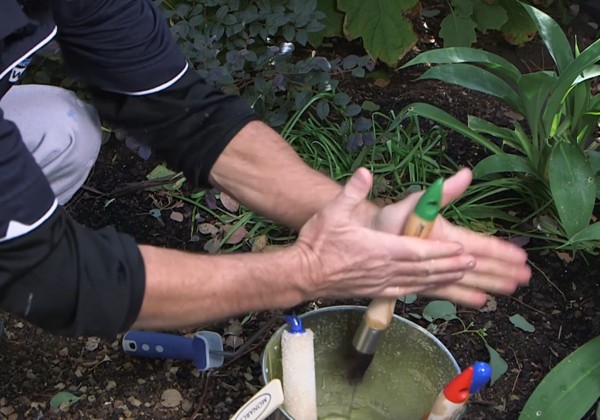
Congratulations, you’re done! Scrape any leftover stain back into the tin for re-use. Wash your brushes and rollers thoroughly so you can use them for your next project.