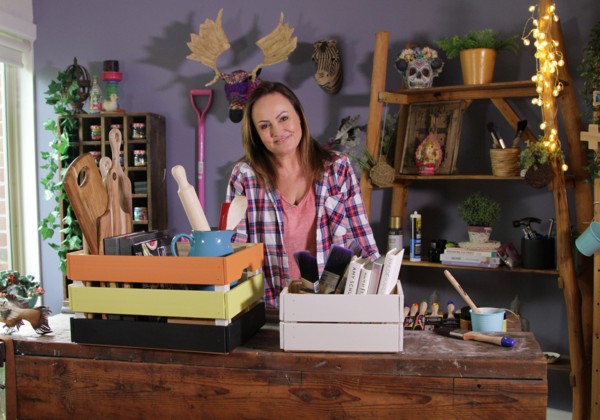
Wooden crates are becoming a popular element in any home, thanks to the hint of vintage flair they can bring to space. Not only you can use your crates for storage, but you can make them an attractive feature piece to compliment your furniture. Our latest Renew in 2 project transforms boring wooden crates into an incredible highlight element in 2 styles.
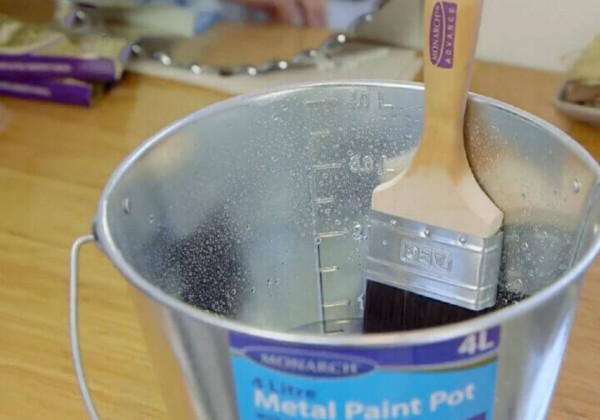
If you’re using water-based paint soak your brush in an inch of water for 10-15min, then remove and spin in between your hands to remove excess water. If you’re using oil-based paint, follow the same steps using turps instead of water.
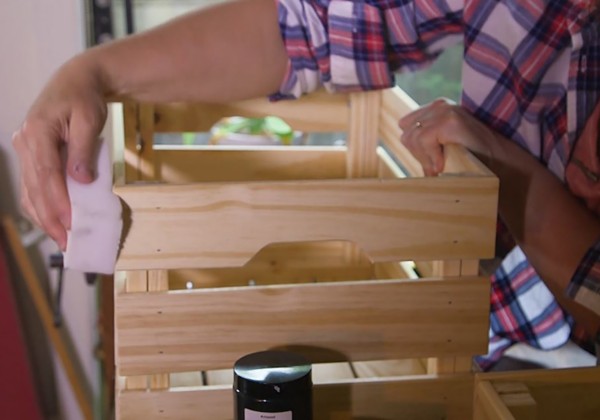
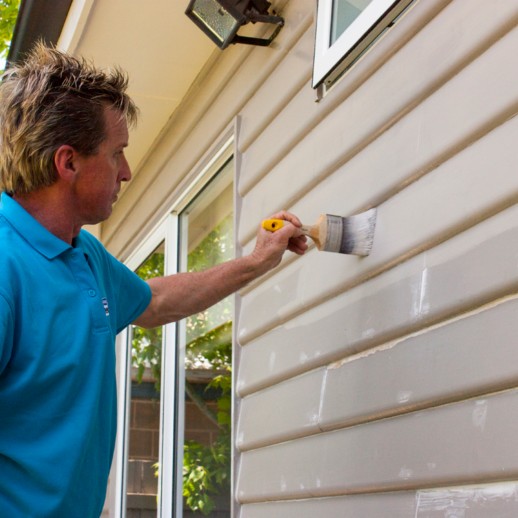
Prepare your crate by sanding it down with a quality sanding block and wipe off access dust for paint to adhere on the surface, giving it a smooth finish.
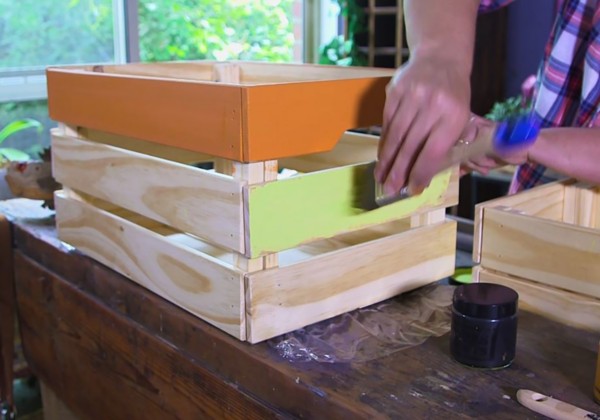
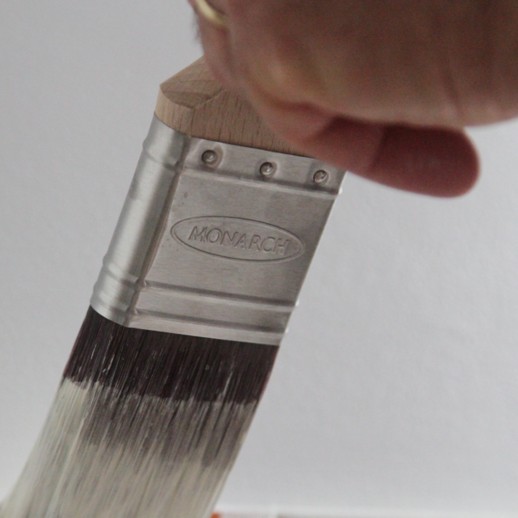
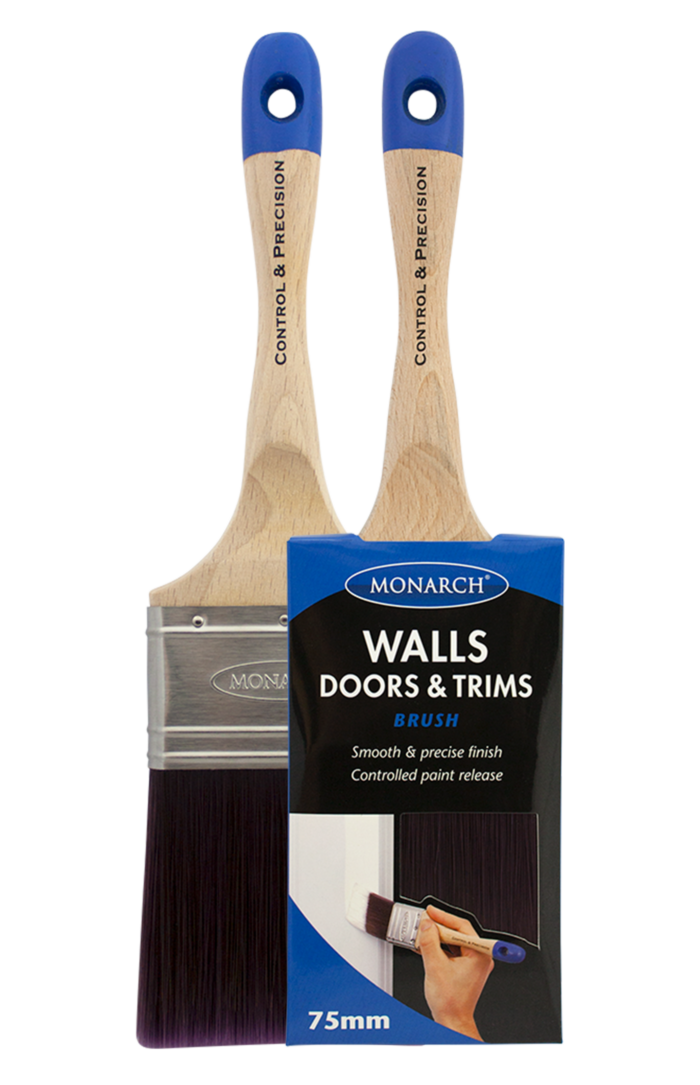
Use Monarch 50mm Walls, Doors and Trims brush from Monarch detail and finishing range. Use different bright colours on each panel of the crate to make it stand out.
PRO-TIP: Use long straight strokes for smooth finish

For your 2nd Style, Paint the entire crate with one lighter colour, using Monarch 25mm Razorback Nytec Angled Sash Cutter. Use long straight strokes for smooth finish.
Congratulations, you’re done! Scrape any leftover paint back into the paint jar for re-use. Wash your brushes thoroughly so you can use them for your next project.