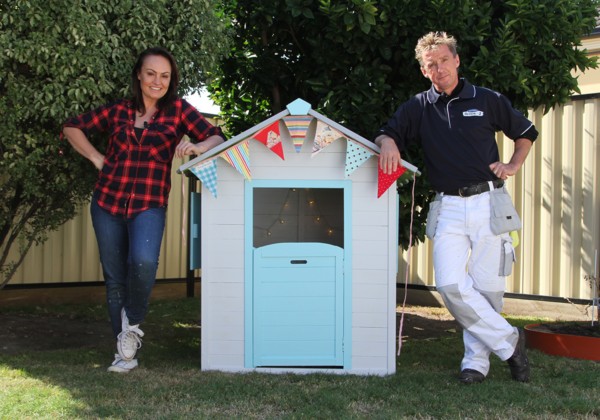
Wooden cubby houses are a place for your young ones to create incredible childhood memories. If painted and decorated properly, you would give your loved ones something to cherish all their lives. This latest “Monarch Renew in 2” project, will show you how you can refresh an entire cubby house into something memorable for your kids.
Cubby houses spark imagination and joy in our children, providing them with a sanctuary that is both creative and fun. Painting a cubby house is one of our favourite DIY projects for kids, as it encourages them to be a hands-on participant in the transformation of their cubby, while also creating cherished memories for life.
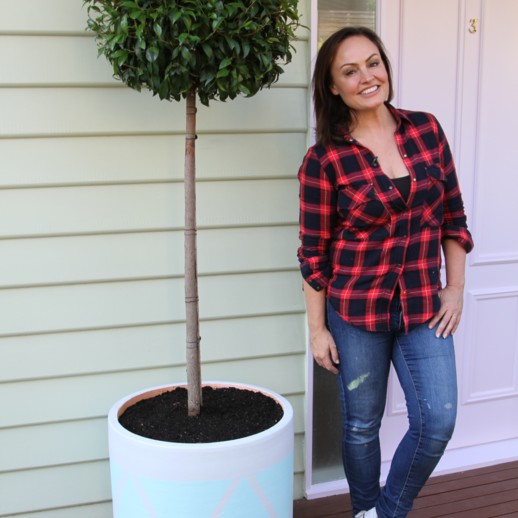
When preparing for cubby house painting, let your kids express their individuality by giving them the responsibility of choosing colours.
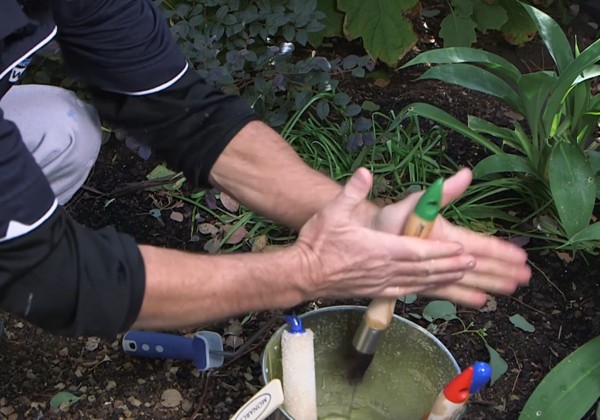
If you’re using water-based paint soak your brush in an inch of water for 10-15 minutes, then remove and spin between your hands to remove excess water. If you’re using oil-based paint, follow the same steps using turps instead of water.
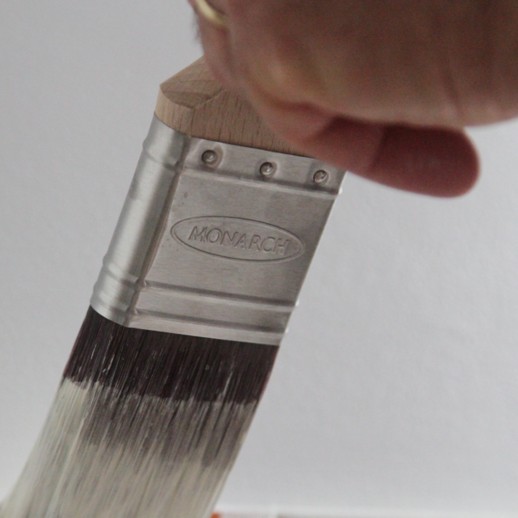
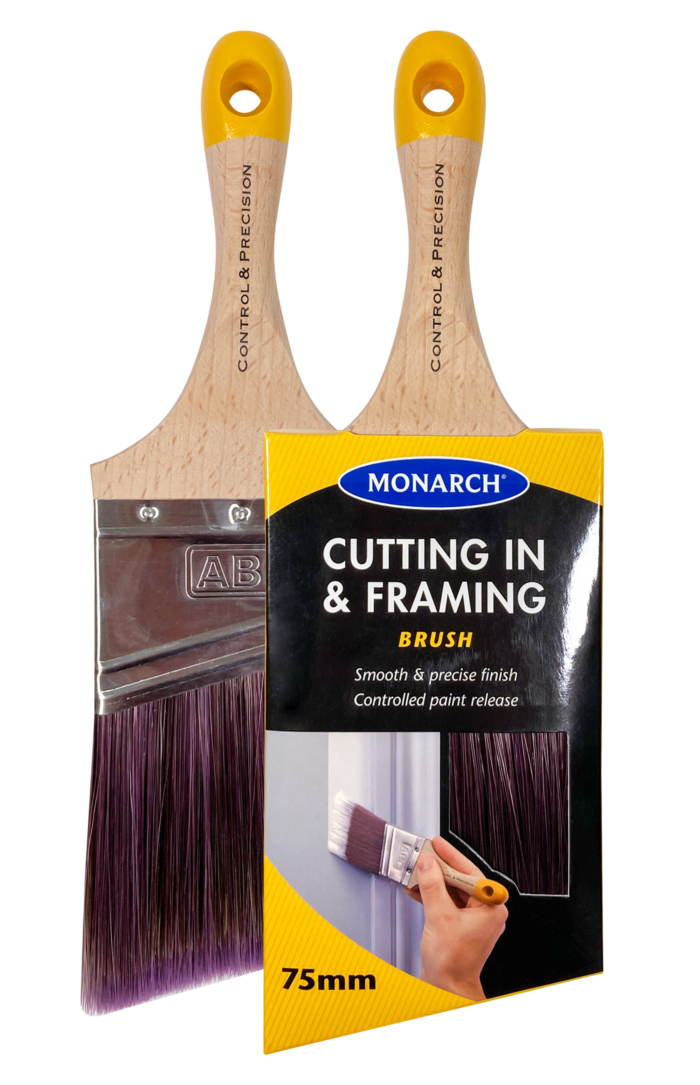
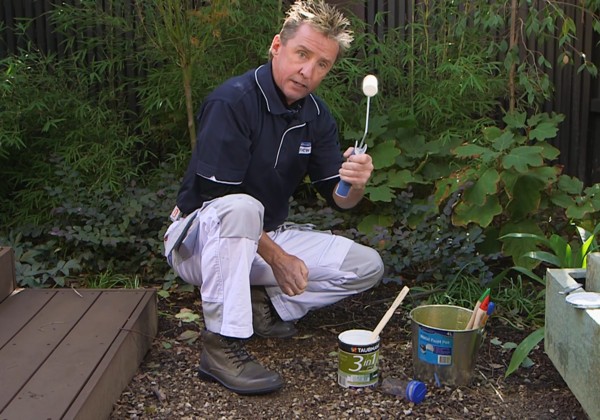
Monarch’s Detail & Finishing brush range is the perfect choice for painting a cubby. They’re our premium range of extremely versatile brushes, made from an advanced synthetic filament that will give you greater precision and control.
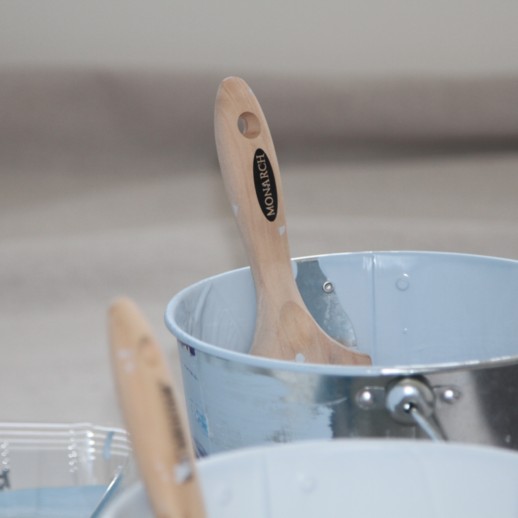
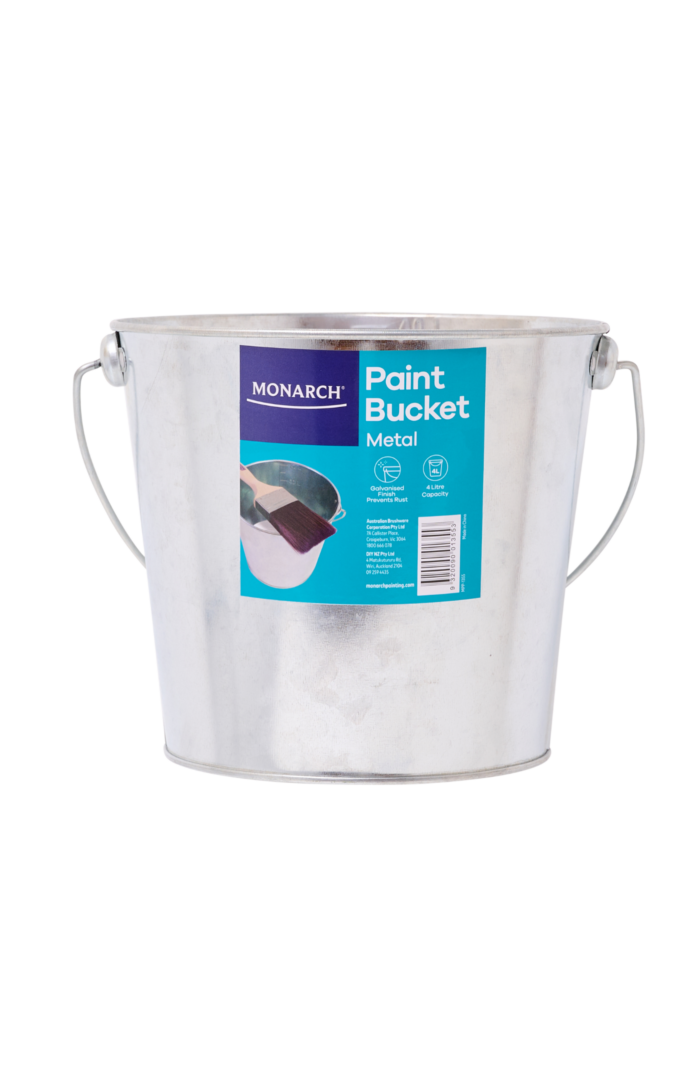
Before you begin, make sure you soak your brushes in a bucket containing an inch of water for 10 minutes. This will ensure that your paint will go on smoothly. Make sure you spin the handle vigorously a few times to shake out excess water.
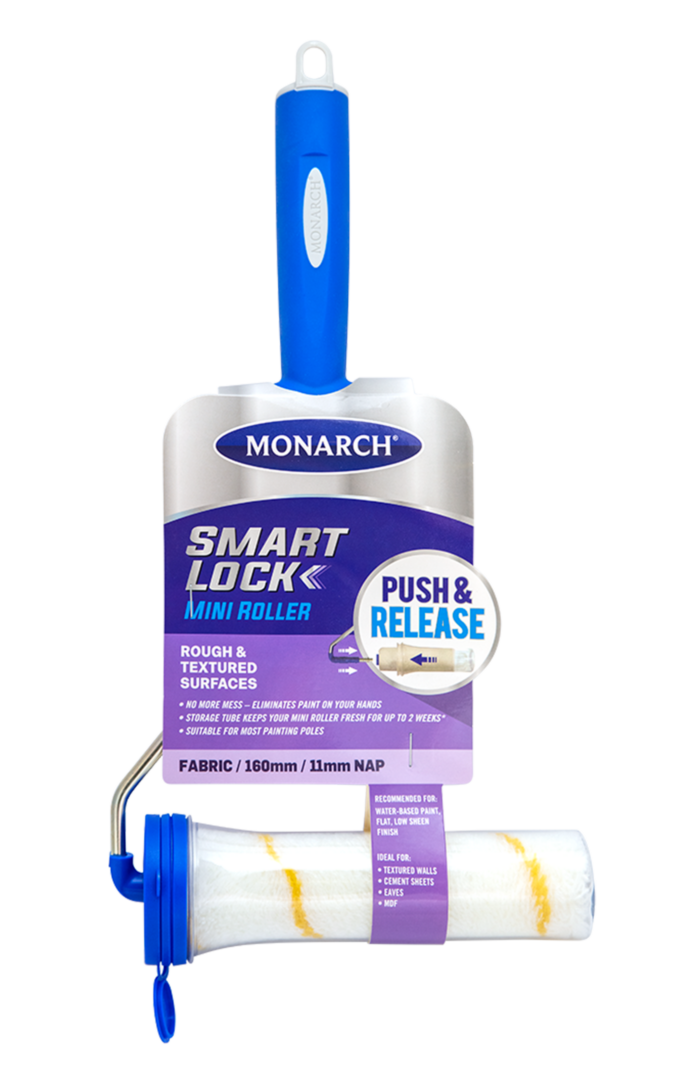
Just like brushes, we need to also wash our mini rollers before use. By running your hand up and down the roller as you wash, any excess lint from the roller cover is removed and will help you achieve a super smooth finish. Attach the roller to the frame and spin it quickly off a wall or other flat surface to remove the extra water.
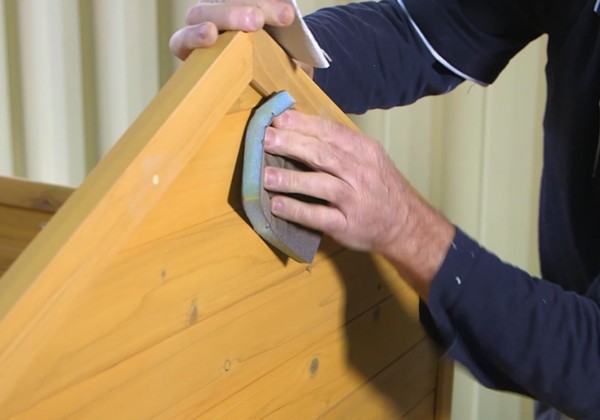
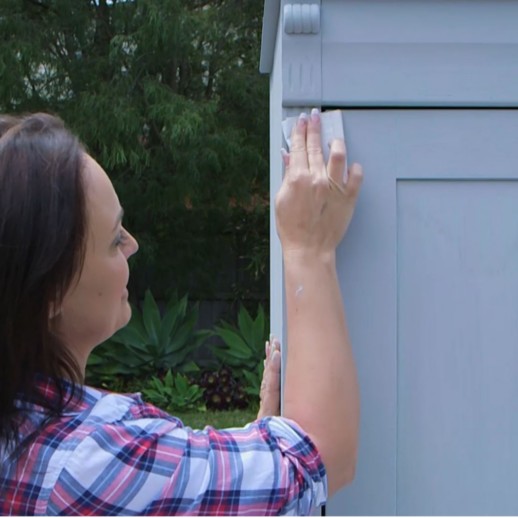
For any paint job, preparation is critical. Fill in any screw holes with wood filler and sand down your cubby house. Dust and wash down to get that perfect smooth surface to start painting. For safety purposes, don’t let your kids actively participate in the preparation process due to excess dust.

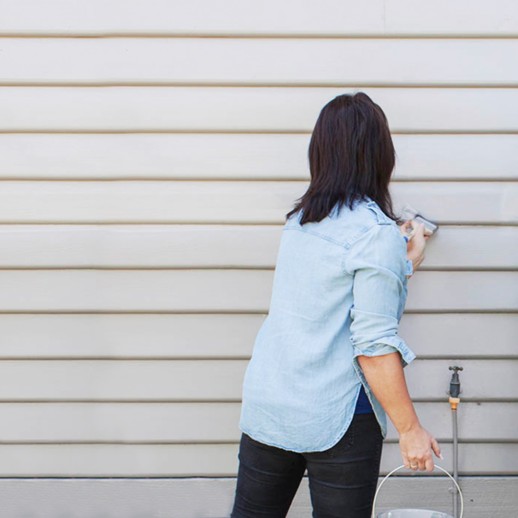
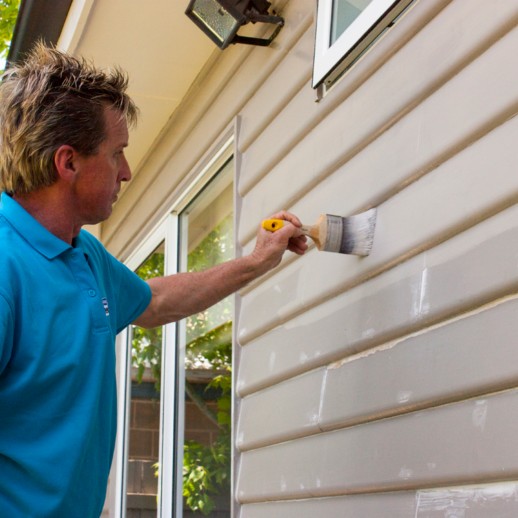
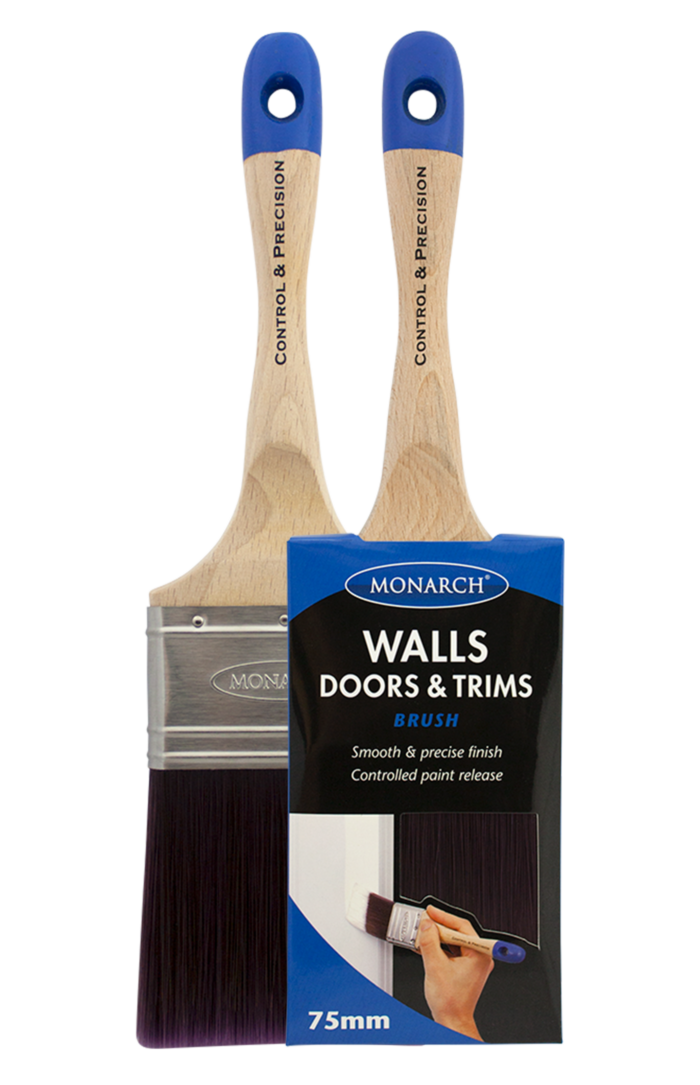
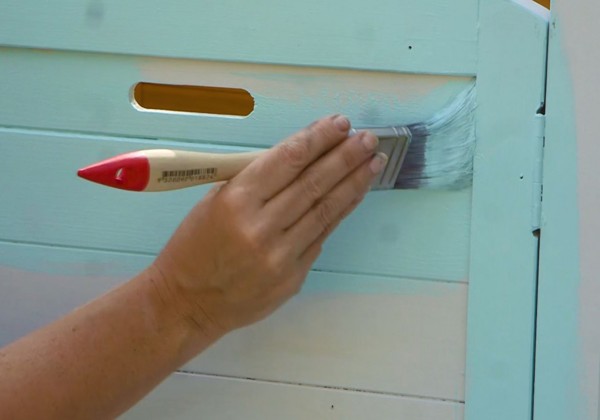
Stir your kids’ favourite paint colour and apply the first coat to the entire cubby house. Cut in with a Monarch Walls Doors & Trims brush and paint the rest of the cubby house with a mini roller. It’s essential to use a quality brush and quality roller so there are no brush or roller marks all over your cubby house.
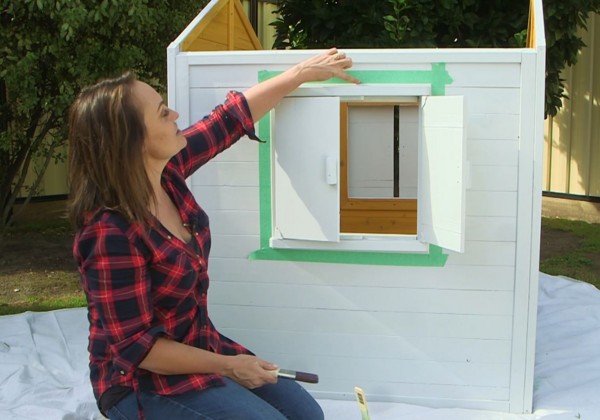
Apply quality painter's tape across the edges of the windows and doors to avoid any paint leaking on your undercoat.
Use a Monarch Moulding & Skirting brush to apply your second colour to the windows, trims, doors and roof of your cubby house. Make sure to paint the inside of your cubby house for your little one to be able to enjoy the interior as much as the exterior!
Congratulations, you’re done! Scrape any leftover tape back into the tin for re-use. Wash your brushes and roller thoroughly so you can use them for your next project.
Have you enjoyed learning how to paint your kid’s cubby house? Explore more outdoor painting ideas, DIY projects and painting tips from Monarch.
Absolutely! Provided that the weather is on your side, you can easily complete this job in a weekend. To maximise your child’s involvement, consider saving this job for the school holidays.
The world is your oyster when it comes to painting cubby houses. Go for bright, bold colours if you want to create an impact. Otherwise, stick to muted pastels if you’d prefer something a bit more subtle.
Make sure you don’t let your children undertake any preparation work, just stick to painting! Use your best judgement when it comes to deciding whether your child is age appropriate to participate. If there’s a chance they might want to ingest the paint, maybe give it a miss. Allocate your child a small amount of paint in a pot. Keep the pot somewhere where they can’t knock it over.
Use sandpaper to sand the surface thoroughly. This will make sure the paint goes on smoothly. Clean the surface so any dust and debris are washed away. Use a primer to make your exterior paint colours stand out better.
We have recommended using the Detail & Finishing brush range and a mini roller for this cubby house project, as they are premium quality, easy to use and extremely versatile. However, if you want more information about which products you should use for a particular job, our Painting Tool Kit is the handy tool you need to guide you through your DIY project journey.
If your leftover paint has been properly sealed or covered with cling wrap/foil, then it should be OK to reuse. Make sure you give it a good stir before you start, as the paint can separate in the can.