Garden sheds were once dreaded and insect plagued, however a growing trend of ‘man caves’ and more latest ‘she shed’ has raised the ordinary garden shed to an entirely elevated status. Refreshing your shed is easy; all it requires is a quick coat of paint and few easy steps to transform your garden shed.
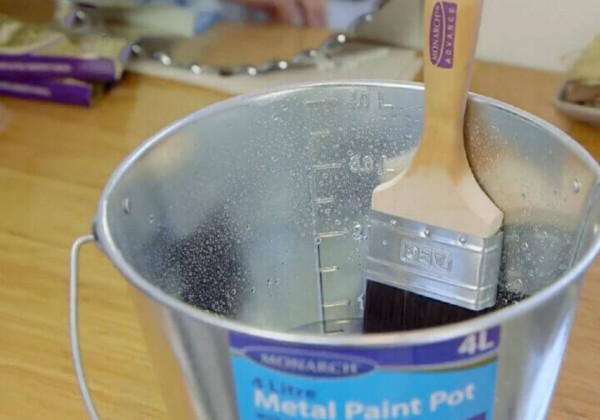
If you’re using water-based paint, soak your brush in an inch of water for 10-15min, then remove and spin in between your hands to remove excess water. If you’re using oil-based paint, follow the same steps using turps.
Whether you’re using water-based or oil-based paints, rinse your mini roller in running water and run your hand up and down the roller to get rid of excess lint. Shake the roller. Attach the roller to the frame and spin it quickly off a wall or other flat surface to remove the extra water.
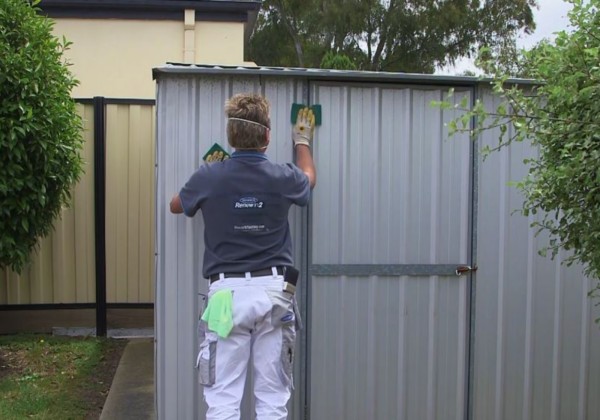
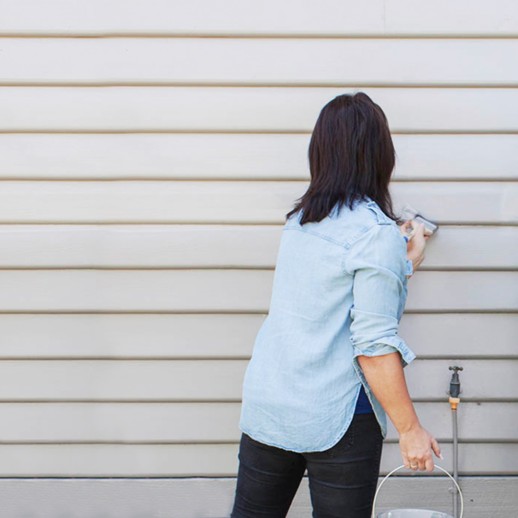
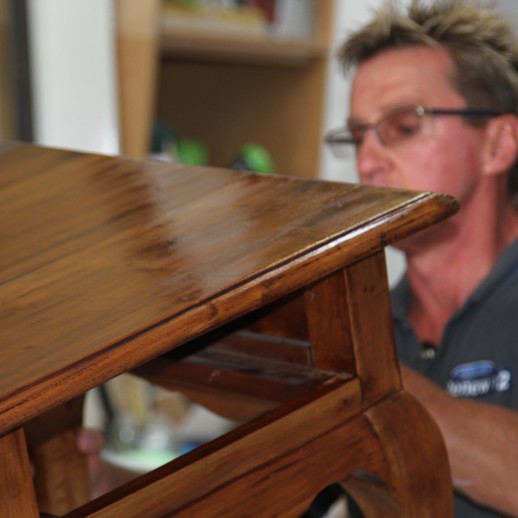
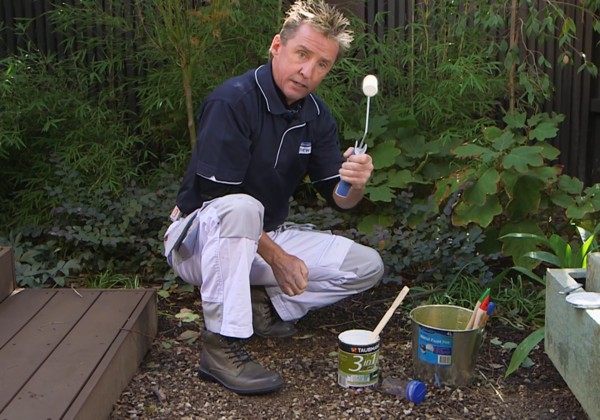
For any paint job, preparation is essential. Use a Monarch heavy-duty drop sheet to avoid any mess. For the paint to adhere to the Garden Shed surface, sand the whole shed down with a flexible scouring pad. Then, wipe and dust off all dirt, dust and any ‘bird contaminants’ to have a clean surface to start painting.
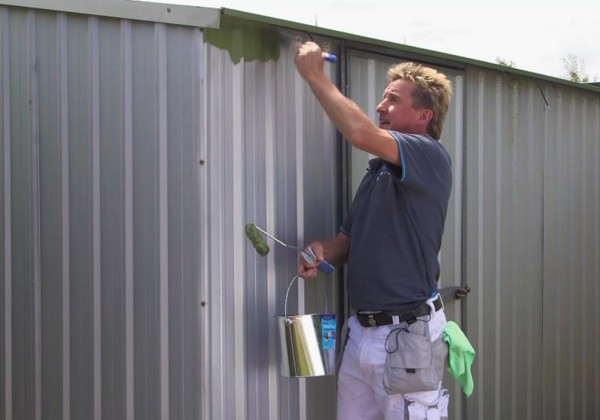
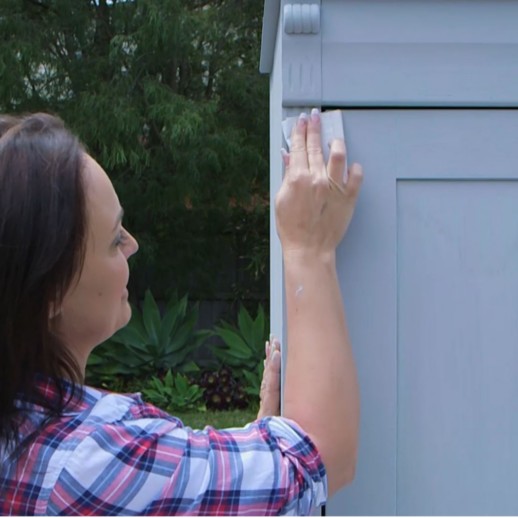
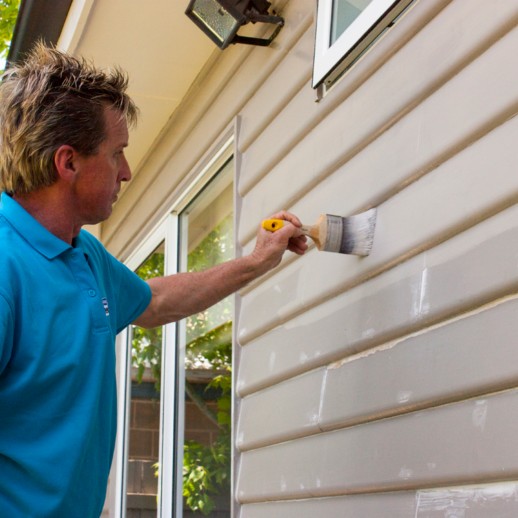
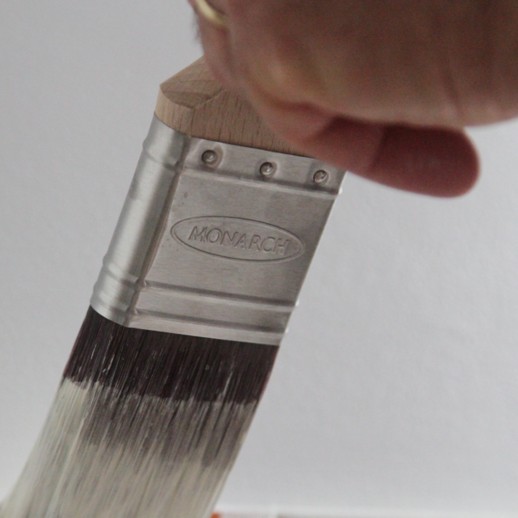
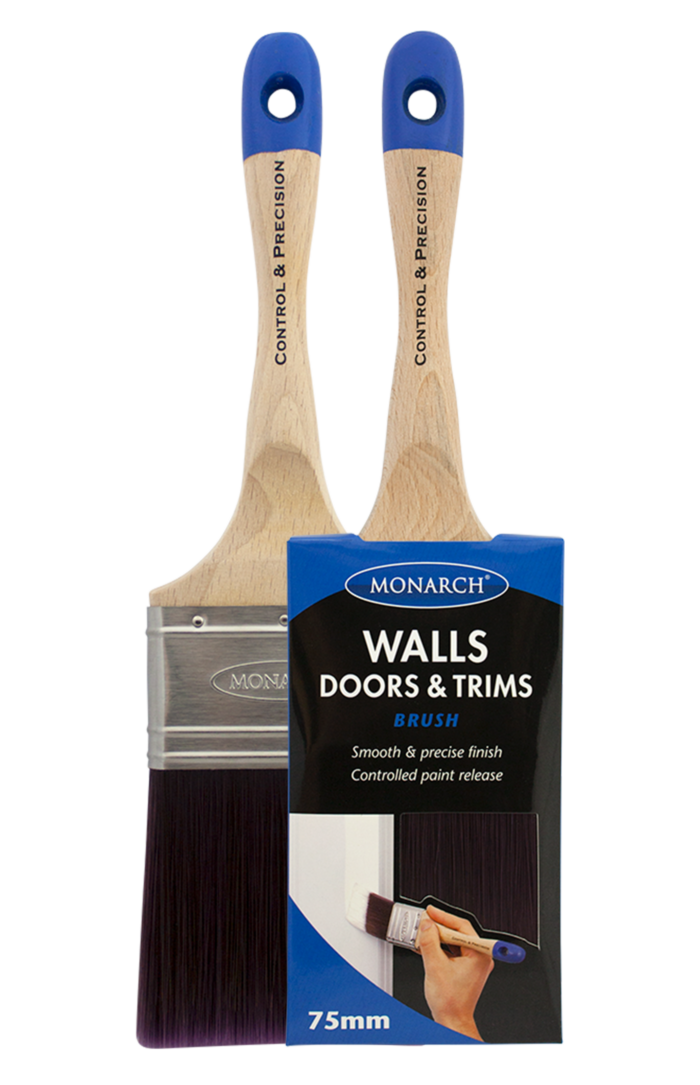
When painting a shed, start by painting the roof first, with Monarch Walls Doors & Trim 50mm brush. Once done, move on to painting the walls of the shed by cutting-in the top and the bottom with Monarch Walls, Doors & Trims 50mm brush. Garden shed usually have inners & outer contours in its walls, use a quality brush to paint the outer contour and use Monarch Smart Lock 100mm microfibre mini roller to paint the inner contour of your garden shed wall.
PRO-TIP: Once you’ve rolled on to the surface of the Garden shed, tip-off with your brush for a smooth finish.
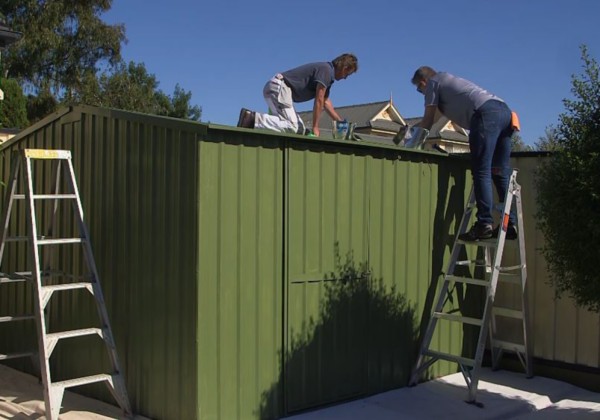
When the first coat of colour is dry, then apply your second coat. Ensuring that each coat is completely dry before the next one goes on, so the new coat won’t pull up the old one and create bubbles in your surface.
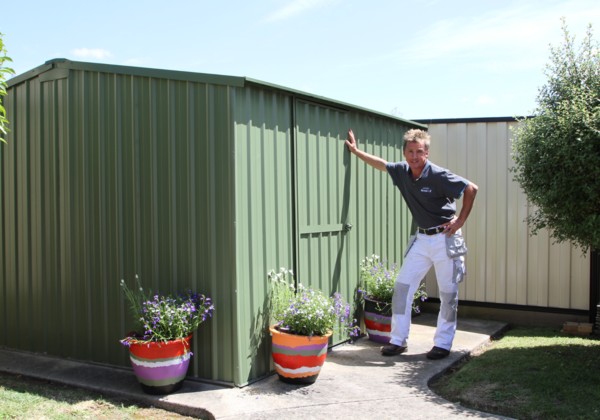
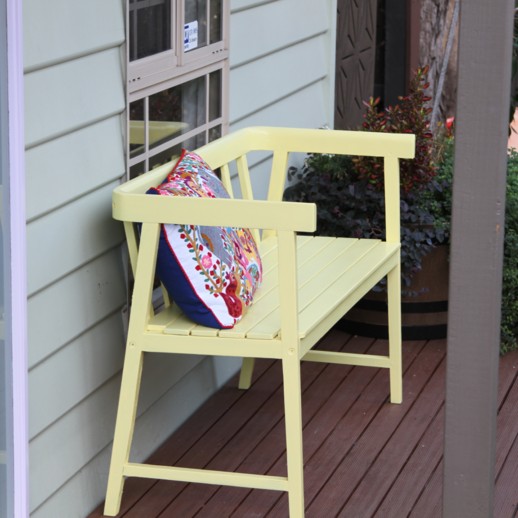
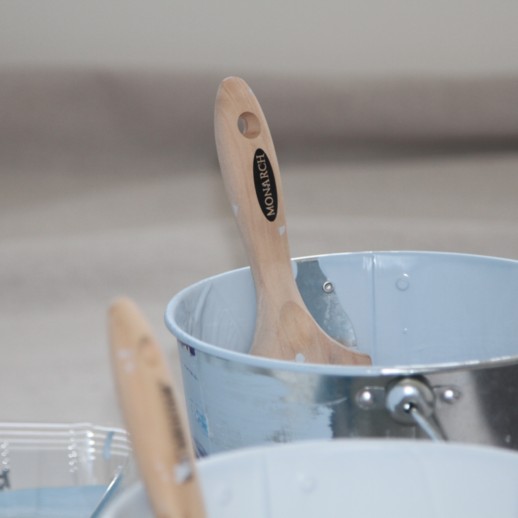
Congratulations, you’re done! Scrape any leftover stain back into the tin for re-use. Wash your brushes and rollers thoroughly so you can use them for your next project.