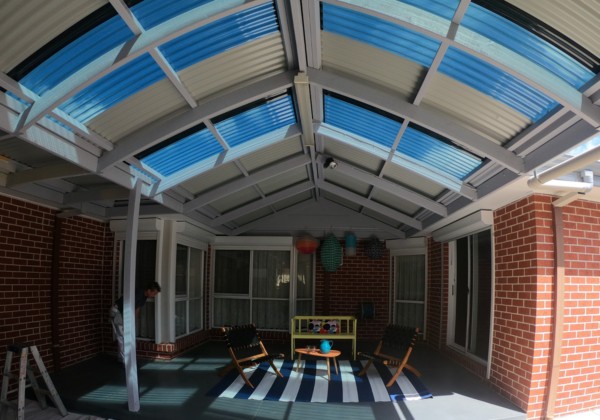
A pergola is an outdoor room with cross rafters and no walls that provides a light, airy and inviting space to relax, dine or just admire. Being one of the highest spaces in your house, it can get ignored with easily with your regular renovations. Watch our latest “Renew in 2” video, where you can learn a quick and easy way to update and refresh your pergola into something amazing without spending an arm and a leg on a new one.
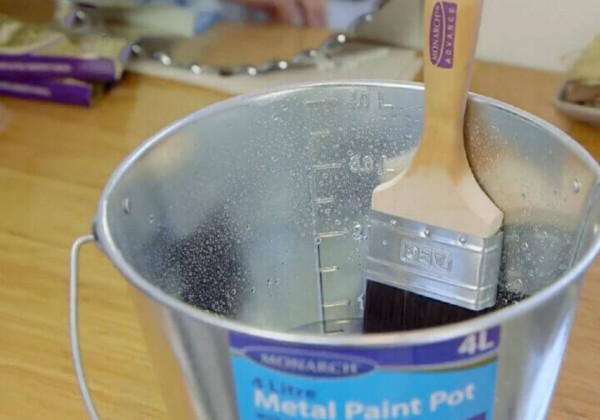
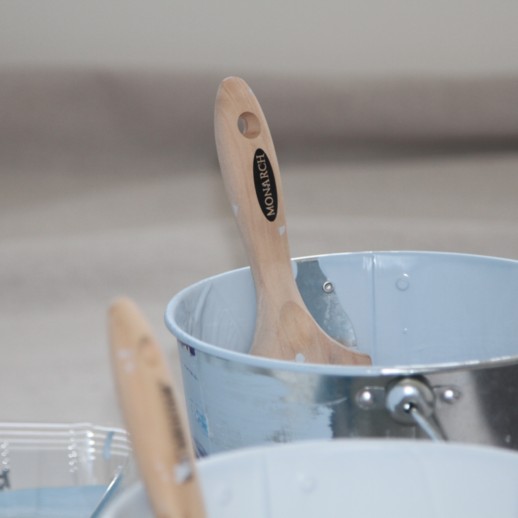
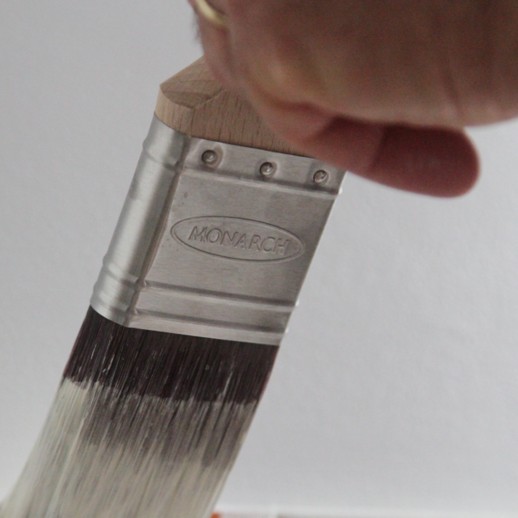
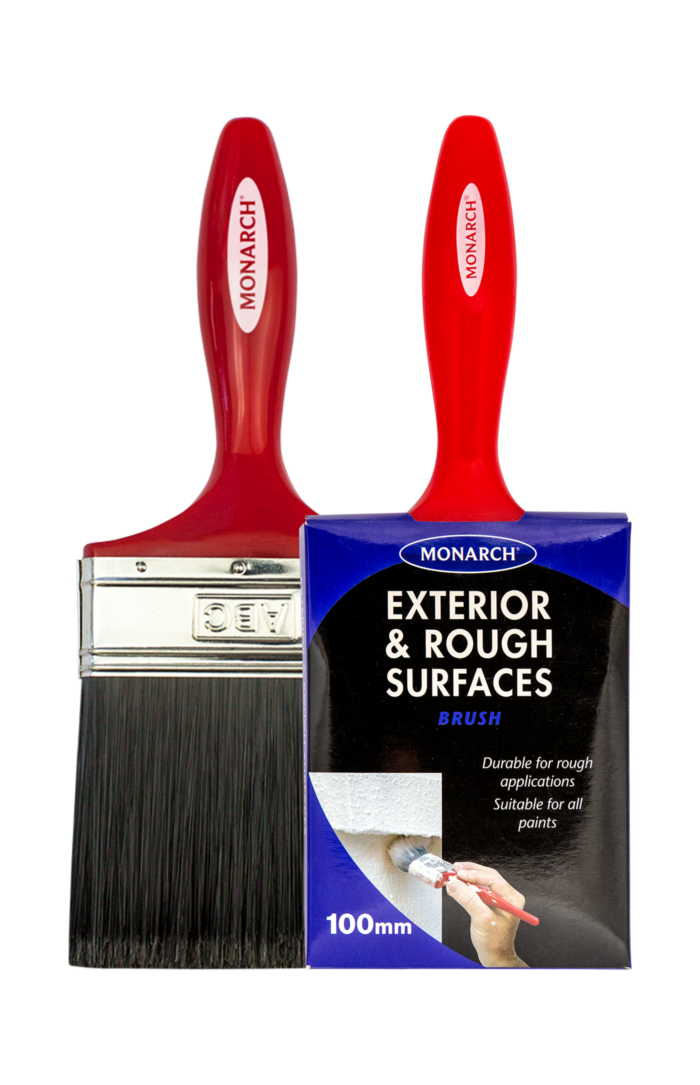
If you’re using water-based paint soak your brush in an inch of water for 10-15min, then remove and spin in between your hands to remove excess water. If you’re using oil-based paint, follow the same steps using turps.
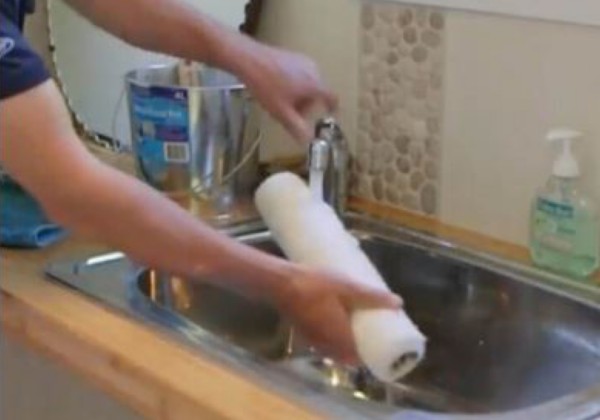
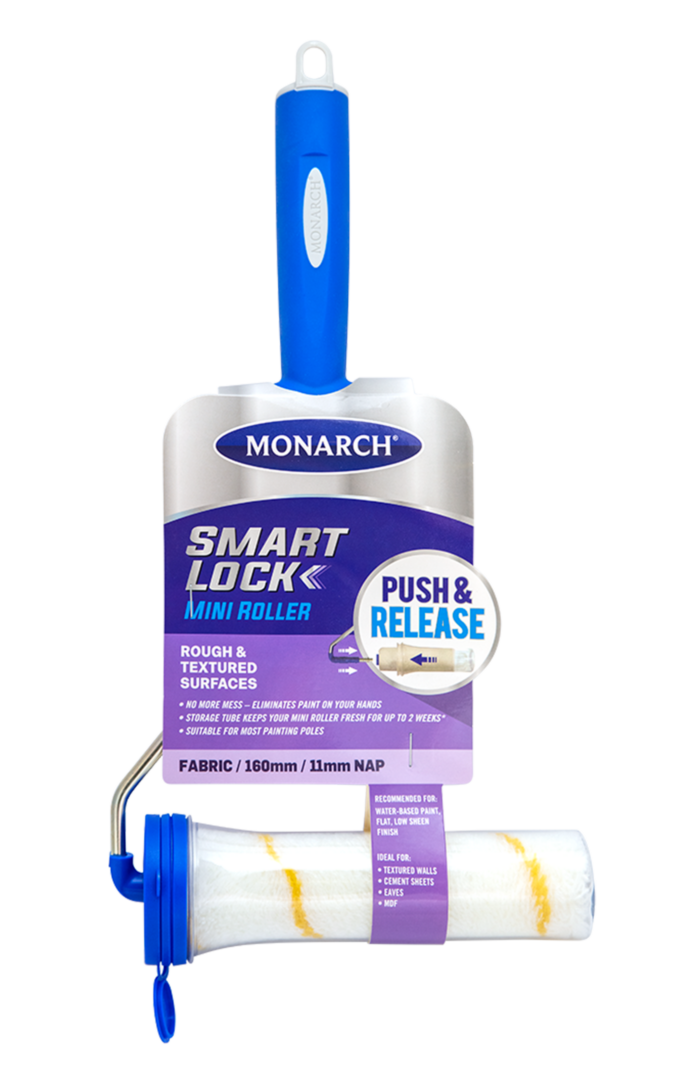
Whether you’re using water-based or oil-based paints, rinse your roller in running water and run your hand up and down the roller to get rid of excess lint. Shake the roller. Attach the roller to the frame and spin it quickly off a wall or other flat surface to remove the extra water.
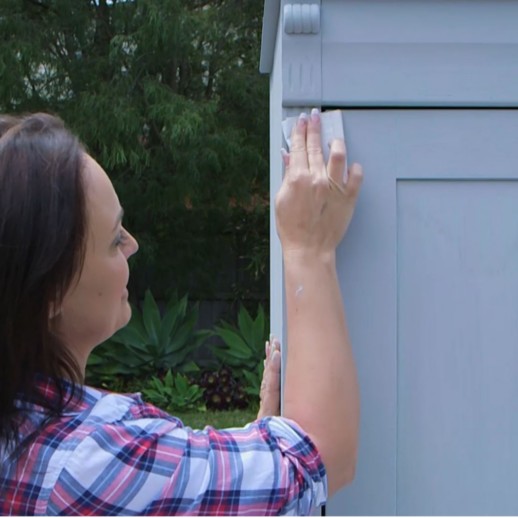
Remove all lights and fittings, if you’re a beginner in painting, tape over your open wires and sockets to protect them from any paint splatter. If your pergola has flaky paint, start by putting a Monarch heavy-duty drop sheet on the floor, then use a quality wire brush to remove the flaky paint. Once your pergola is smoothed out, dust it off to remove all traces of dust. Now you’re ready to paint.
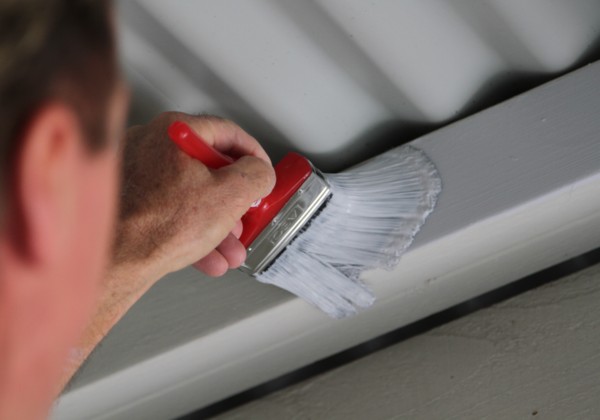
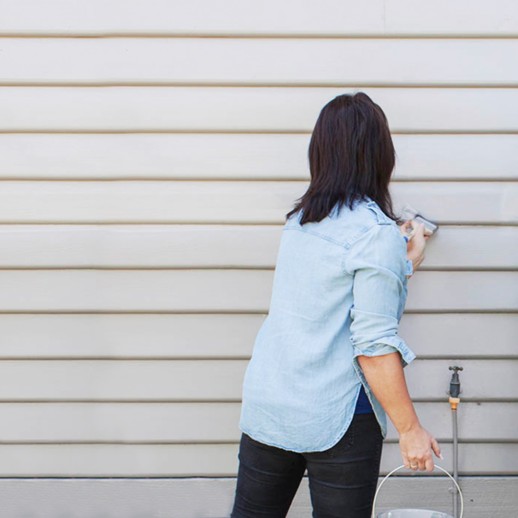
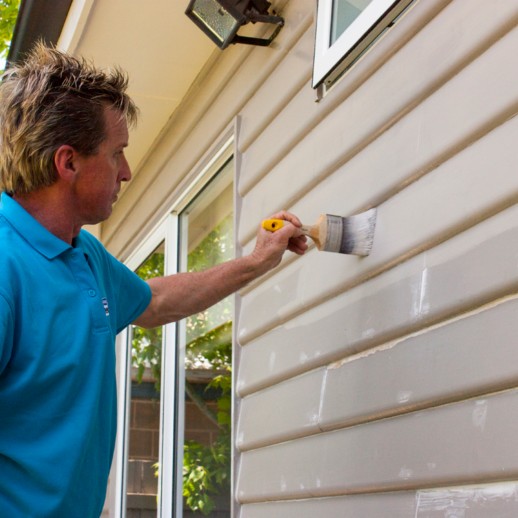
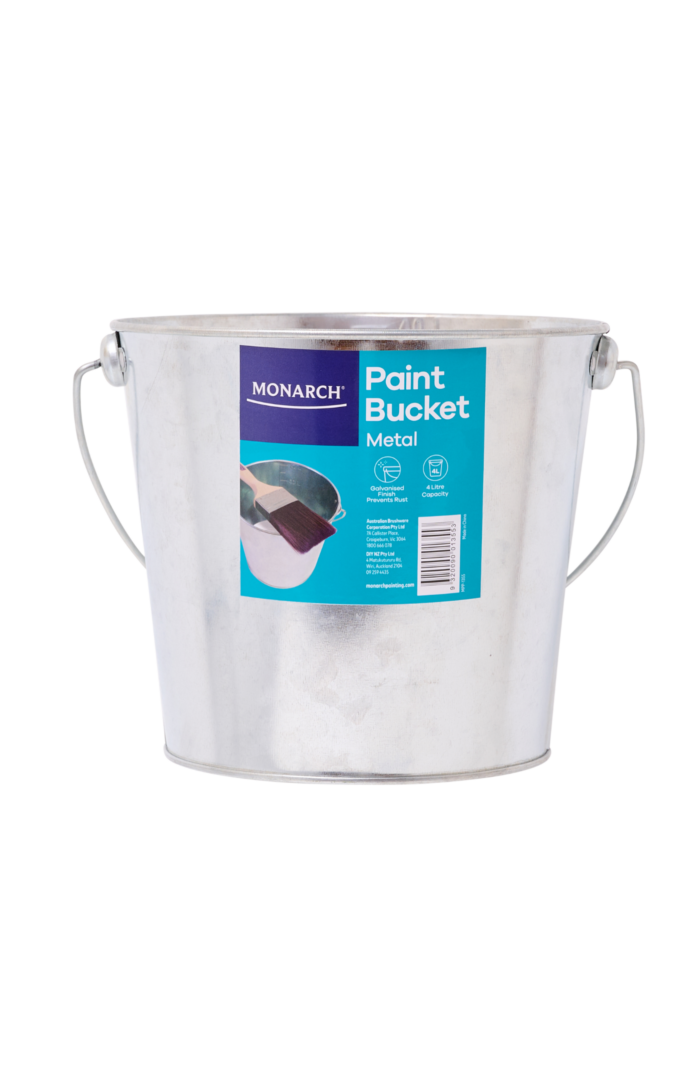
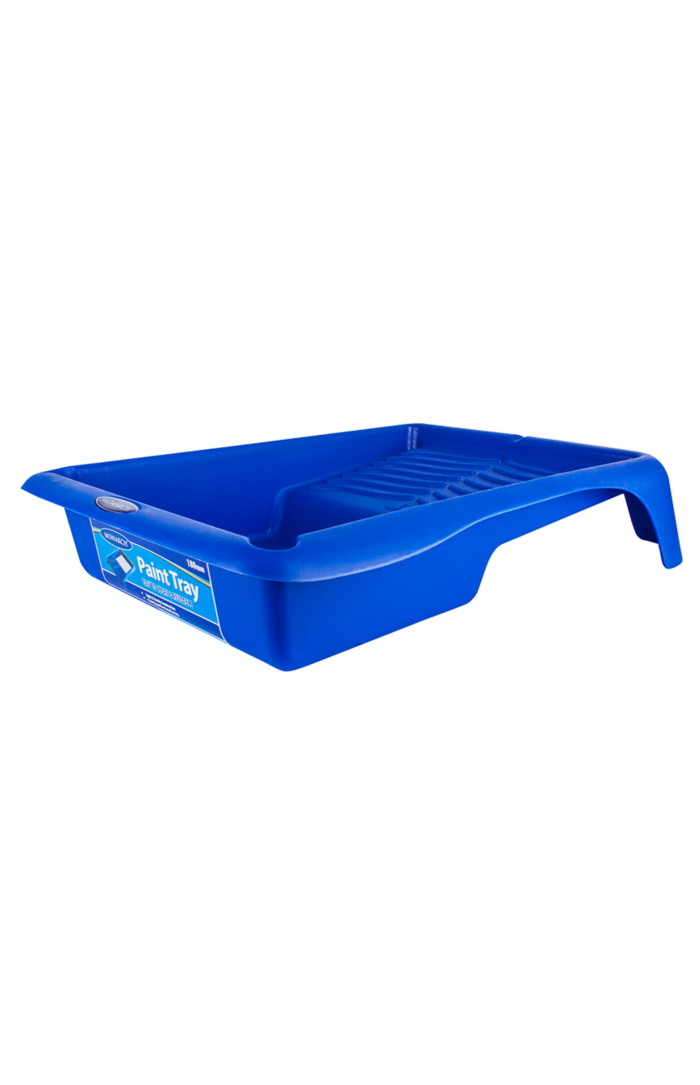
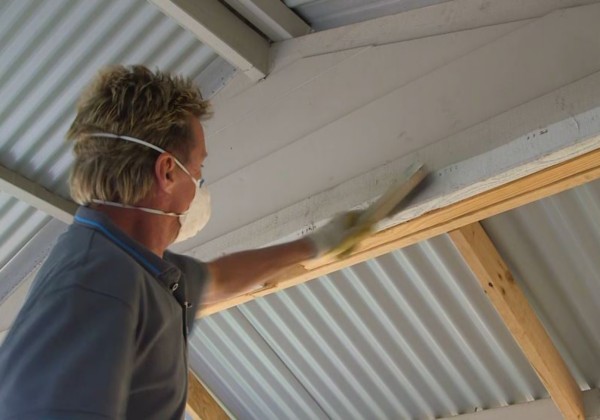
Load your exterior, rough and textured surface brush with low-sheen outdoor paint. Then, start to cut in around the edges, ensuring you don’t paint the ceiling. Then, load up your 100mm Monarch Mini Smart Lock roller and begin painting one pergola panel at a time, using a light-to-moderate pressure. Keep your paint tray or roller bucket nearby for easy loading. If required, apply a second coat. Ensuring that each coat is completely dry before the next one goes on, means the new coat won’t pull up the old one and create bubbles in your surface.
PRO-TIP: Wrap brushes in plastic and smart lock in its container between coats. This keeps them moist and ensures you don’t have to re-wash and re-prepare them between coats.
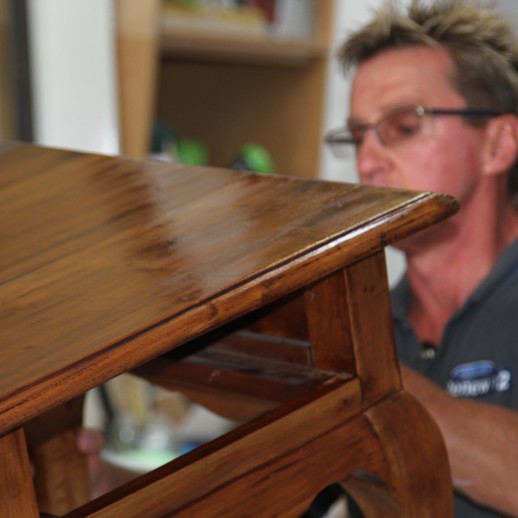
Congratulations, you’re done! Scrape any leftover stain back into the tin for re-use. Wash your brushes and rollers thoroughly so you can use them for your next project.