Follow Monarch’s Renew in 2 step-by-step, easy to follow directions and DIY your home renovation projects. Moreover, you don’t need to be an experienced painter to Renew your ceiling in 2 easy steps. Simply paint in 2 opposite directions for a smooth, professional-looking finish that will instantly change the dynamic of any room.
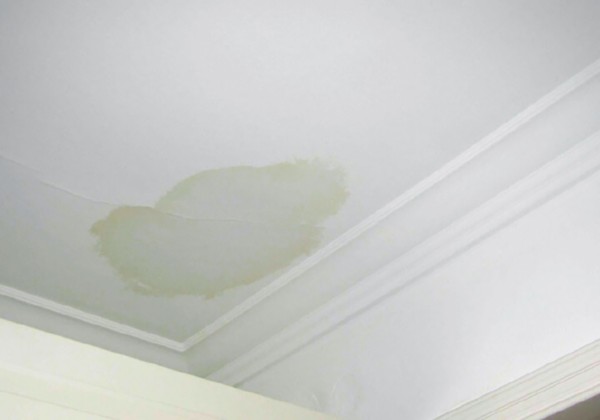
Start by checking your ceiling for damage. If there are any cracks, leaks, mould, or other damage to your ceiling, consult a professional before continuing. If there are bubbles on the surface or areas where paint has flaked away, sand down so that the area is smooth.
If you’re painting a new ceiling prep your area and get ready to apply your undercoat.
TIP: Remove light fittings and tuck any cords back up in the ceiling so you don’t end up with a cutting in line around the fixtures. This will make it easier to update your light fittings down the track.
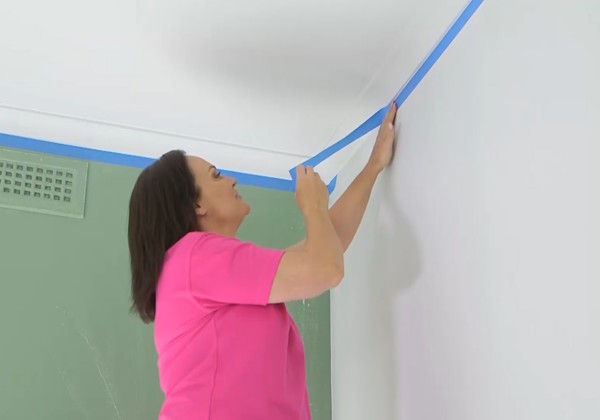
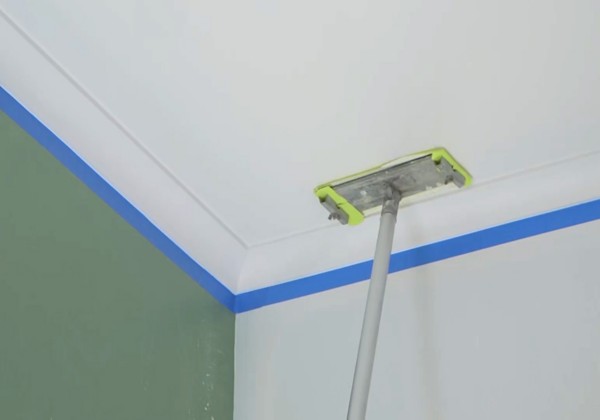
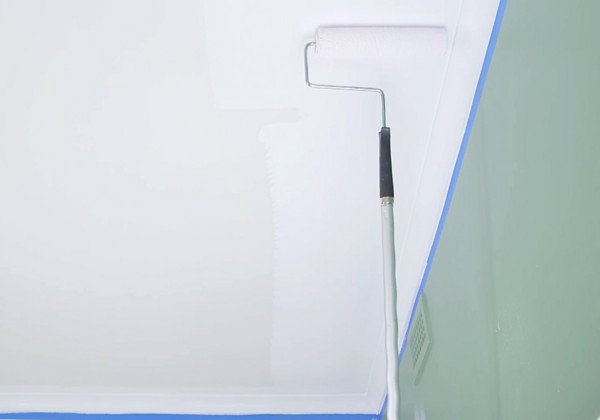
If you’re only painting the ceiling, use quality masking tape to ensure a clean line between your ceilings and your walls. We recommend using a quality painter’s tape to protect your wall from any flying specks of paint. Lay the tape in sections. Tape small sections and move your ladder around the room until you’ve gone the whole way around.
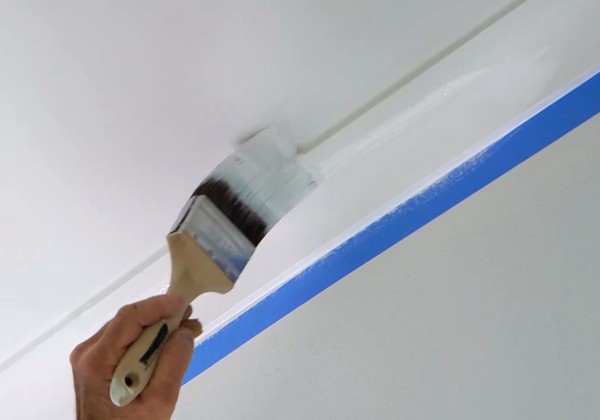
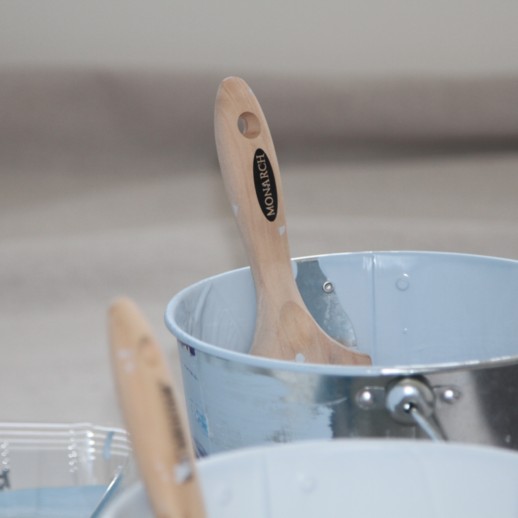
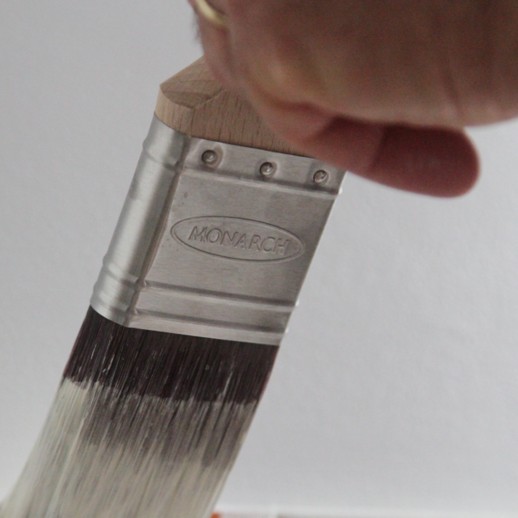
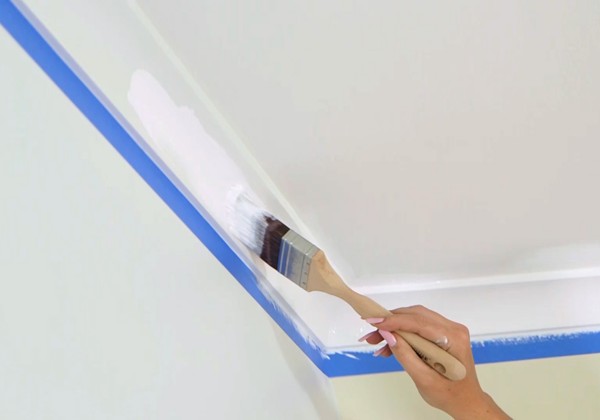
Cutting in involves painting a margin around the edges of the ceiling where the roller can’t go. Using your quality Monarch 50mm brush, paint small strokes from the bottom of your cornices upwards towards the centre of the ceiling, starting at your tape. With a quality brush like this one, you can paint a little over the tape if you need to.
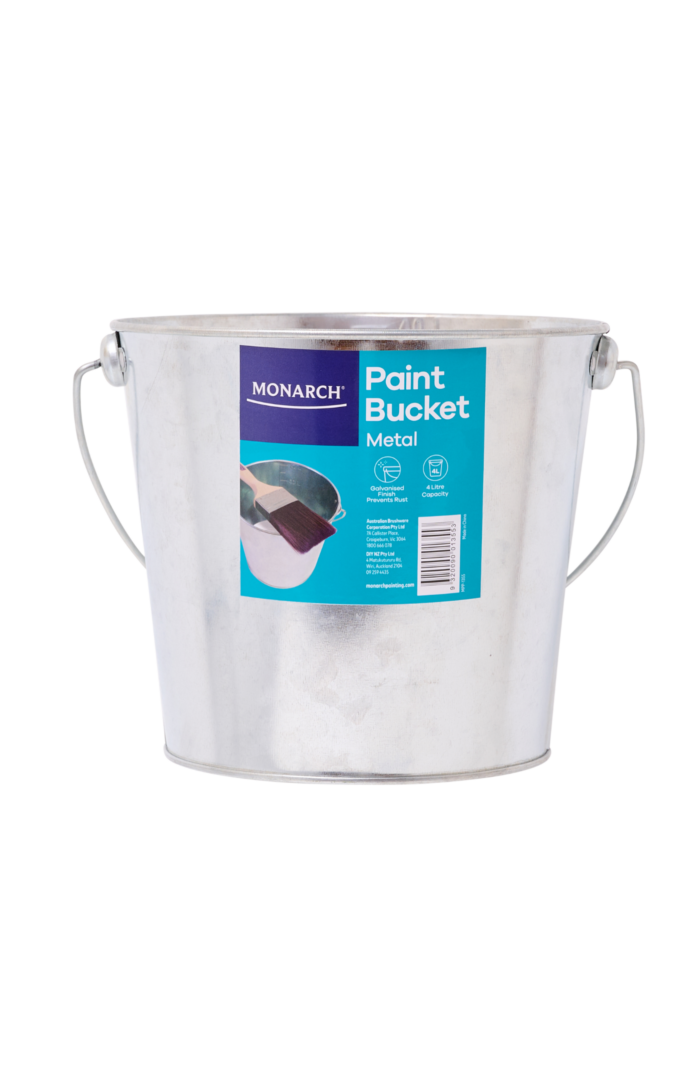
TIP: Pour some paint into a small plastic paint pot rather than bringing the whole paint tin up the ladder with you.
By the time you’ve gone all the way around your cornices once, the first coat will be dry, so start immediately on cutting in the second coat.
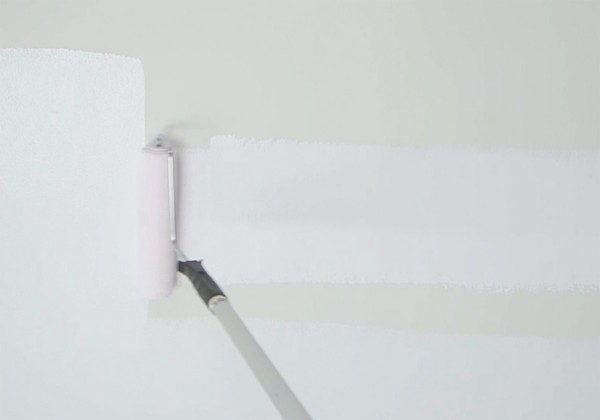
Load your Monarch Walls & Ceiling Roller 12mm NAP with paint and start rolling. Start from the edge of the ceiling towards the middle, about half a rollers’-width from where you’ve cut in using a light-to-moderate pressure. Keep your paint tray about half a metre away from you for easy loading.
TIP: Avoid pressing too hard when you roll – this can create thick lines called “tram lines” over your surface. Use a moderate pressure.
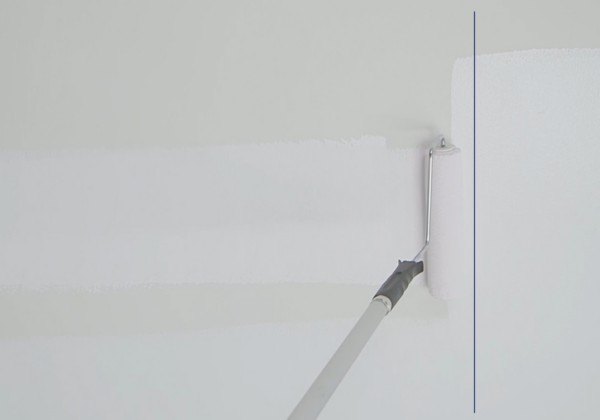
When you’re rolling, imagine there’s an invisible line dividing your ceiling in half. On each stroke, once you get to this line, roll back towards the side you started. When you’ve done one half of your ceiling, reload your roller and paint the other half. Make sure you overlap a little along that invisible line so there are no missed spots.
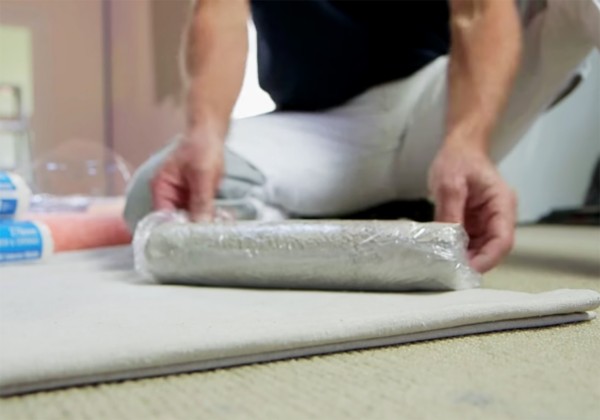
Wrap your roller in some plastic wrap to keep it moist while you wait for the first coat to dry. Keep in mind that if you’re using low-sheen paint rather than flat paint, you may have to wait a little longer.
TIP: Wait until the first coat is completely dry before beginning the second. Painting over wet paint can pull the first coat away from the ceiling, creating unsightly bubbles over your surface.
Start again where you started the first coat, but paint in the opposite direction, alongside your invisible line. This will ensure even coverage and a professional finish. Do both halves of your ceiling as in steps 6-8.
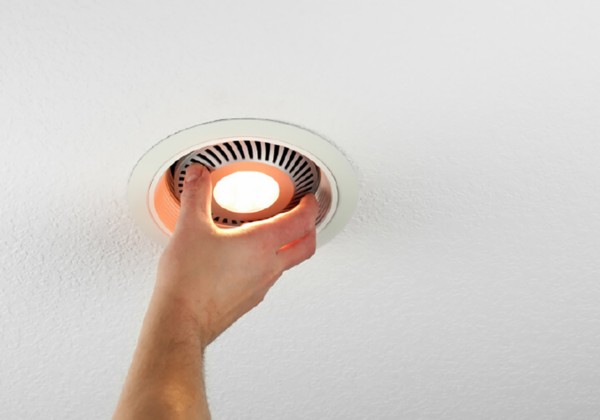
Congratulations, you’re all done! You’ve renewed your ceiling in 2 easy directions. Relax while you wait for your second coat to dry. Once it’s dry, refit your light fittings and electricals, replace your furniture, and enjoy your renewed ceiling.
Tip: Wear gloves when refitting your light fittings and electricals. Flat paint especially can mark easily, so wearing gloves will prevent fingerprints and marks on your renewed surface.