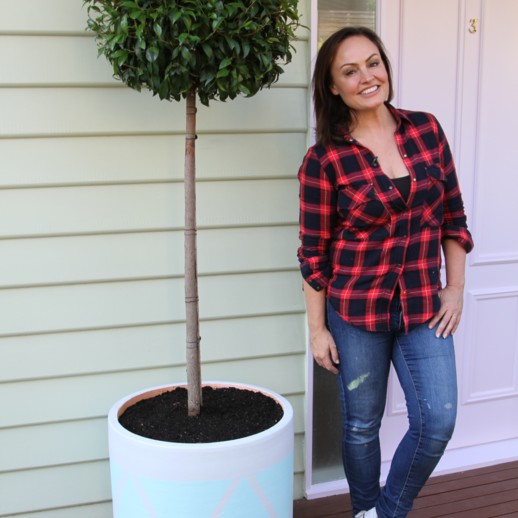
Follow Monarch’s Renew in 2 step-by-step instructions and DIY your home renovation projects. Add instant colour to your outdoor or indoor living space by renewing your decorative pots in 2 colour tones. Simply pick 2 colours, then in 2 simple processes, tape and paint to create texture and depth in your décor.
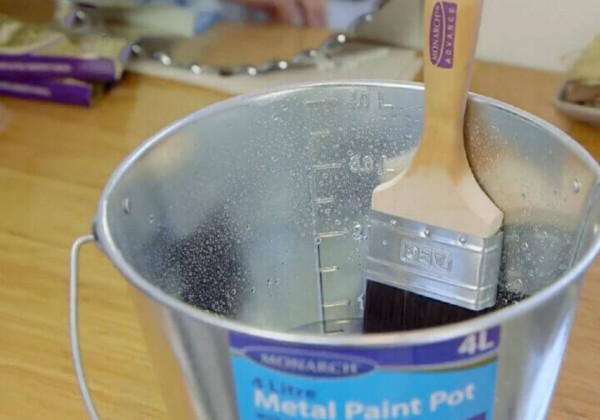
If you’re using water based paint soak your brush in an inch of water for 10-15min, then remove and spin in between your hands to remove excess water. If you’re using oil-based paint, follow the same steps using turps.
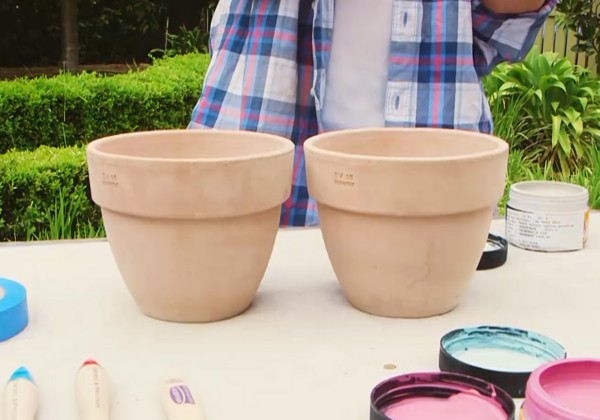
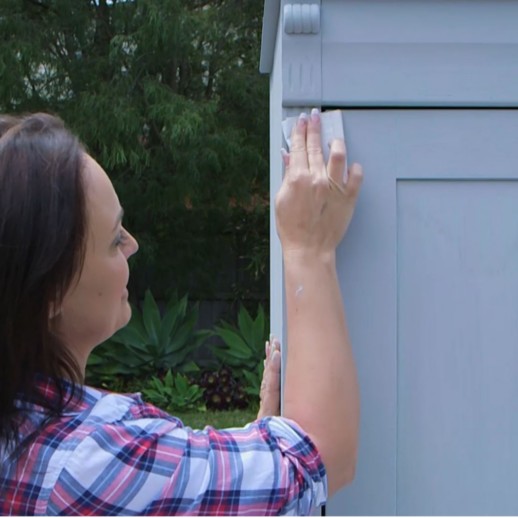
If you’re renewing an old pot, scrape or sand off any old paint that’s flaking to create a smooth surface. Then wash with Monarch sugar soap and leave to dry completely.
Before moving on to the next step. If you’re updating a new pot, just give it a good dust to ensure the surface is clean before you paint.
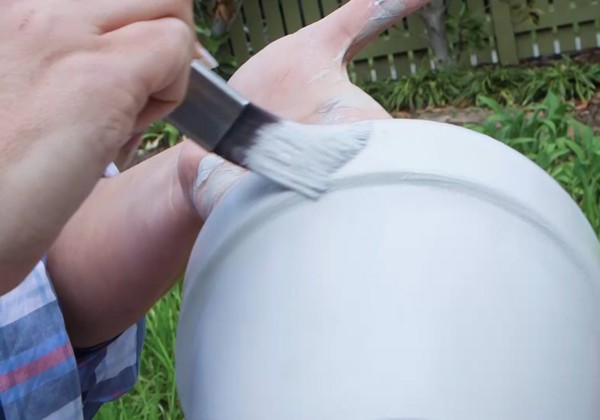
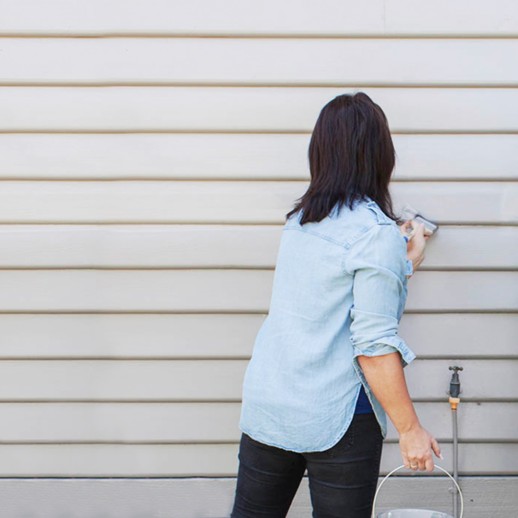
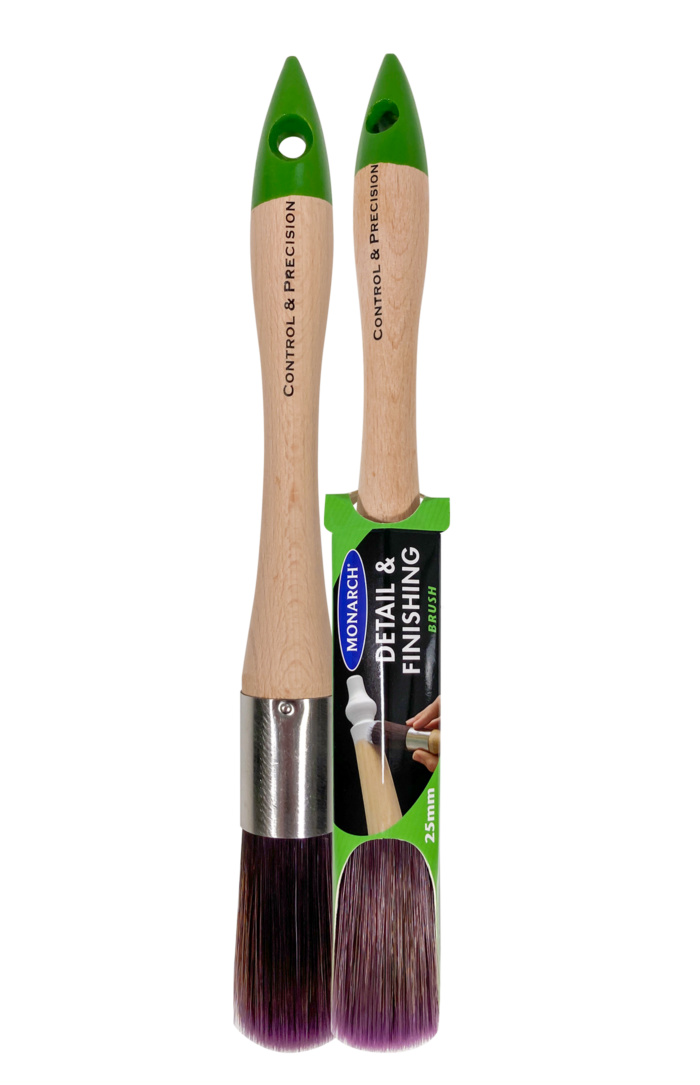
Using your Monarch detail and finishing brush, apply your first colour over the whole pot. It’s better to use a lighter colour for this step, to ensure that your second colour shines through. If you’re going for a theme in your outdoor space, choose the same first colour for all your pots.
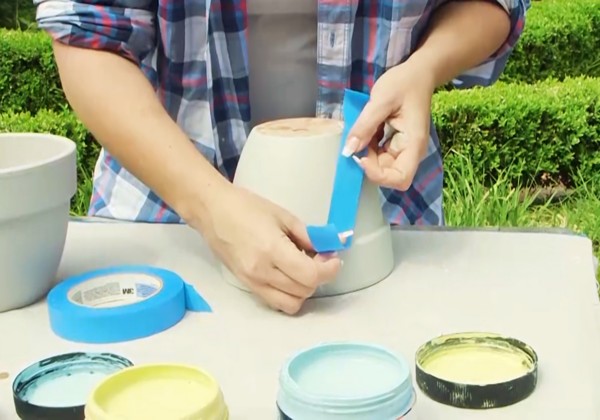
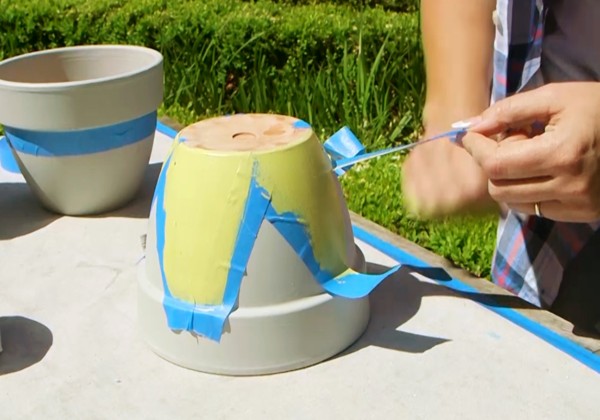
Once you’ve decided on a design, whether it be stripes, geometric shapes, or simply two tones, lay your tape. Using a quality painters tape, tape along the outside edge of your design to ensure a clean edge.
TIP: If you want the pot to last longer, apply undercoat and paint to the inside as well as the outside.
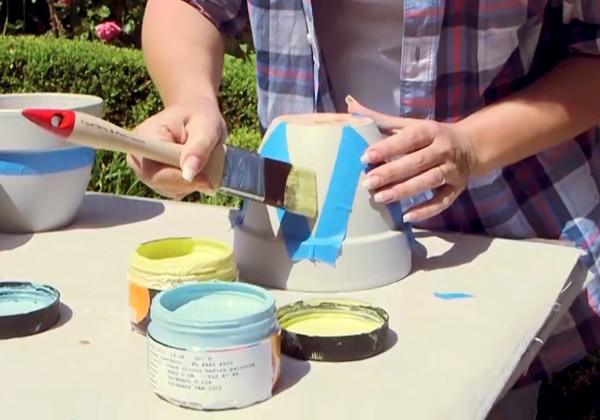
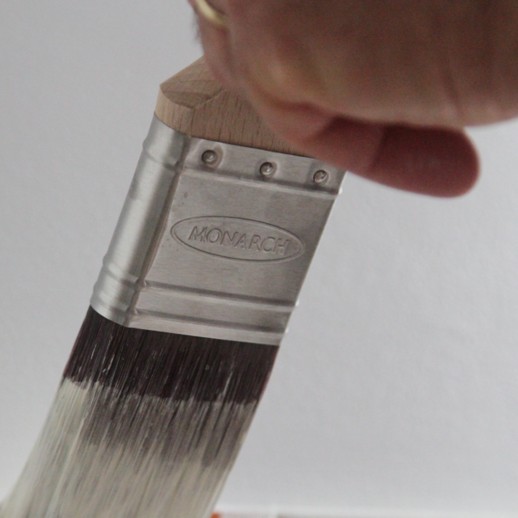
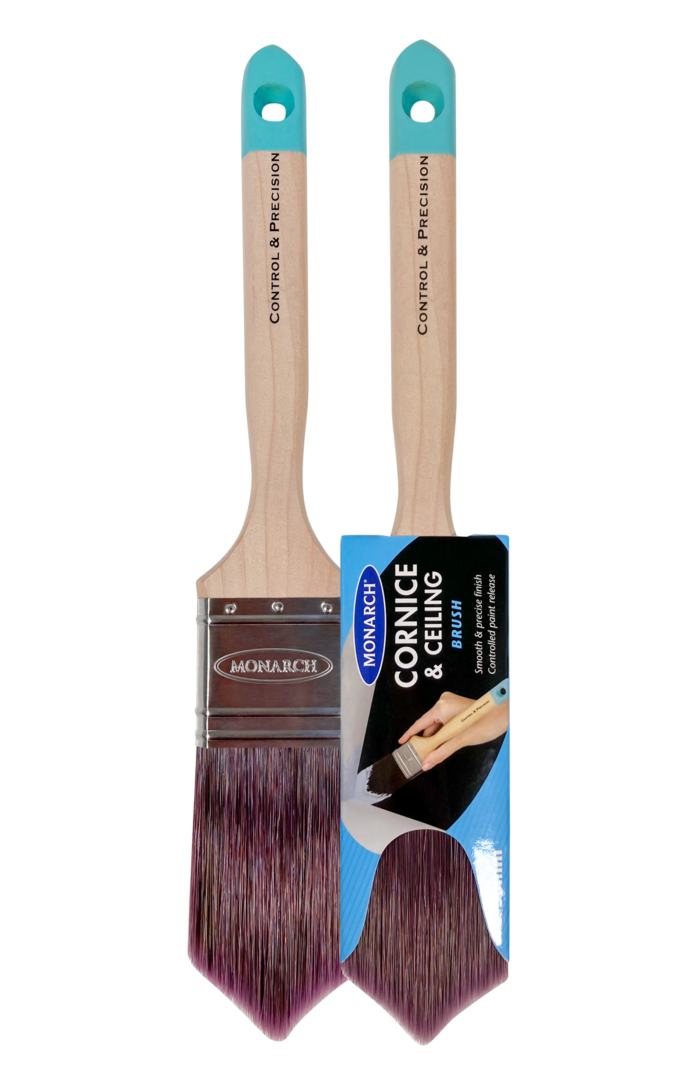
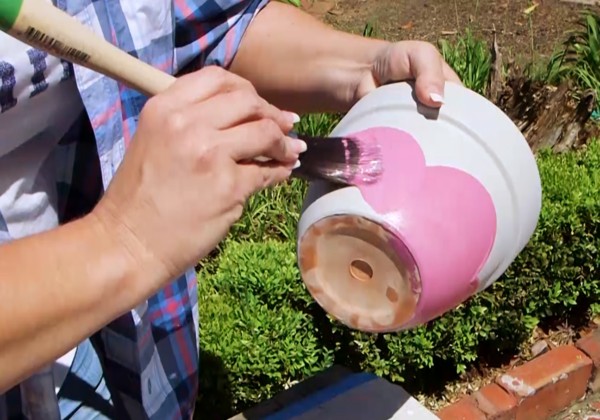
Load the Monarch Sash Brush with paint of the second colour you have chosen for your 2 tone pot project. Working from the middle of your design outwards towards the tape, first use the thin edge of the brush to apply excess paint in the middle of your taped design. Now use the flat edge of the brush to fill in the space, taking care not to apply too much paint at once. If your pot is bigger, use the Monarch 100mm roller for this step. Apply 2 coats of your chosen colour, waiting in between coats until the paint is completely dry.
Peel off the painters tape while paint is still tacky. It will be easier rather than if the paint is completely dry. Peel off tape in slow smooth motion.
After completing step 4 and ensuring your first colour is completely dry, load up your Monarch D & F Detail Round Brush with your second colour. Holding your pot steady in one hand, plant your brush gently but firmly in the centre of your design, then press and curve your brush to create a rounded edge. Repeat until your design is complete, filling in any missed edges of required. Once the first coat is dry, repeat to complete the second coat.
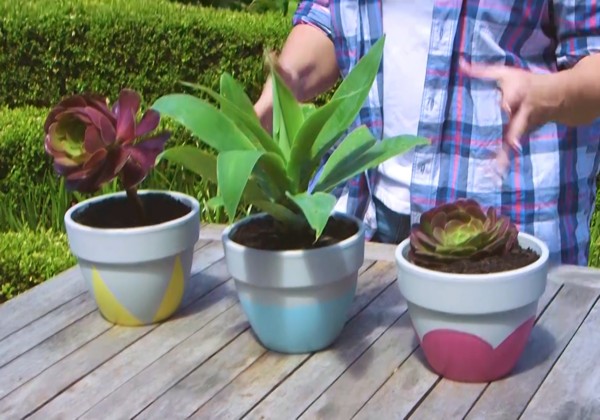
Congratulations, you’re all done! While you’re waiting for the paint to dry, be sure to wash your roller and brushes and store your paint and other accessories properly for use on your next project.