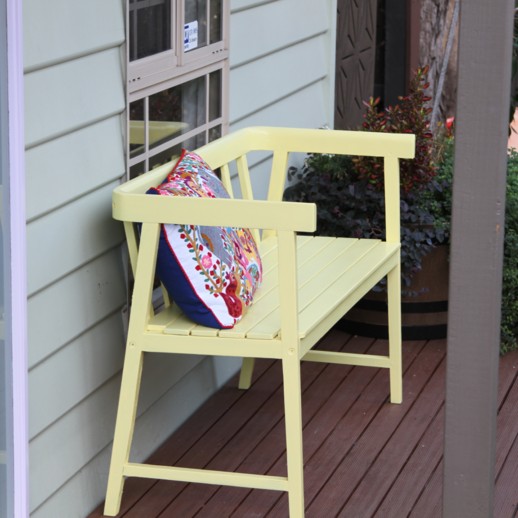
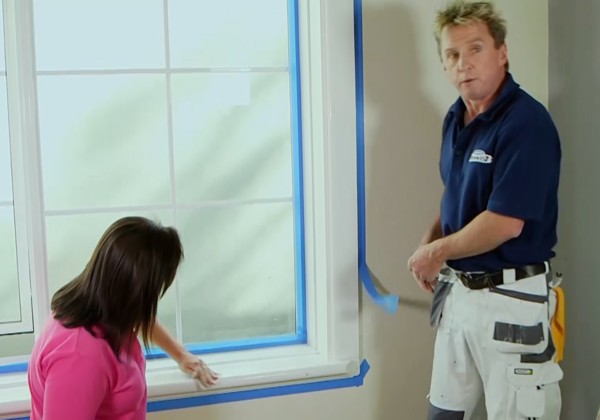
Trims add a subtle but definitive frame to the most important elements of your room – your windows, walls, ceilings, and even your fireplace. Give any room a subtle lift by following Mark and Leah’s easy step-by-step instructions to renew your trims.
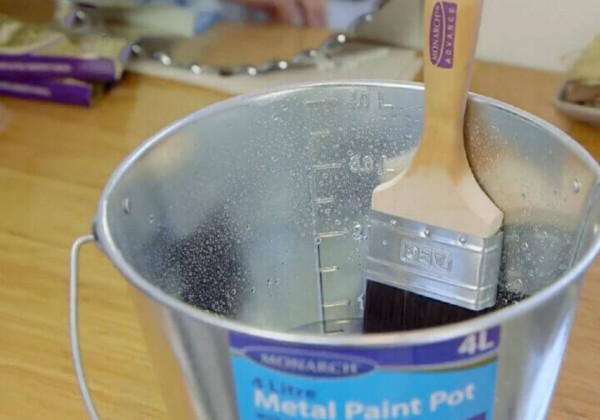
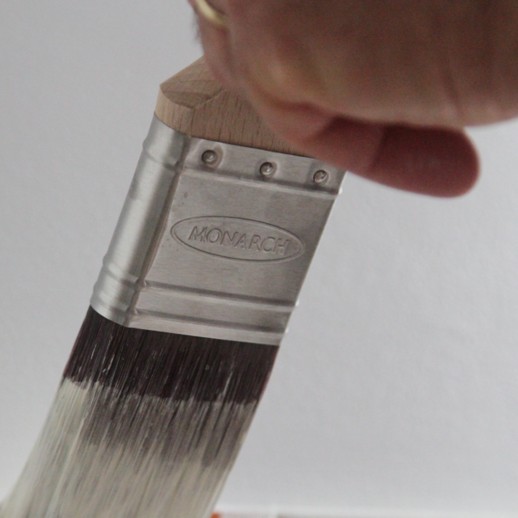
If you’re using water based paint soak your brush in an inch of water for 10-15min, then remove and spin in between your hands to remove excess water. If you’re using oil-based paint, follow the same steps using turps.
TIP: All the woodwork in your house needs the same kind of paint – an acrylic semi-gloss enamel. If you’re in an older house, your trims may have gloss rather than semi-gloss paint, so keep this in mind when choosing your new colour.
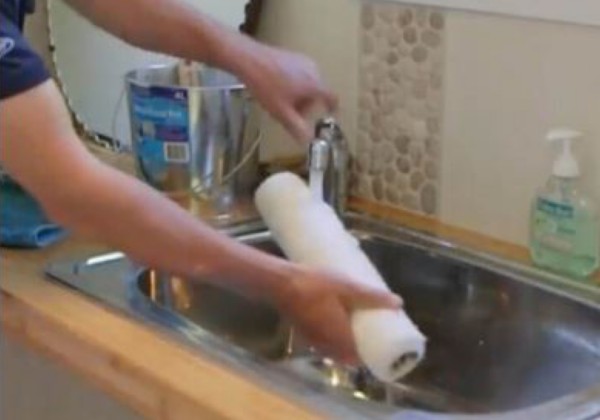
Whether you’re using water-based or oil-based paints, rinse your roller in running water and run your hand up and down the roller to get rid of excess lint. Shake the roller. Attach the roller to the frame and spin it quickly off a wall or other flat surface to remove the extra water – just make sure it’s not the wall you’re about to paint!
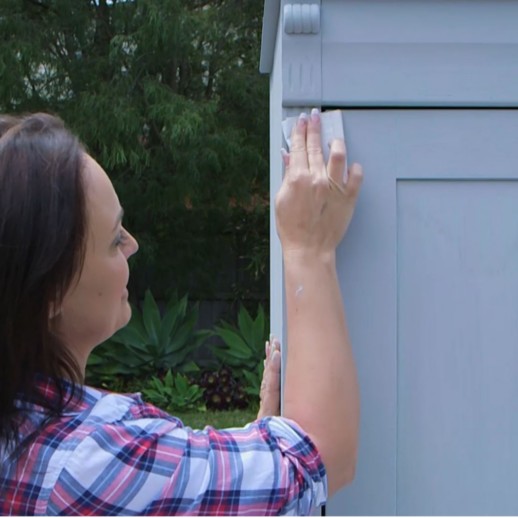
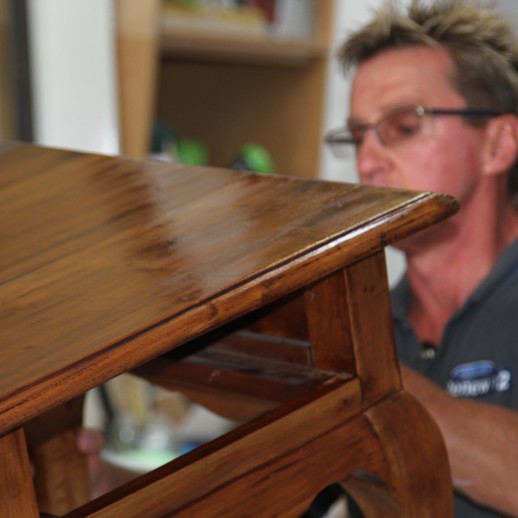
Whether you’re renewing your skirting, window frames, door frames, architraves or even a fireplace, sand all surfaces to remove the lacquer so the surface is no longer shiny allowing the paint to adhere properly. Don’t worry about removing all colour completely – just ensure that the lacquer is removed. After you’ve sanded all surfaces, wipe down to remove the dust and ensure a smooth finish. Lay drop sheets to protect your flooring from any paint splatters.
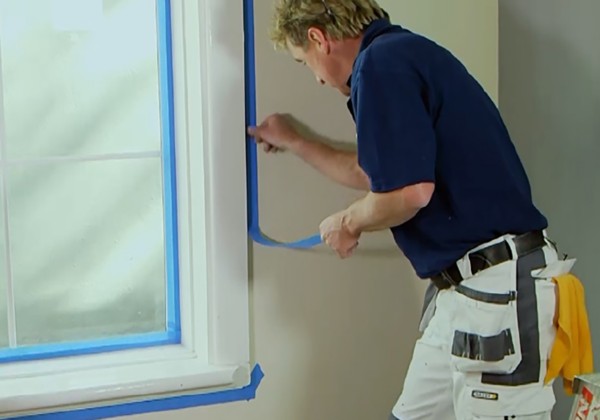
Using a quality painter’s tape, tape the areas you don’t want to get paint on, including your walls, floor, and window glass, where they meet the area you’ll be painting.
In a lot of older homes the woodwork has been painted with oil based enamel. If you plan on using a water-based enamel to cover your window you will need to apply a coat of waterbased undercoat first.
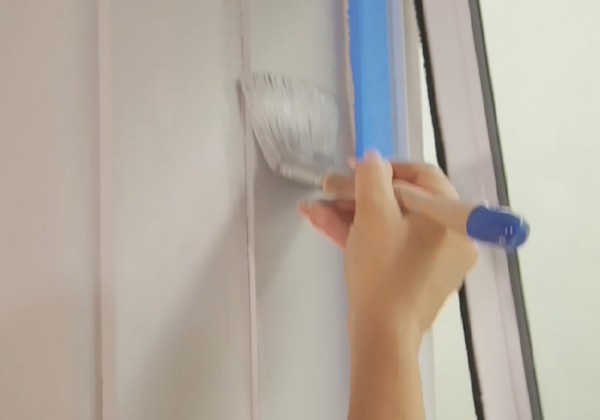
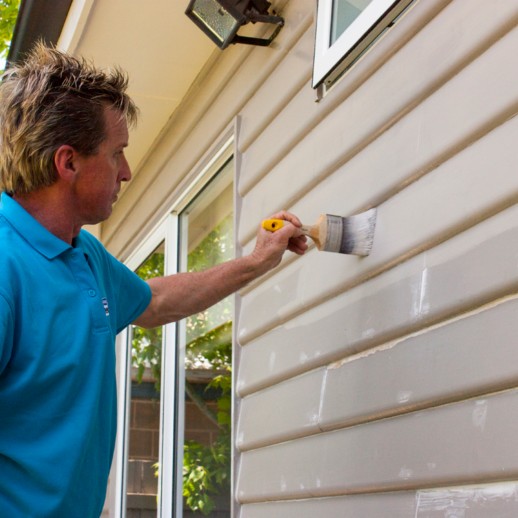
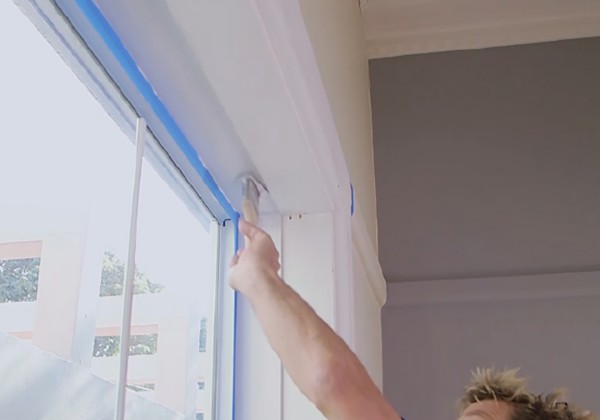
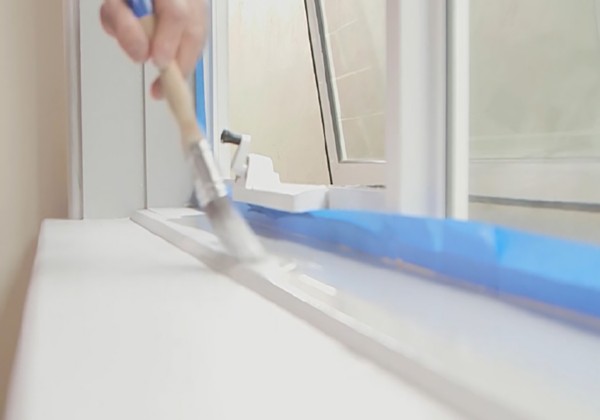
When painting your window frames, you want to be painting from the outside of the frame where it meets the glass towards the inside of the frame where it meets the wall. Starting at the top of the frame, paint in long even strokes as much as possible, following the grain of the wood.
Leave frame to dry completely, then paint your second coat. Waiting for each coat to completely dry before the next one goes on, ensures that the new coat won’t pull up the
old one and create bubbles on your surface.
TIP: Wrap brushes and rollers in plastic between coats. This keeps them moist and ensures you don’t have to re-wash and re-prepare them each time you paint.
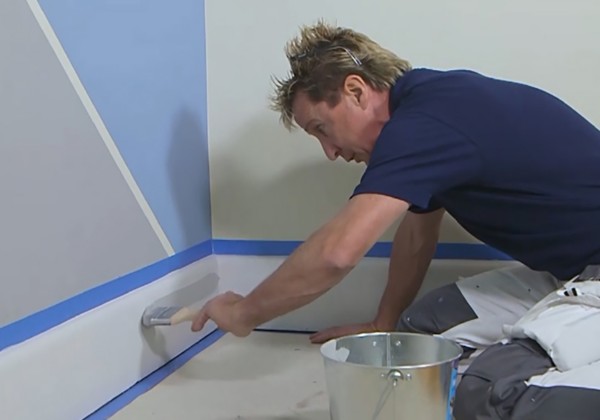
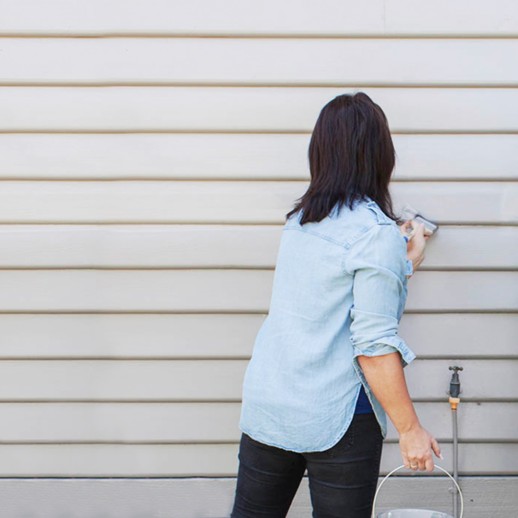
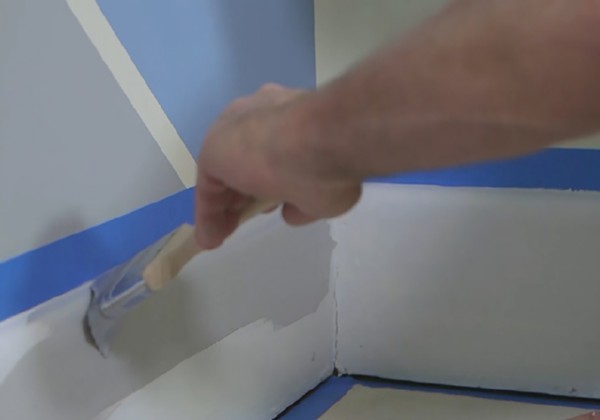
Paint the skirting board using your 38mm or 50mm skirting brush. Start by running your brush over the centre of your skirting where it faces the room, then move towards the edges when you have less paint on your brush to ensure a clean, crisp edge.
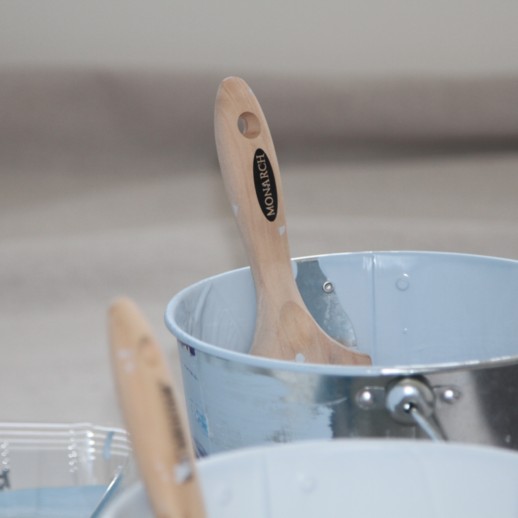
TIP: When painting smaller areas like trims, pour some paint from the tin into a smaller plastic pot. This will be easier to hold and transport as you move around the space.
Leave skirting to dry completely, then paint your second coat. Waiting for each coat to completely dry before the next one goes on, ensures that the new coat won’t pull up the old one and create bubbles in your surface.
TIP: If you’re painting other woodwork, do your skirting last to prevent floor dust from getting in the paint and damaging your surface.
Congratulations, you’re done! Pour any leftover paint back into the tin for re-use. Wash your brushes and rollers thoroughly so you can use them for your next project. Store your roller in its plastic container in between projects.
TIP: Make sure brushes and rollers are completely dry before storing – try leaving them in the sun for a few hours after flicking out excess water.