
Looking for some tips on how to paint your ceiling? Well look no further, Monarch can take you through all of the required steps and equipment you will need to successfully paint your ceiling and get that professional finish.
We’ll start off by making sure you have the equipment you need to complete the job.
Step 1: Prepare the surface
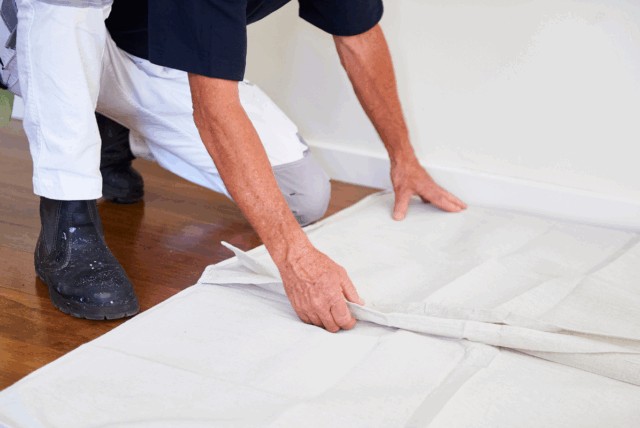
Place your Drop Sheets or protective coverings on the floor underneath the ceiling you’re about to paint. Make sure to have these held in place securely to avoid creating tripping hazards.
Ensure the surface you want to paint is clean and smooth. Start by going over the surface with Sugar Soap to help clean and protect. Next give the surface a light sand before wiping away dust with a wet cloth.
If you’re unsure about how precise you are with a paint brush, tape around any light fixtures. If you’re not painting the surrounding walls, you can also tape around cornices and edges.
Step 2: Prepare your paint
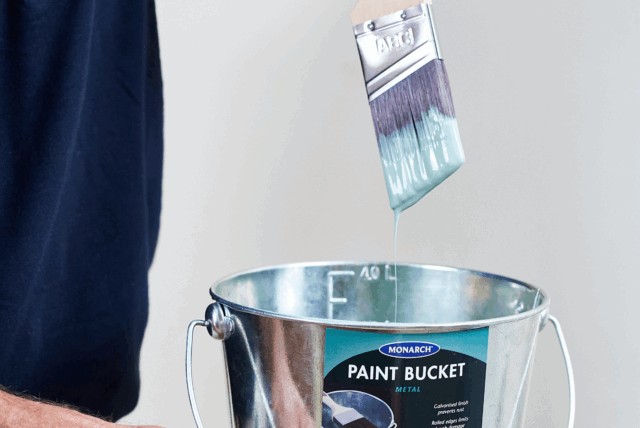
Once you open your tin of paint, make sure to mix it thoroughly. This can be done using a Paint Stirrer. This ensures that if any paint has separated the pigments will blend back together again.
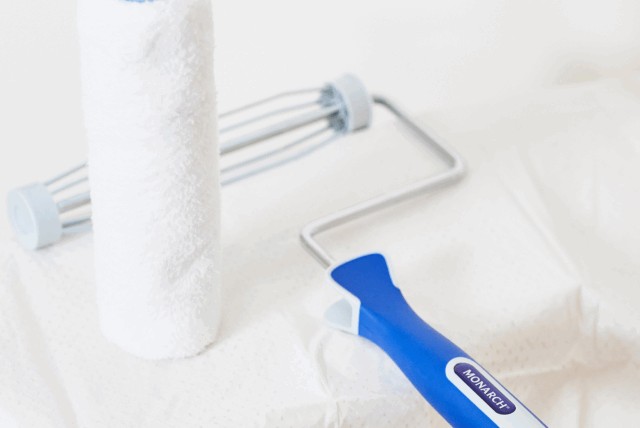
A quick tip, prepare your rollers by giving them a quick rinse under water to remove loose lint, prepare your brushes by soaking them in warm water. Spin out any excess water or solvent/thinner out prior to use. Wetting the roller will help you load the roller with paint. Dry rollers won’t operate as efficiently.
Step 3: Cutting in
To cut in, use a paint brush to get to areas that are not easily reached with a roller. Cutting in will create an outline that you then fill in with your roller. Make sure to finish cutting in the entire ceiling before you start with your roller. We recommend using our Cornice & Ceiling Brush, its triangular head gets into those tough spots well.
Rolling should be done while the cutting in is still wet for better blending.
Step 4: Using your roller
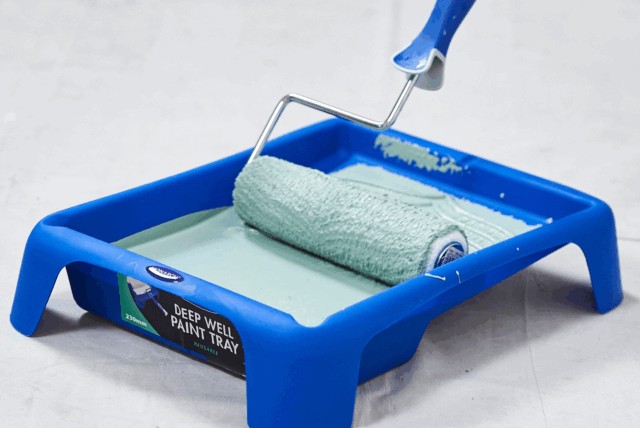
When preparing to use your roller, make sure that you’re using the correct sized roller. If the roller is too small, this may take you longer to complete the job. We recommend for most ceilings to use the Monarch Walls & Ceilings Ultra Microfibre Roller Cover. Ensure that the size of the paint tray matches the roller you are using.
When you are ready to begin rolling, pour some of your paint into the well of your paint tray. Next, place your Roller Cover onto your Roller Frame before attaching it to the Extension Pole. Using an extension pole allows you to not require a ladder to reach the ceiling.
To prepare your roller, begin by dipping it into your paint tray, then gently roll it up and down over the loading surface—the flat section of the tray with indented grooves. Continue this motion until the roller is evenly coated with paint. Be careful not to overload it, as excess paint can drip!
Once your roller is properly loaded, start painting in one corner, about one roller-width away from where you've already cut in. This helps remove excess paint and prevents buildup near the edges, which can be hard to control. Roll down toward yourself, then back over the same strip, overlapping onto the unpainted area by about one-third of a roller width each time. Work in manageable sections, reloading the roller as needed, until the entire ceiling is covered.
Depending on your roller type, you may need to use a technique called “laying off" to smooth out the finish. This technique is often necessary with longer nap rollers but typically not required for microfibre rollers. If laying off is required, do it while the paint is still wet. Lightly roll in a straight line toward yourself using no pressure—this helps avoid leaving stroke marks. Continue this motion slowly and evenly across the ceiling.
After the first coat dries, repeat the cutting-in process and apply a second coat with your roller. If necessary, lay off this coat as well. For best results, be sure to blend your roller strokes into the cut-in sections to achieve a smooth, even finish.
Step 5: Clean up
After you have finished painting your ceiling, clean your brushes and rollers properly. You can use a Brush Comb for your brushes and the 5 in 1 Multi Tool to extract excess paint from your roller, before rinsing to ensure that they can be used for your next project. If you are using water-based paint, immediately rinse the roller under running water until clean. If an oil-based paint was used, rinse the roller in the recommended solvent, then wash in warm soapy water until clean. Spin or shake out excess liquid.
*Note: Remember to take all safety precautions when painting at heights.
For advice on how to select the perfect paint accessory for your next project, take a look at our Painting Tool Kit and discover a bunch of painting tips, tricks and inspiration by following us on Instagram, TikTok and Facebook.
