Do you have a balcony area that’s mainly being used by birds and spiders?
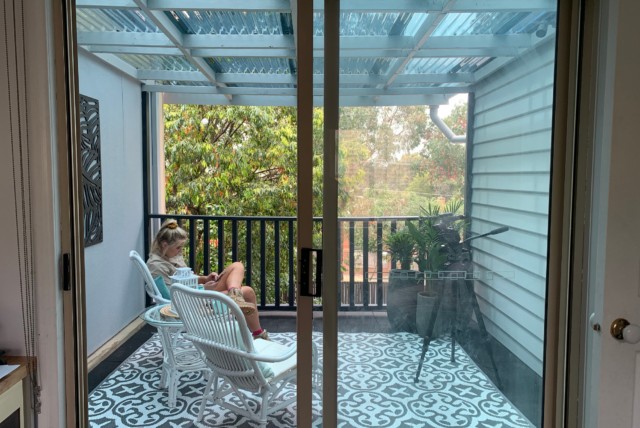
On this episode of House of Monarch, we take a run-down balcony and spruce it up with some on-trend paint colours and a new roof. We’ll show you how to protect your roofing from sun-damage, patch a weatherboard wall, paint everything from balustrading to render, then style it into a relaxing afternoon retreat.
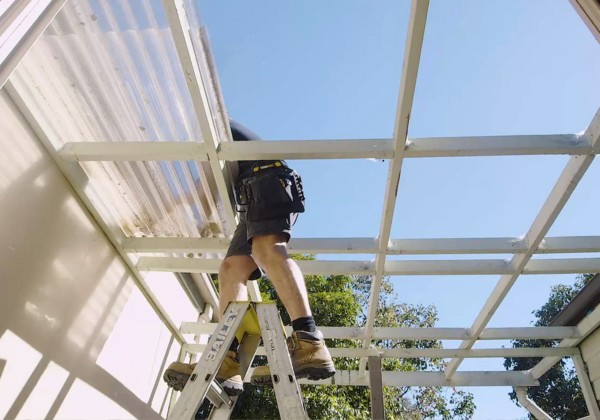
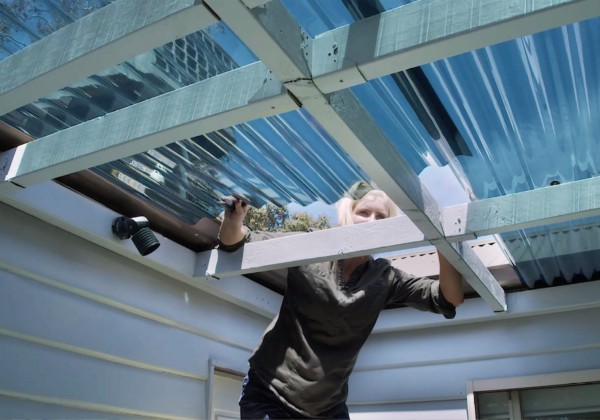
If your corrugated roof sheeting is looking a little worn it may be time to replace it. We’ve hired a roofing specialist to help us out with this task.
TIP: With the old roof sheets removed there will be a lot more space to work and do painting.
If you’re going to the effort and expense of replacing the roof sheeting, it’s worth taking the time to protect the beams with a fresh coat of paint. To prepare the beams for painting you’ll first need to use a dust brush to clean the surface of any dirt, grime or spiderwebs.
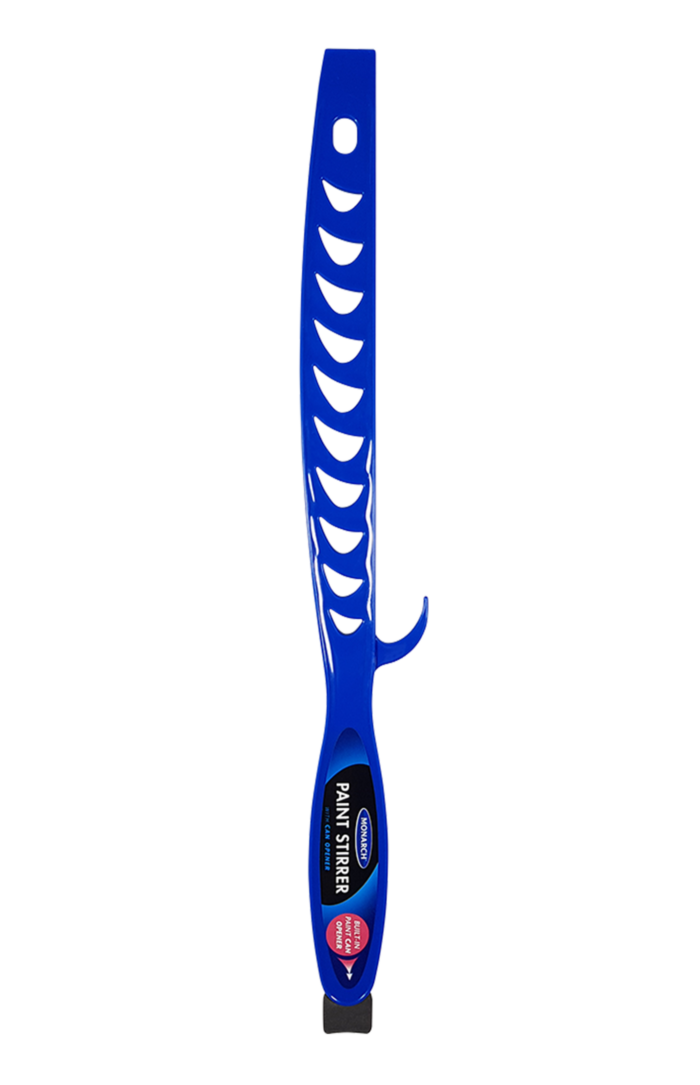
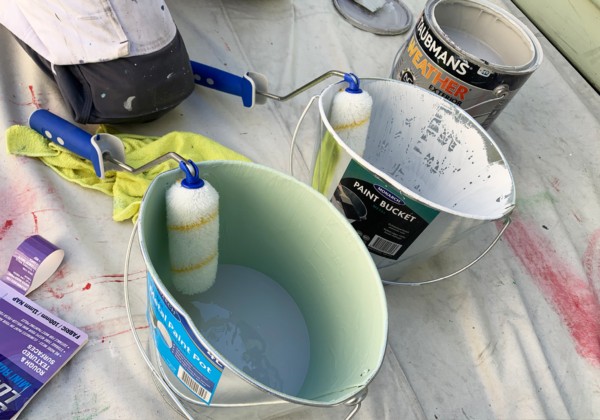
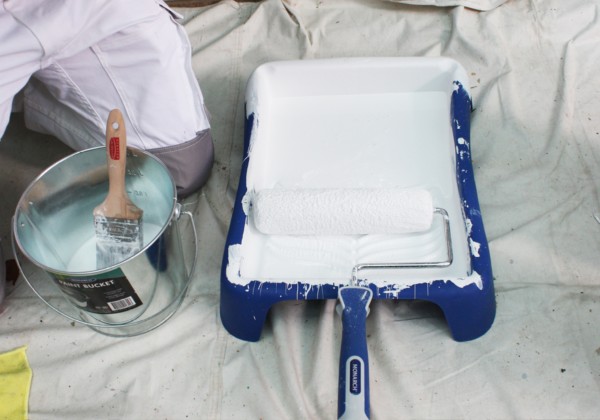
Once your beams are dusted, place some dropsheets on the ground below your roof and stir your paint according to the tin’s directions.
TIP: Did you know there are different types of canvas dropsheets for different floor types? Check your needs to keep yourself protected and safe.
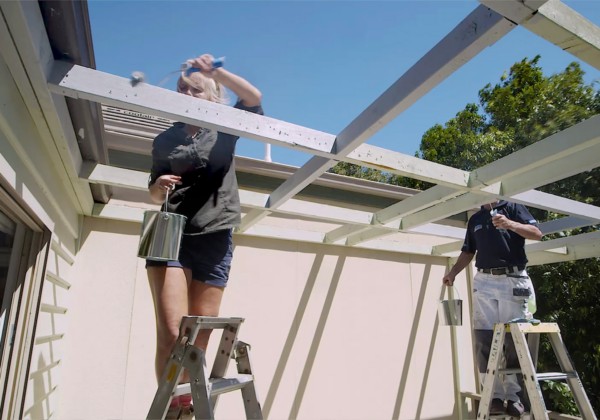
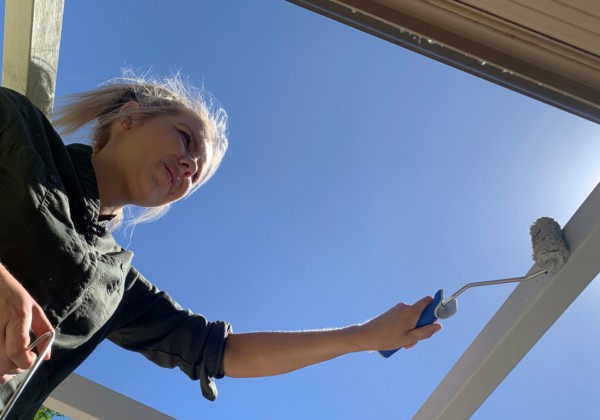
You may notice while you’re up on a ladder that the top of your roof beams are discoloured from the sun; this is the perfect moment to add a fresh coat of paint to stop any further damage.
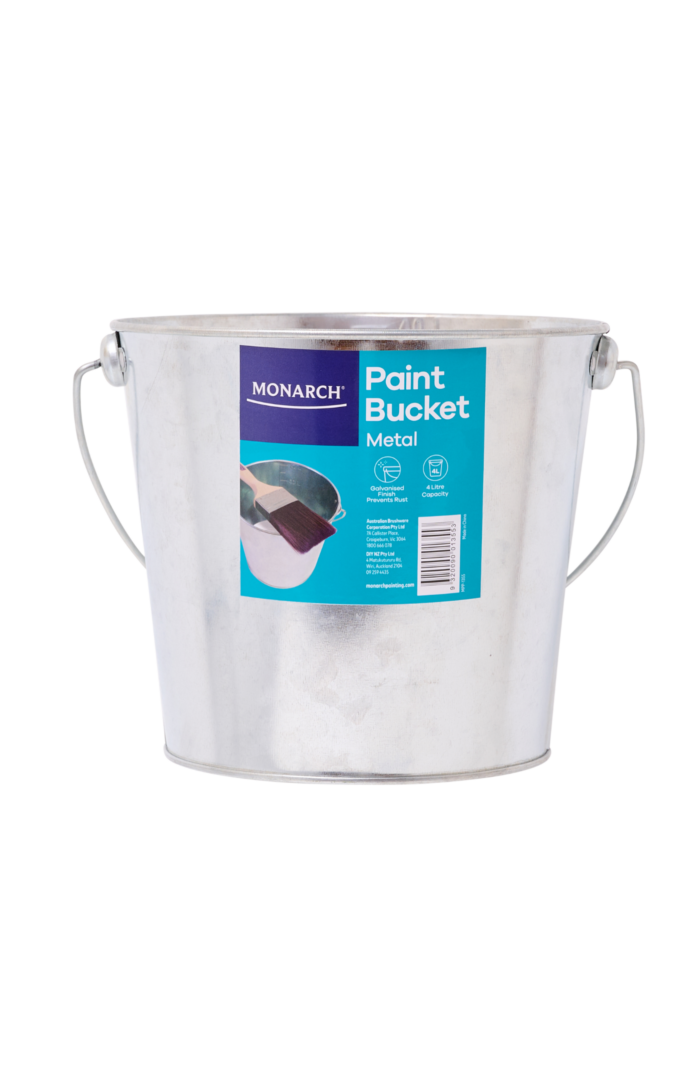
Use a Monarch Smartlock Rough Surfaces Mini Roller and a Paint bucket to apply a coat of paint to all sides of the roof beams, including the top. Rather than swapping to a brush, use the end of the mini roller to cut in the corners of the beams.
TIP: Instead of going up and down the ladder to reload your mini roller with a paint tray, squash your paint bucket and load your roller on the flat side.
Depending on the colour of your paint you may need more than one coat. Consult your paint tin for ideal recoat times.
Once your roof beams have been coated to your satisfaction, pour any left-over paint back into the tin, wash out your mini roller and bucket and store for next time.
When the paint is dry on your roof beams you can install your new sheeting. We chose to use tinted sheeting to protect the balcony from the sun.
If you’re doing all your painting on the same day your floors should already be protected. If not, throw down some dropsheets to catch any paint drips. Brush and wipe down your walls and balustrade to remove dirt, grime and spiderwebs.
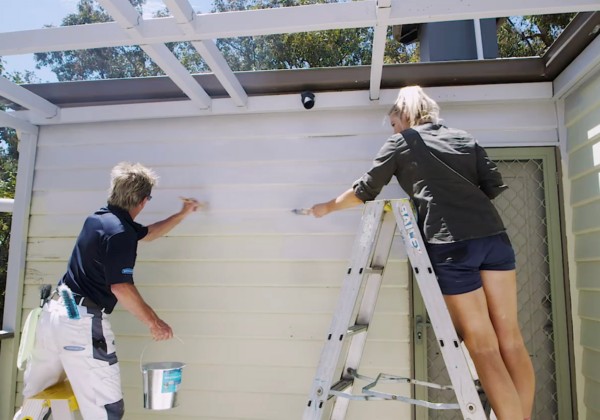
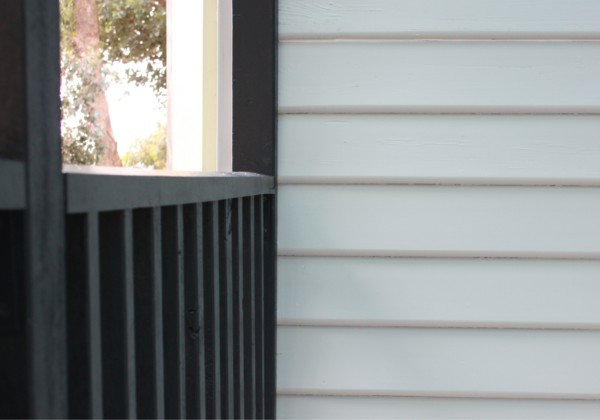
You might be used to painting weatherboards with a roller but for a small area it can actually be better to use a paint brush. Although using a brush can take longer, it’s easier to get a smooth finish.
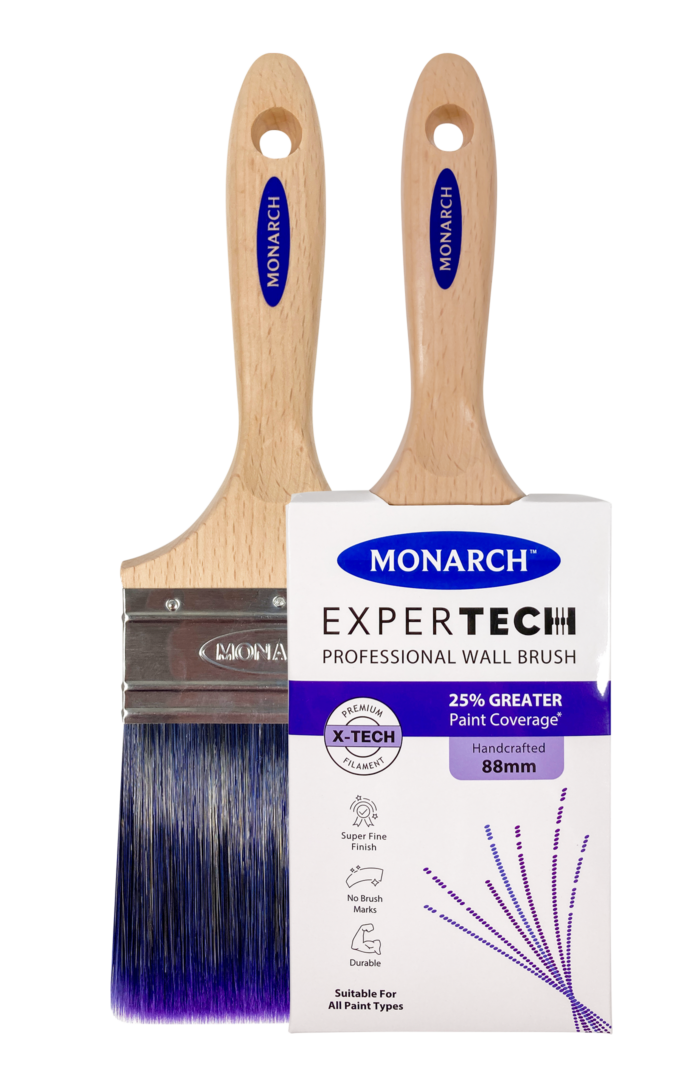
Starting from the top of the wall, use a Monarch Advance 63mm Paint Brush to apply paint one board at a time. Cut in the edge of each board then fill in the flats with long, even strokes.
Allow the paint to dry then apply a second coat if necessary.
TIP: Starting to paint from the top means you can catch and wipe up any drips as you go down.
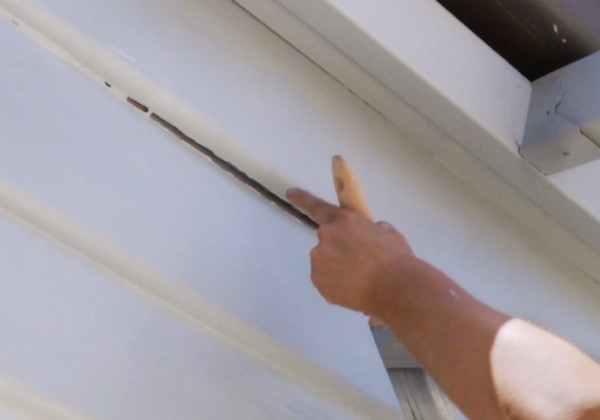
If you notice any gaps between your weatherboards while you’re painting it can be easier to gap fill once you’ve done one coat. The paint will close any of the smaller gaps and provide a stronger base for the gap filler in the larger ones.
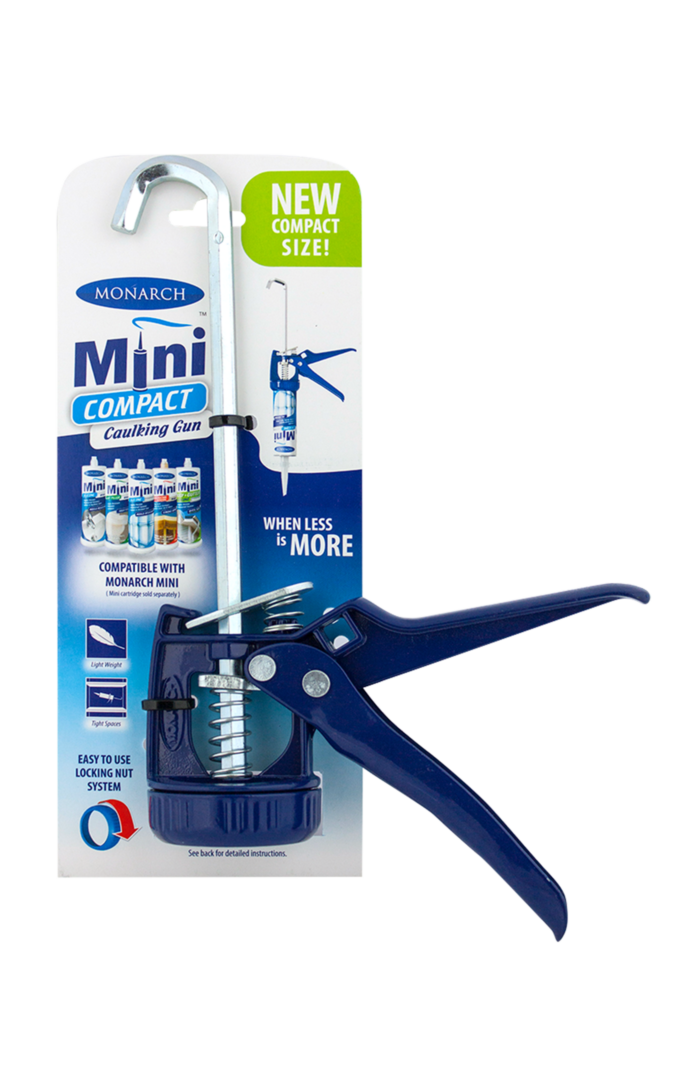
Use a Monarch Mini Gap Filler cartridge in a Monarch Mini Compact Caulking Gun to apply filler to the larger gaps. Smooth the filler with your finger or a dedicated Caulk Smoother and allow to dry completely before adding another coat of paint or spot painting to colour match.
TIP: If the gaps between your boards are very deep you may have to fill them in stages. Refer to the product information on the packaging.
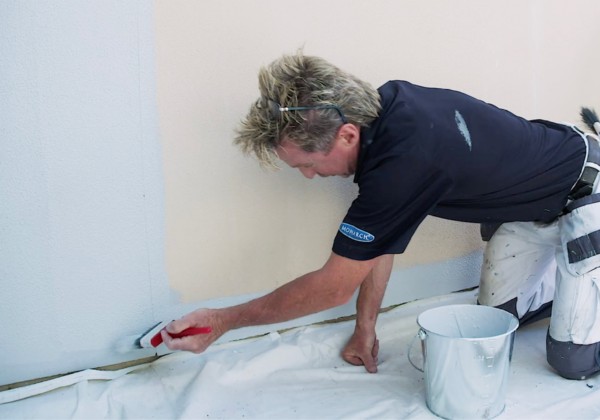
Because render is a very rough surface, you’ll need to use some specialty tools that can stand up to some hard treatment.
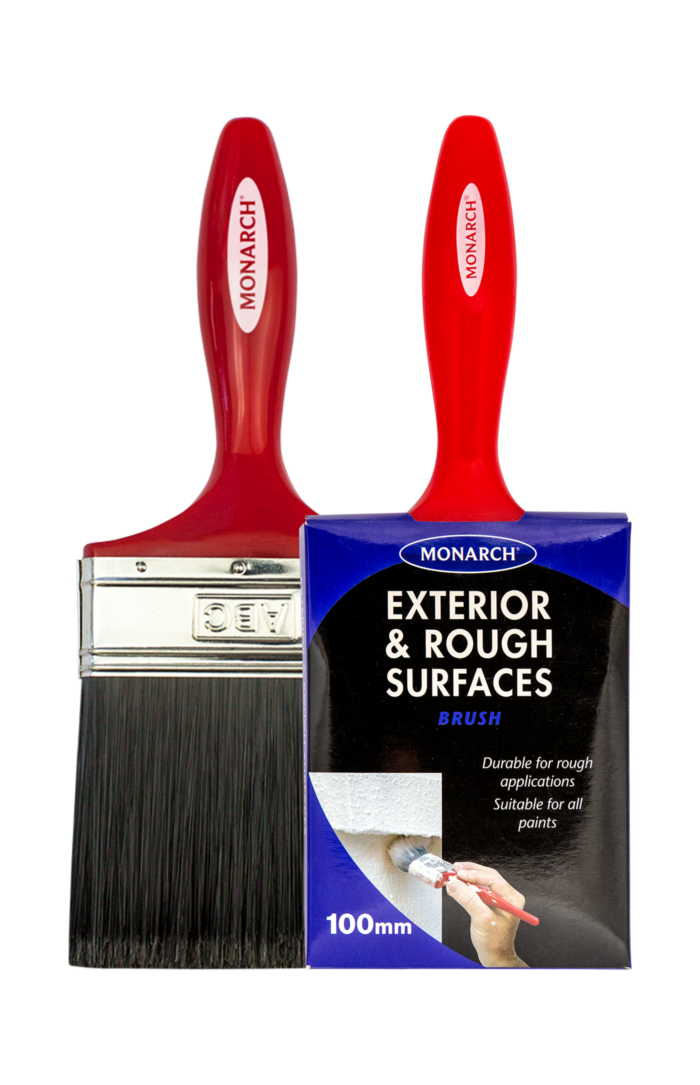
Cut in around the wall with a Monarch 75mm Exterior & Rough Surfaces brush and roll the middle areas with a 20mm nap roller cover like the Monarch Rough & Textured Surfaces roller attached to a Monarch Comfort Grip Frame.
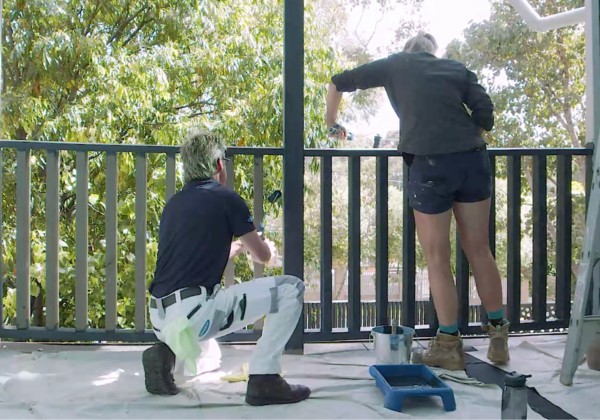
We used a different shade of paint for the balustrade to add some contrast to our balcony.
Use a Monarch paint brush or Smartlock Mini Roller to apply paint to all sides of your balustrade, starting from one side and working outwards. It’s easy to paint the outside of the balcony posts by hooking the mini roller through and painting towards yourself.
TIP: SmartLock mini rollers make changing paint colour between coats easy. Click and release the first roller cover into the storage tube and click on a fresh roller, ready for the second colour. Click and release to swap back for the next coat.
With the walls and the balustrade finished you’re done with the painting. Pour any left-over paint back into the tin, wash out your brushes, rollers and trays and store them for next time. If you’ve used any painters’ tape make sure you remove it while the paint is still wet to get crisp edges.
TIP: Worried about dried paint or pet hair contaminating your paint? Strain your paint through a cheesecloth or panty hose when you pour the leftovers back into the tin.

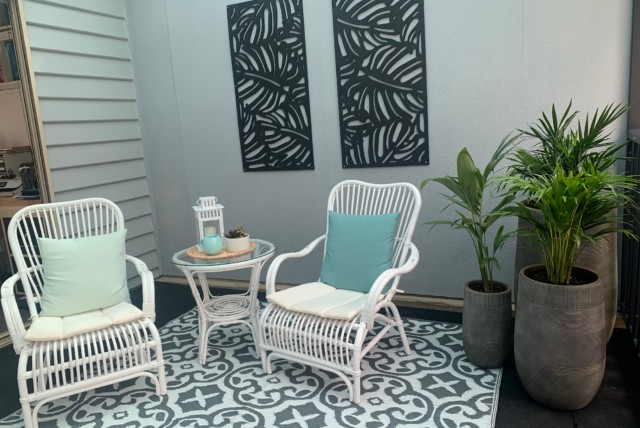
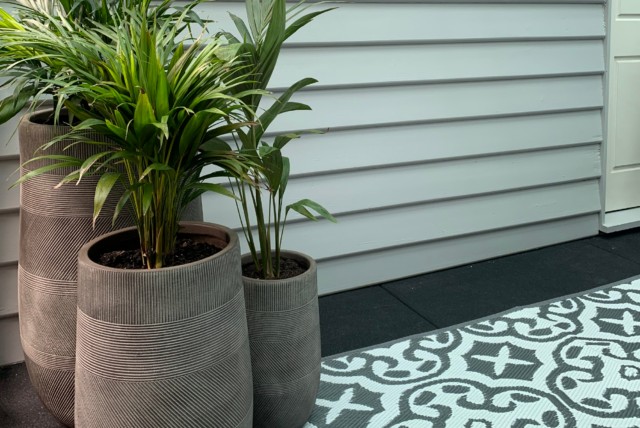
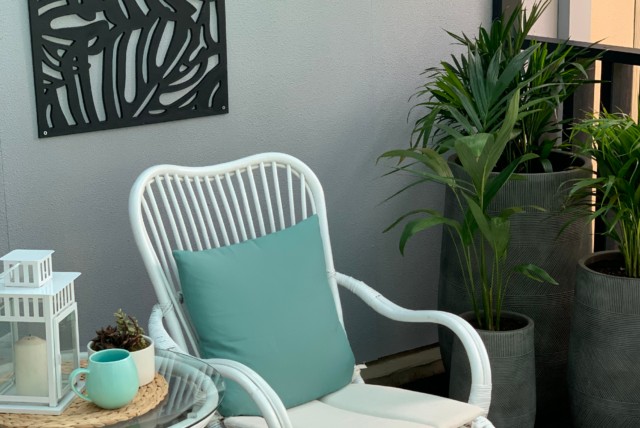
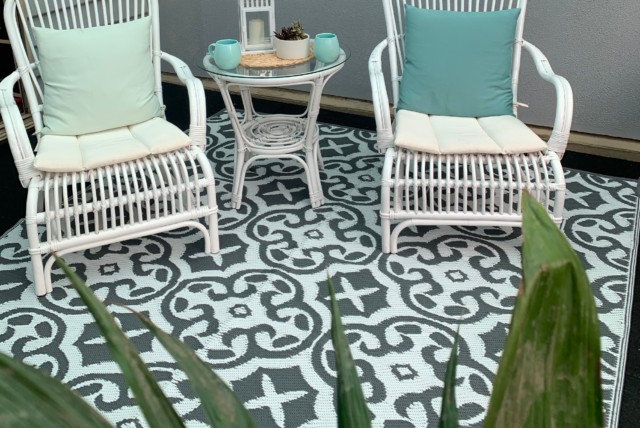
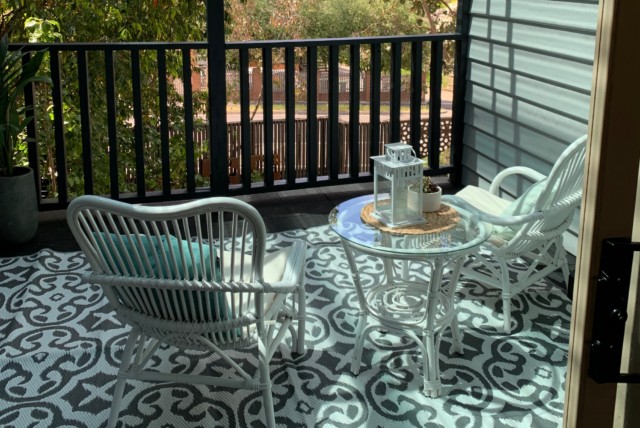
The plan for our balcony was to create a space that the family could come to relax in. We used potted plants, an outdoor rug and some wall art to make the space modern and appealing. Throw in some outdoor chairs and a side-table and it’s a great place to hang out in. If you need any tips, check out our Balcony Design Ideas to get some inspiration.