If your bathroom is in need of an update but you don’t want to go for a full renovation, there are plenty of things you can do to change the vibe of the room.
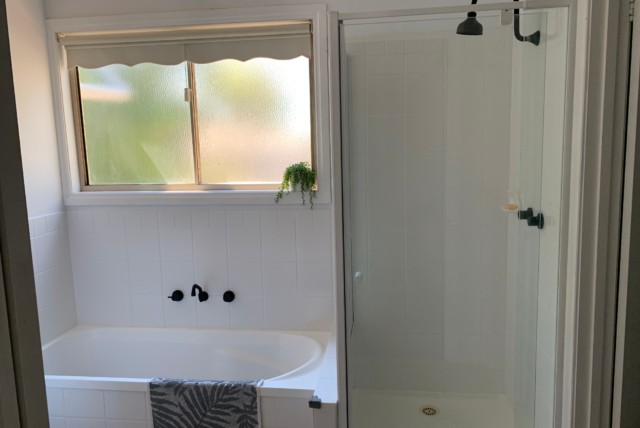
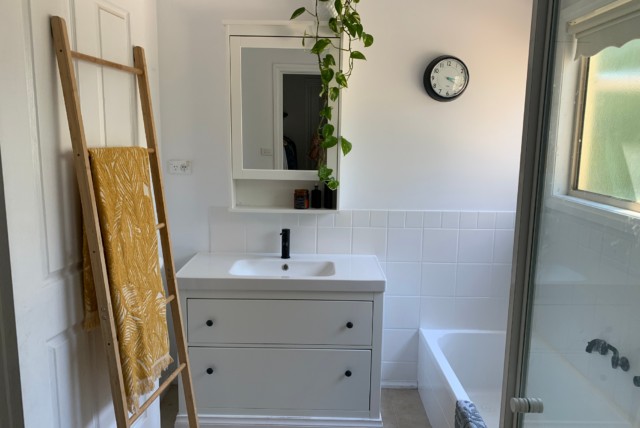
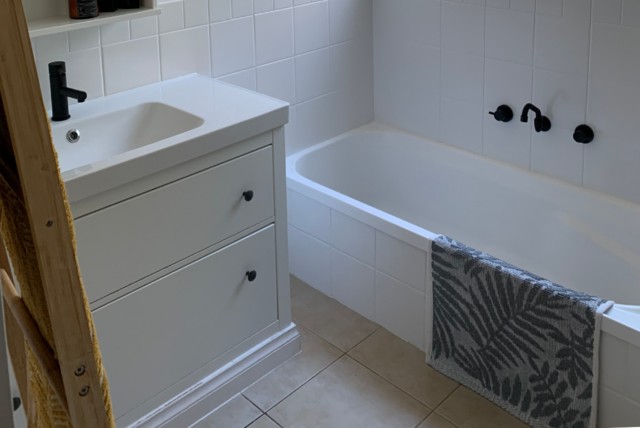
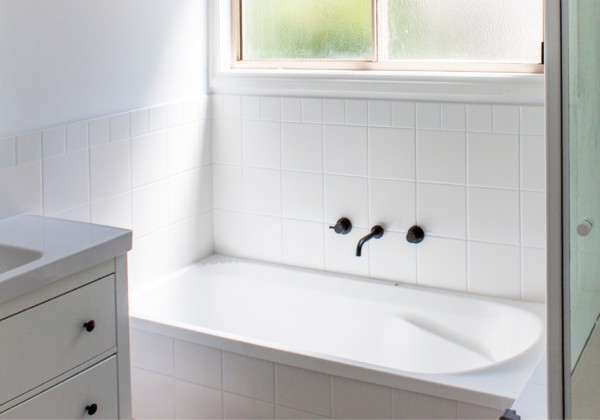
Today on House of Monarch, we give a bathroom a facelift by repainting the tiles and swapping out the bath and sink fixtures to create a trendy monochromatic look that only takes a weekend!
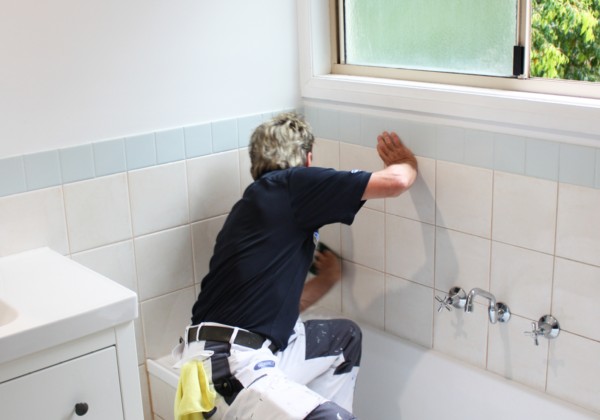
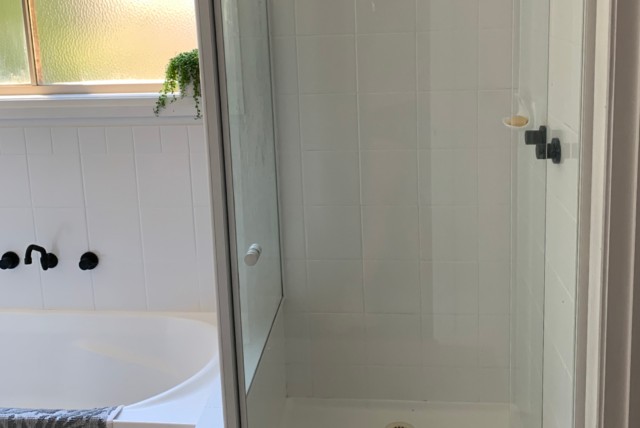
When repainting tiles, especially in high water areas (think inside the shower) preparation is the most important step to ensure the paint will apply cleanly and be long-lasting.
We recommend using White Knight’s Tile and Laminate cleaner with a Scotch-Brite scourer to thoroughly clean the tiles. You’ll want to use a dedicated tile cleaner that will remove all contaminates from the tiles and that won’t leave behind any soapy residue, plus the scourer pads will etch the tiles and provide a better surface for the paint to stick to.
TIP: Be sure to get into all corners and grout lines where grime can gather.
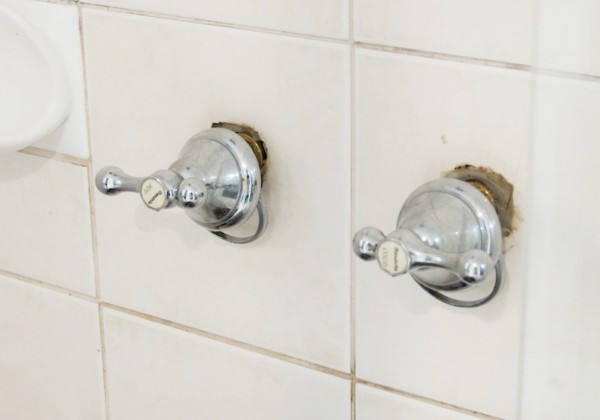
Once your tiles are squeaky-clean you’ll need to prepare the room for painting. Before removing or loosening any taps, spouts or fixtures, make sure that you turn off your water at the main. The water main is usually found at the front of your property but if you’re unsure, consult a registered plumber. Alternatively, tape up your taps to protect them from paint. You may want to tape around the edges of your tiled area to protect the bathtub, shower base or walls.
Use a Monarch Non-Slip Rubber Backed Canvas dropsheet to protect your floors and to provide a safe surface to paint from.
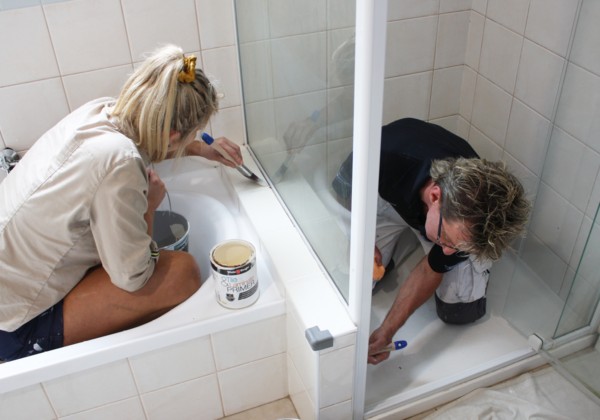
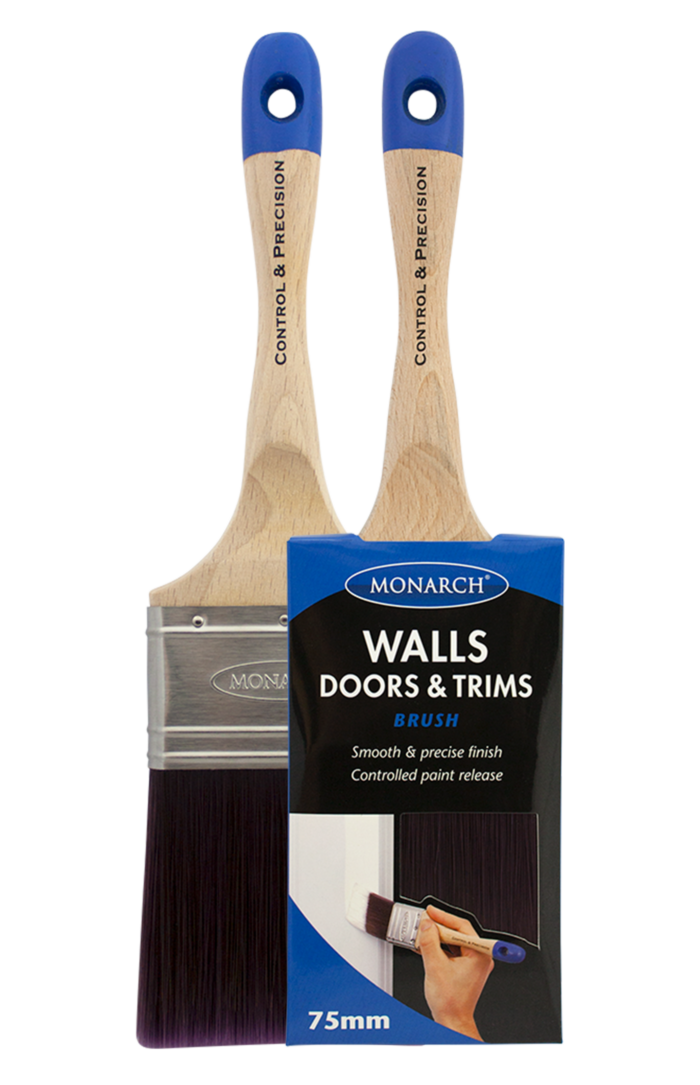
To paint tiles you’ll need a special Tile Primer which can handle the shiny surface and provide a strong base for the top coats. We applied a single coat of the White Knight Tile & Laminate Primer with a Monarch 50mm Walls, Doors & Trims brush over the entire surface.
Cut in small sections of tiles then use your brush to fill in the gaps. Once you’ve finished a section, go back over with your brush and ‘tip off’ (run your brush lightly over the tiles in the same direction) to get a smooth finish before moving onto the next section.

When the primer coat is dry it’s time to paint your first coat of tile paint.
Working in small sections, cut in with your Monarch 50mm Walls, Doors & Trims brush then roll the surface of the tiles with a Smartlock 4mm Nap Microfibre 100mm Mini Roller. Cut in each individual tile before rolling to make sure you’re getting into those grout lines. Tip off each section with your mini roller before moving onto the next section.
Continue painting small sections of tiles – cutting in, rolling, then tipping off – until the whole room is finished.
TIP: Did you know that Monarch Smartlock Mini Rollers come with their own storage tubes? When you’re done painting your first coat, insert the mini roller into the storage tube and press down on the frame to click and release the roller cover.

Most tiles will only require two top coats to get complete coverage and a fantastic finish. Refer to your paint tin for ideal recoat times.
Apply your second coat using the same method as the first coat then allow to dry completely.
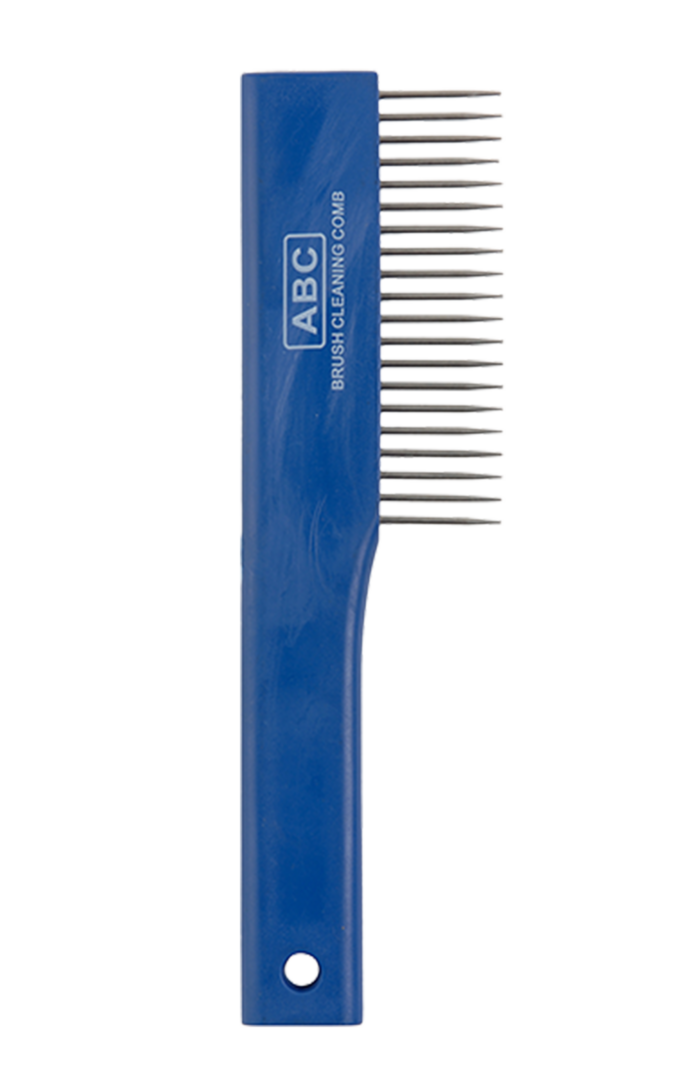
TIP: Monarch brushes are made of premium synthetic filament and are designed to be washed and reused for years. To clean your brush, wash in warm soapy water until the water runs clear, then straighten the filament with a brush comb and allow to dry fully before storing.
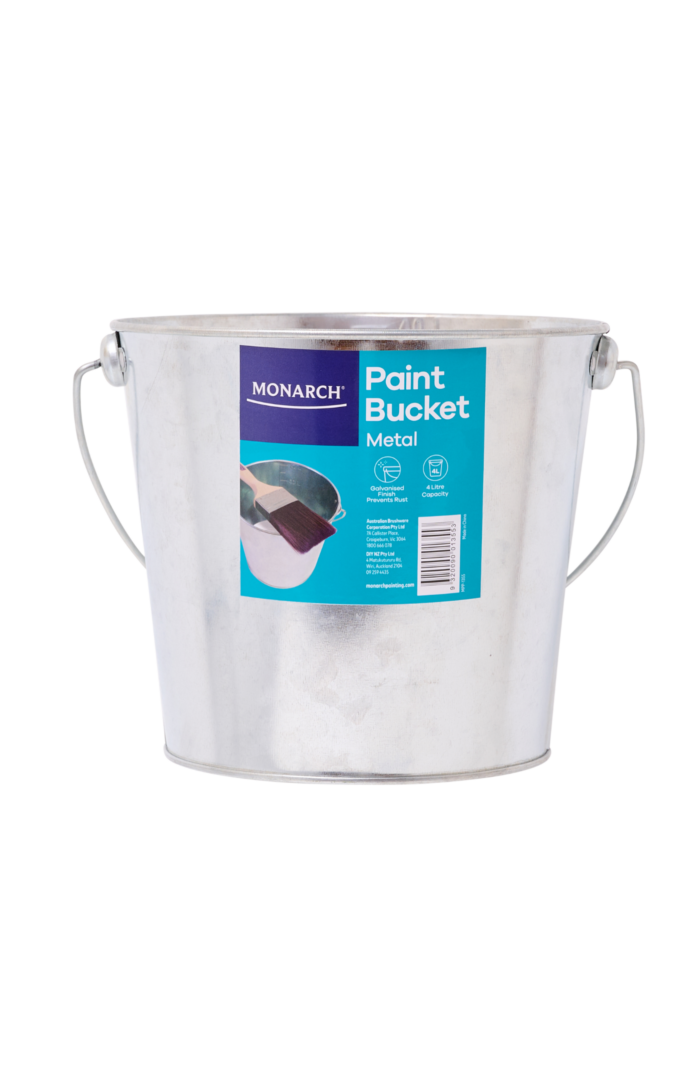
Now that the painting is done, pour any left-over paint back into the tin, wash out your brushes, mini rollers and trays and store them for next time. Make sure you remove any painters tape from your walls before the paint dries for crisp edges.
TIP: Worried about dried paint or pet hair contaminating your paint? Strain your paint through a cheesecloth or panty hose when you pour the leftovers back into the tin.
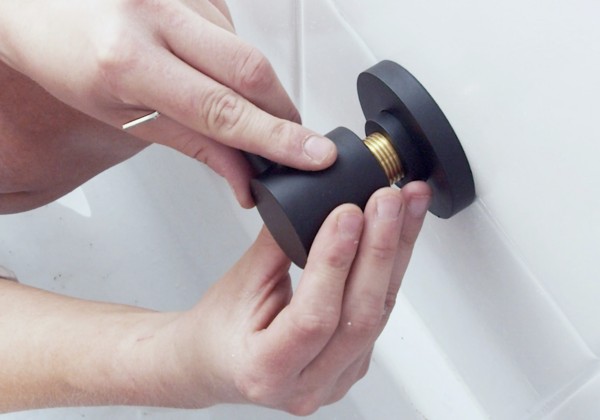
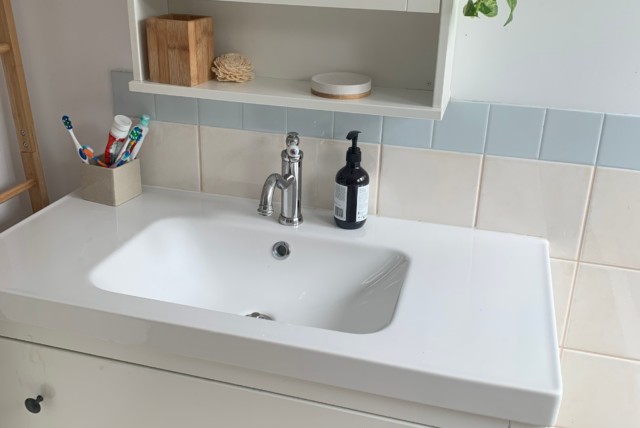
When the tiles are completely dry it’s time to install your new fixtures. Most taps will be a standard size but refer to the manufacturer’s instructions for installation advice.
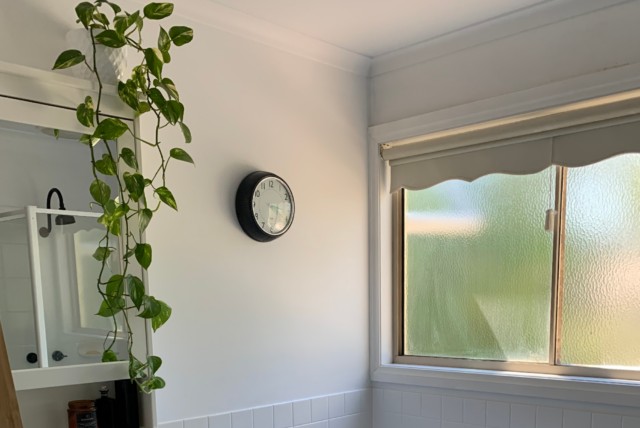
Decorate your bathroom with some indoor plants, maybe treat yourself to some new towels, and check out our Bathroom Design Ideas for more styling inspiration.