Repainting your picket fence is a simple and rewarding ways to refresh your home’s exterior. With Monarch’s professional-quality tools, you can feel confident achieving a smooth, durable, and professional-looking finish even if you’re not a seasoned painter. Whether you’re tackling a new timber fence or refreshing one that’s seen better days, the right preparation, tools, and painting technique make all the difference.
What You’ll Need
With the tools on hand, you’re set up for success, less mess, smoother coverage, and faster results.
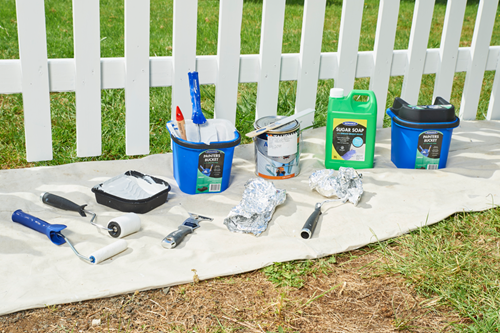
To get the job done right, make sure to gather your tools before you start:
• Drop Sheet - to protect gardens and paths
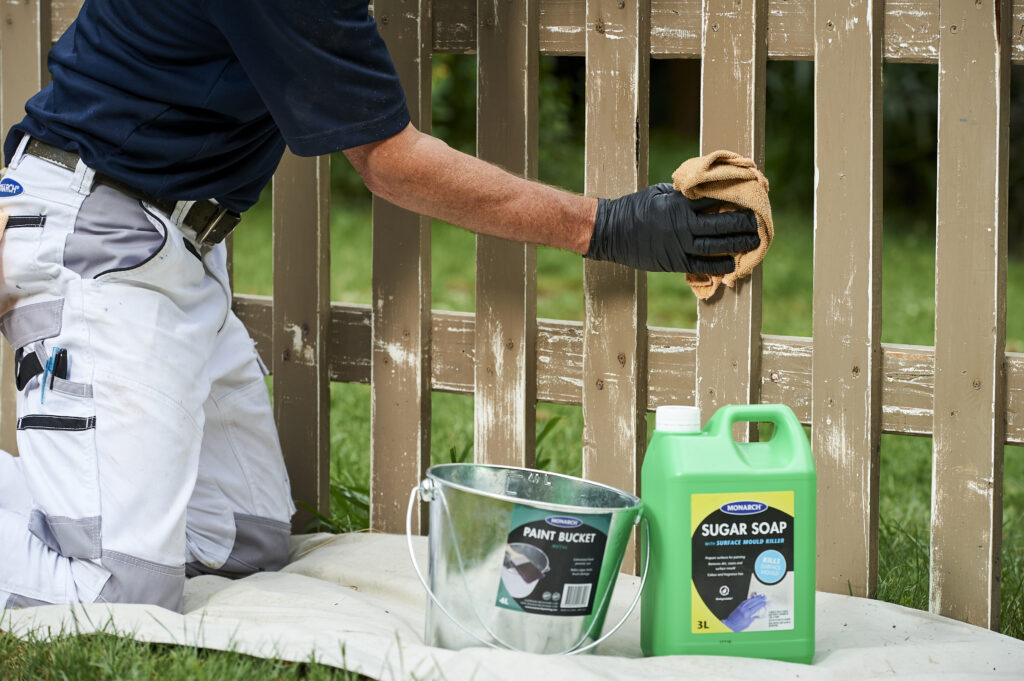
• Sugar Soap - for cleaning and preparing the surface
• Scraper - to remove flaking paint or debris
• Roller Covers & Roller Frame - for the flat surfaces
• Paint Brushes - for detailed areas
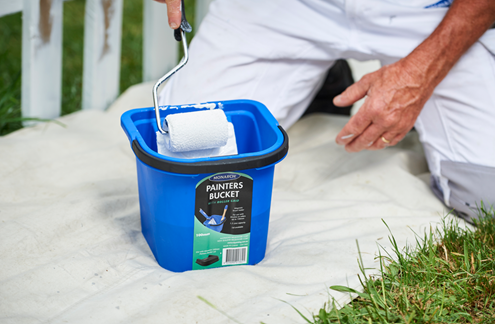
• Painters Bucket & Lid - for easy, drip-free painting
• Paint
Step 1: Prepare the Surface
A long-lasting, professional result always starts with good preparation. Make sure to remove any flaking paint or loose debris with a Monarch Scraper to help create a smooth, clean surface before you start painting. Lightly sand rough areas or peeling paint to create a smooth surface. Clean the fence with Sugar Soap and water to remove dust, cobwebs, and grime. Allow the timber to dry completely before painting. Before you start painting, protect your grass, paths, or nearby garden beds with a drop sheet. The Monarch Leak Proof Canvas Drop Sheet is durable, reusable, and prevents paint from seeping through to the ground.
Step 2: Start Painting
Now for the fun part! Stir your paint thoroughly with the Monarch Timber Paint Stirrer to ensure an even consistency. Pour some paint into your Monarch Painters Bucket & Lid, which keeps paint fresh and will make moving along the fence easy.
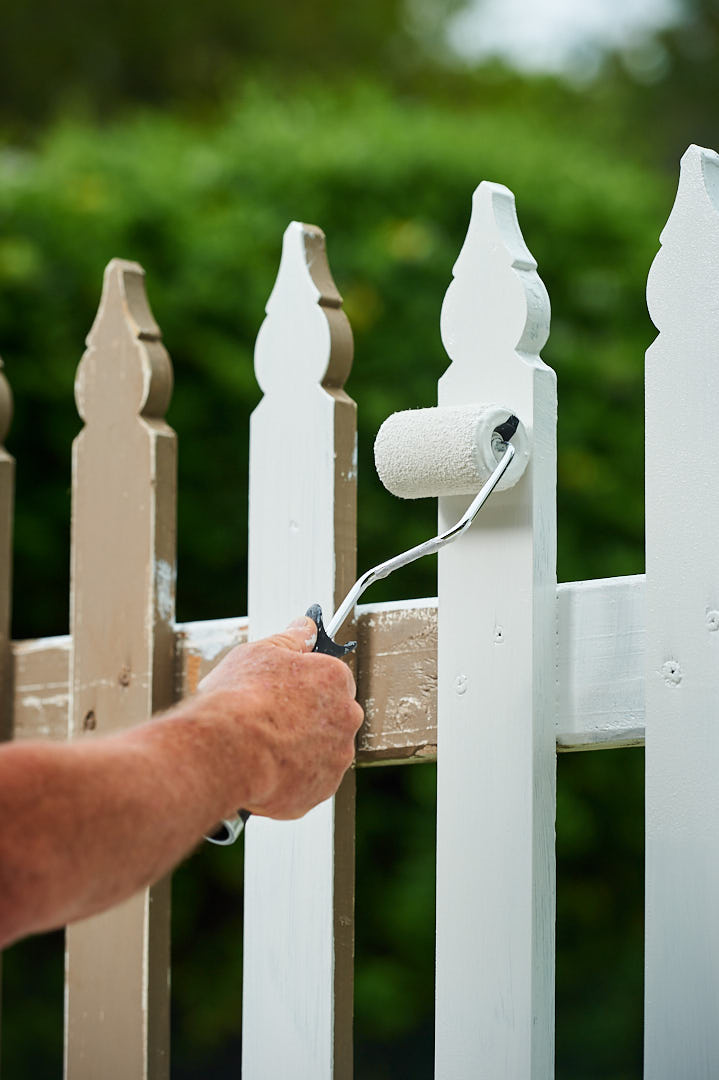
Start at the top and work your way down in manageable sections. Use the Monarch Moulding & Skirting Brush for edges, corners, and detailed areas, and the 75mm Doors, Trims & Cupboards Roller for flat picket slats. The bucket lid doubles as a mini roller tray, so you can load your roller efficiently without carrying extra gear.
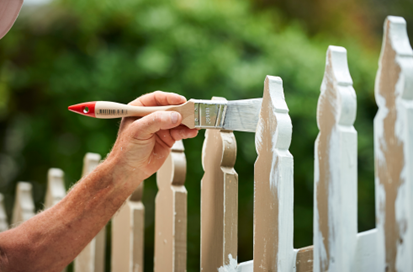
Quick Tip: Use long, even strokes to reduce brush marks and achieve a professional, streak-free finish.
Step 3: Apply the Second Coat
For lasting protection and full colour coverage, apply at least two coats of exterior paint. Allow the first coat to dry completely before applying the next. When switching from a darker colour to a lighter one, you may need a third coat for consistent colour. Take your time and follow the paint manufacturer’s recommended drying times between coats. Patience here ensures your finish looks smooth and lasts for years.
Quick Tip: Paint on a mild, dry day, not in direct sunlight or when rain is forecast, this to prevent the paint from blistering and streaking.
Step 4: Protect and Maintain
To keep your freshly painted fence looking its best, give it a light wash with mild soapy water once or twice a year. Touch up any chips or scratches promptly to prevent moisture from seeping in. A quick clean and touch-up every season keeps your fence looking fresh and prevents costly repairs later.
Finish with Confidence
With Monarch’s premium paint accessories, achieving a clean, even, professional finish is easy. From brushes and rollers to drop sheets and buckets, Monarch has deliberately designed every accessory for precision and control, helping you paint like a pro and enjoy the satisfaction of a job done right the first time.
So next time you look out at your picket fence, you’ll know it’s not just freshly painted, it’s been transformed with Monarch.