Paint Brushes

Mini Rollers


Drop Sheets & Protection

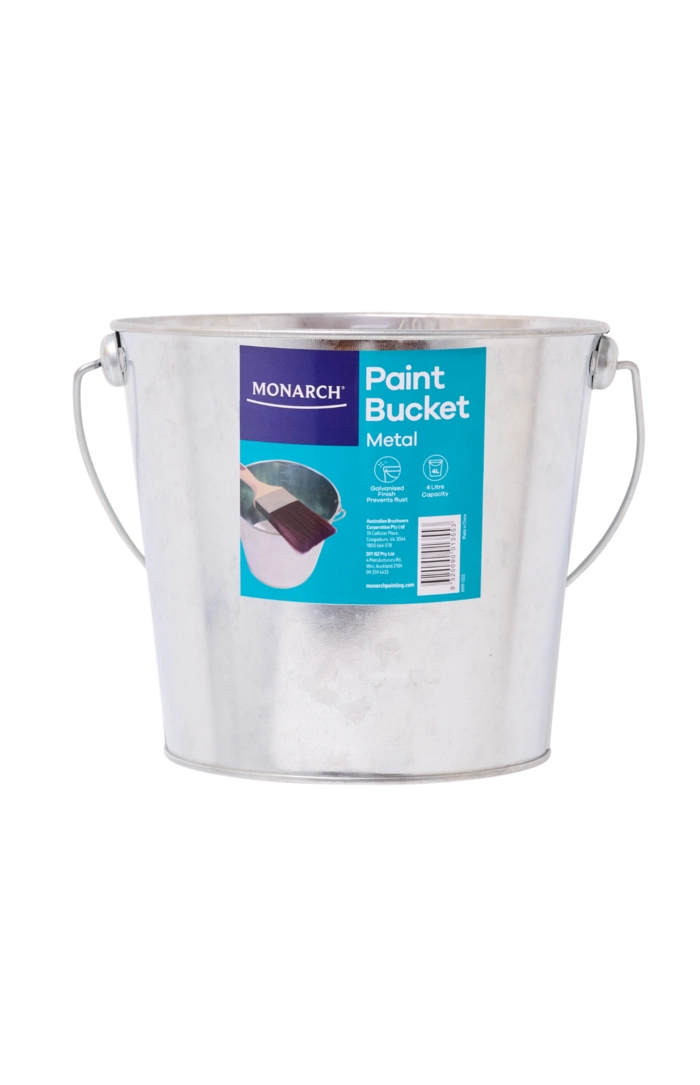
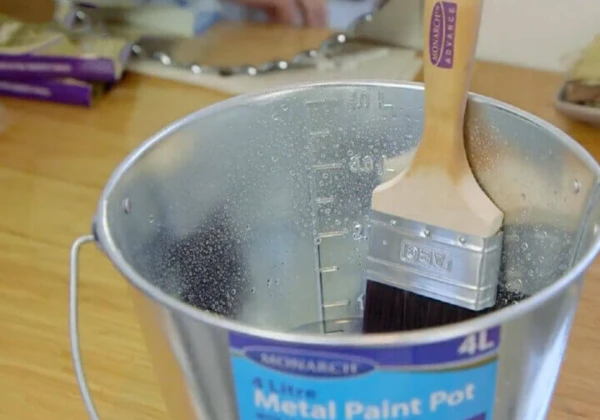
Paint Applicators


Ready to begin a painting project?
Simply choose your project, answer some easy questions and you’ll find out which products you need in your Painting Tool Kit!
START NOW
How-to Guides


How-to Guides
All How-to Guides
Choose the Right Tools
Featured
Paint Brushes
VIDEO & BLOG
How to Choose a Paint Brush for Any Painting Project
Paint Rollers
VIDEO & BLOG
How To Choose the Right Roller for Painting
Mini Rollers
VIDEO & BLOG
How To Choose the Right Mini Roller
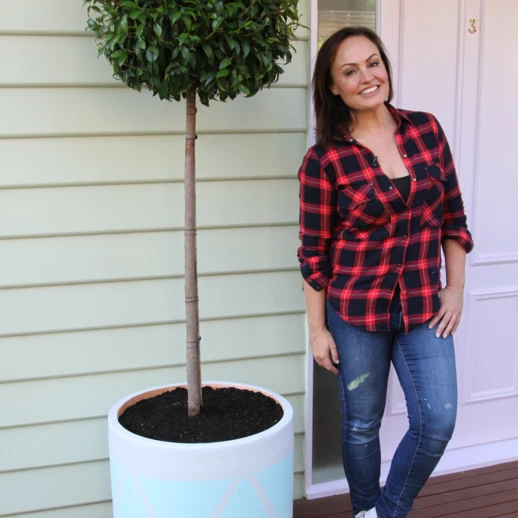
Get Your Space Ready
Featured
Get Your Space Ready
VIDEO & BLOG
How To Prepare a Room For Painting
Get Your Space Ready
VIDEO & BLOG
How to Clean & Maintain Your Painting Gear
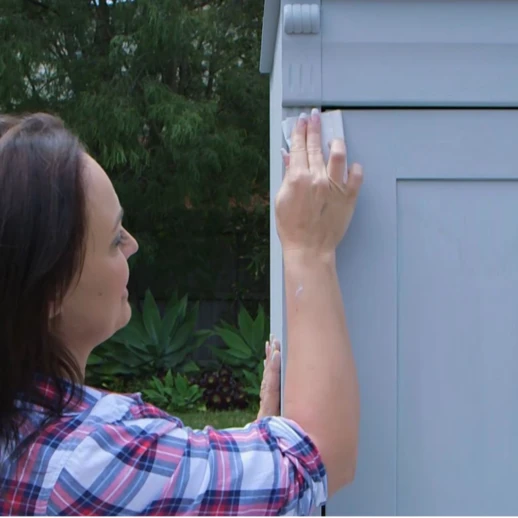
Get Your Space Ready
VIDEO & BLOG
How To Prepare A Wall For Painting
DIY Projects You Can Do
Featured
DIY Projects You Can Do
VIDEO & BLOG
How to Paint a Ceiling with a Roller
DIY Projects You Can Do
VIDEO & BLOG
How To Paint an Interior Wall
DIY Projects You Can Do
VIDEO & BLOG
How to Use Sugar Soap to Clean Walls