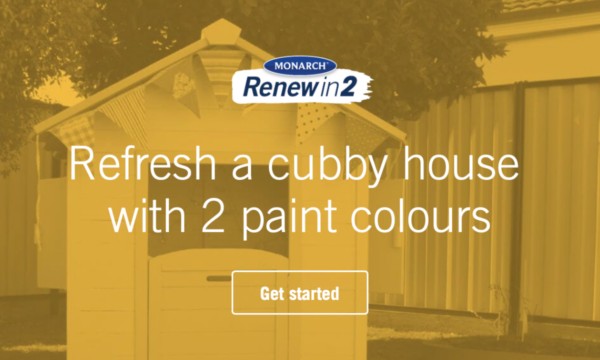
Choosing nursery colours for a baby can be challenging. Hoping to escape the cliched simple pink or blue motif, many parents leap into the world of effect colouring. In our next Renew in 2 project, we take you through a journey of how to create a magnificent Ombré effect, with the help of your partner, just in time for the little bubba.
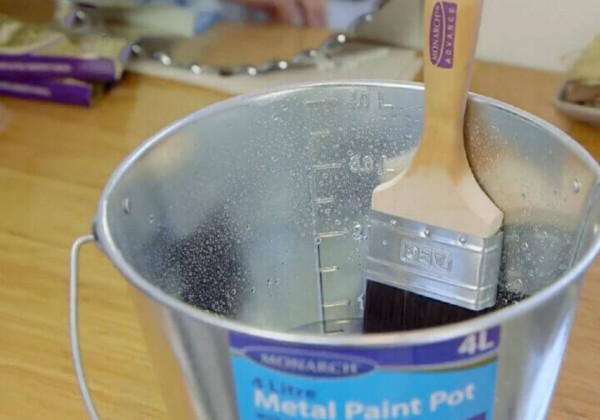
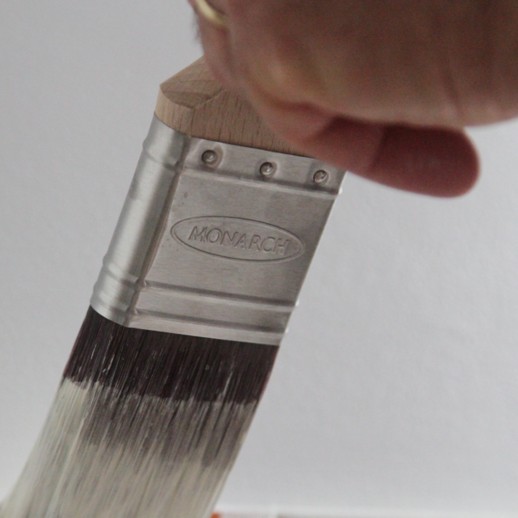
If you’re using water-based paint soak your brush in an inch of water for 10-15min, then remove and spin in between your hands to remove excess water. If you’re using oil-based paint, follow the same steps using turps.
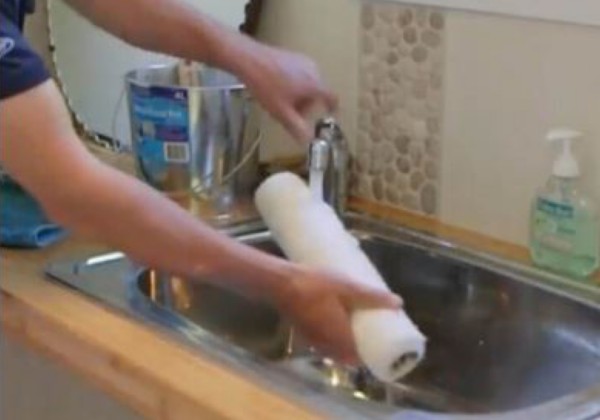
Whether you’re using water-based or oil-based paints, rinse your roller in running water and run your hand up and down the roller to get rid of excess lint. Shake the roller. Attach the roller to the frame and spin it quickly off a wall or other flat surface to remove the extra water.

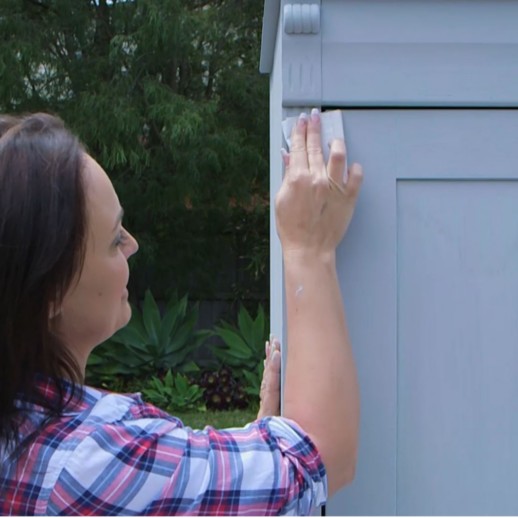
For any paint job, preparation is critical. Fill any cracks with gap filler, sand and dust them once it is dry, and be sure to wipe down your wall with Monarch Sugar Soap to remove any dust, dirt or stains. Finally, apply quality painters tape around the edges of your wall to ensure a clean edge for painting.
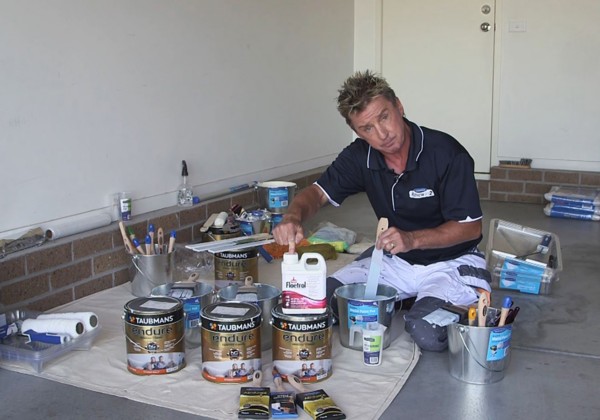
Creating an ombré effect involves applying at least two different colours and then blending them together. It is recommend to prepare your paint by adding a quality paint conditioner, which will slow down the drying process and allow you to blend colours easily.
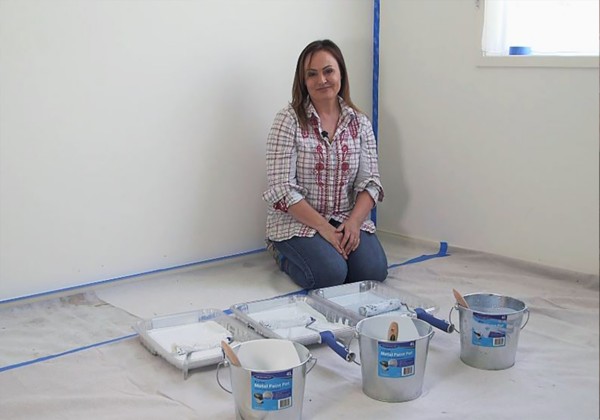
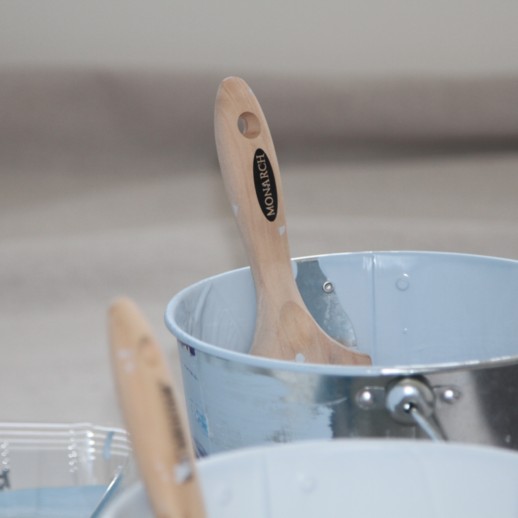
For this ombre feature wall we will be using 3 different shades of blue to create a smooth gradient from dark to light. Make sure you have all 3 colours set out in separate paint trays and buckets before you start as you will need to swap between them as you blend one colour into the next.
PRO-TIP: Ombré means shaded in French and is the gradual blending of one colour hue to another, usually from light to dark or dark to light.
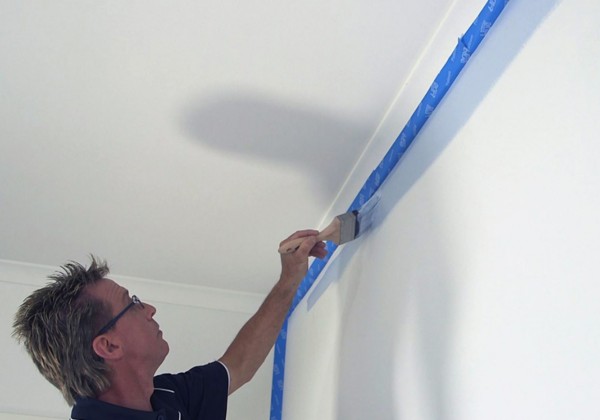
If you are using 3 paint shades, you’ll need to ensure you split your wall into thirds from top to bottom. Start by cutting in the top of your wall with a Monarch Advance Plus 50mm paint brush in the darkest paint shade. As you cut-in down the wall, swap to the middle shade a third down and to the lightest shade for the lower third. This will ensure a smooth gradient from the top to the bottom.
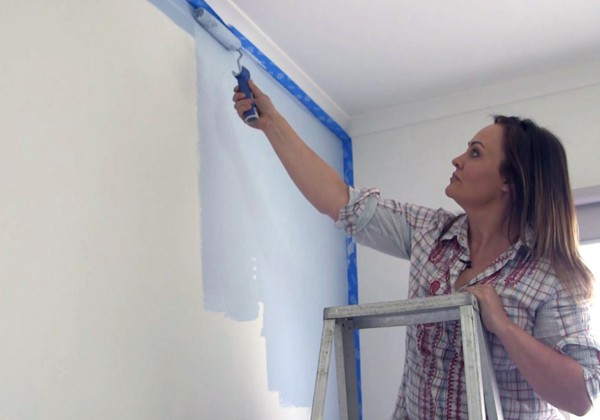
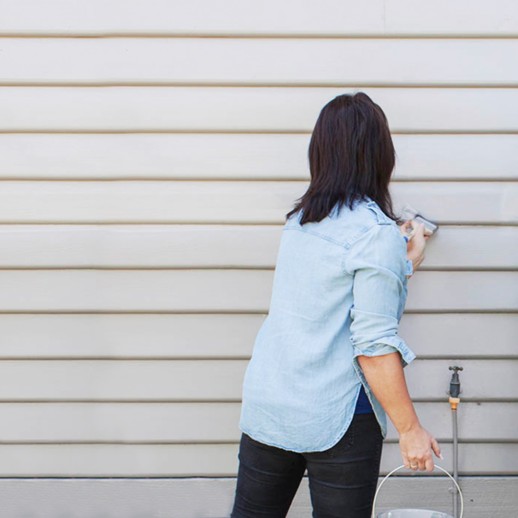
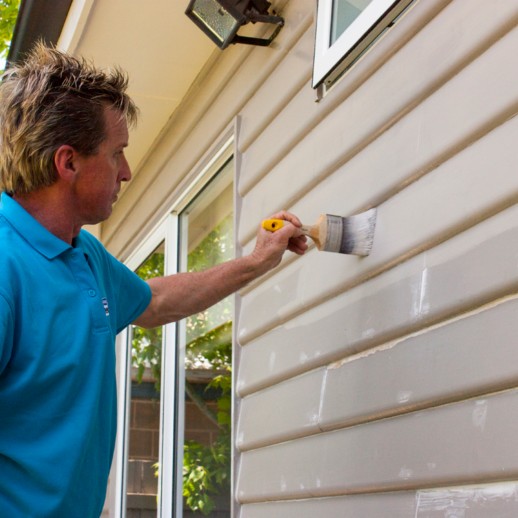
With the walls prepared, it’s time to start blocking in the colours. Have one person start applying the darker paint shade from the top, with a Monarch 160mm Microfibre Walls & Ceilings Roller for maximum coverage and a smooth finish. Make sure the darkest colour extends lower than the top third of the wall so there is plenty of room to blend. Apply the middle shade below the first with a second Monarch 160mm Microfibre Walls & Ceilings Roller, also extending below the lower third. Finish the bottom of the wall with the lightest shade of paint on a third quality roller.
PRO-TIP: Don’t worry about having a messy edge between the different colours as we will be going back over them to smooth and blend the colours.
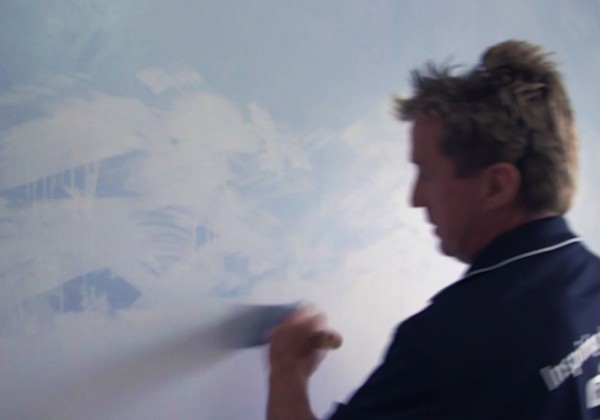
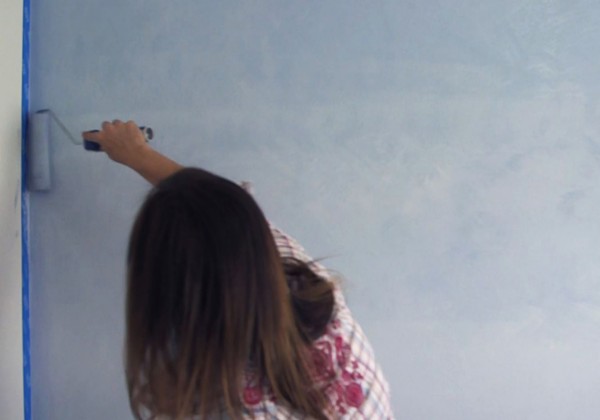
As the first person applys block colours, have the second person begin the blending process between the top and middle wall sections. Where two shades of paint interact, use a quality Monarch Advance Plus 50mm brush to roughly apply the lighter shade of paint in a criss-cross technique back and forth. If it looks like it’s getting too light, swap to the darker shade. Once the desired blending effect is achieved, use a roller to go over the brush effect to smooth the surface. For ideal results, have one person applying the block colours while the other person uses the criss-cross blending technique as you apply the different shades to the wall so the paint has less time to dry out.
PRO-TIP: Use water mist to smooth any brush marks and increase the efficiency of the blending effect.
Once the first coat has dried, repeat steps 7 and 8 as a second coat to brighten the ombre effect.

Congratulations, you’re done! Scrape any leftover stain back into the tin for re-use. Wash your brushes and rollers thoroughly so you can use them for your next project.