How To Prepare a Room For Painting
Planning to paint a room for an upcoming project? Before you dip your brush into paint, knowing how to prepare your room for painting is the secret to ensuring you will achieve a professional finish. Even the best paint won’t perform well if the surface underneath hasn’t been cleaned, repaired, and prepared correctly. Taking the time to prepare your surface for painting ensures better adhesion, smoother coverage, and a longer-lasting result.
Whether you’re a first-time DIYer or looking to refine your skills, these painting tips will guide you through preparing your walls and getting your room ready for a professional-quality finish.
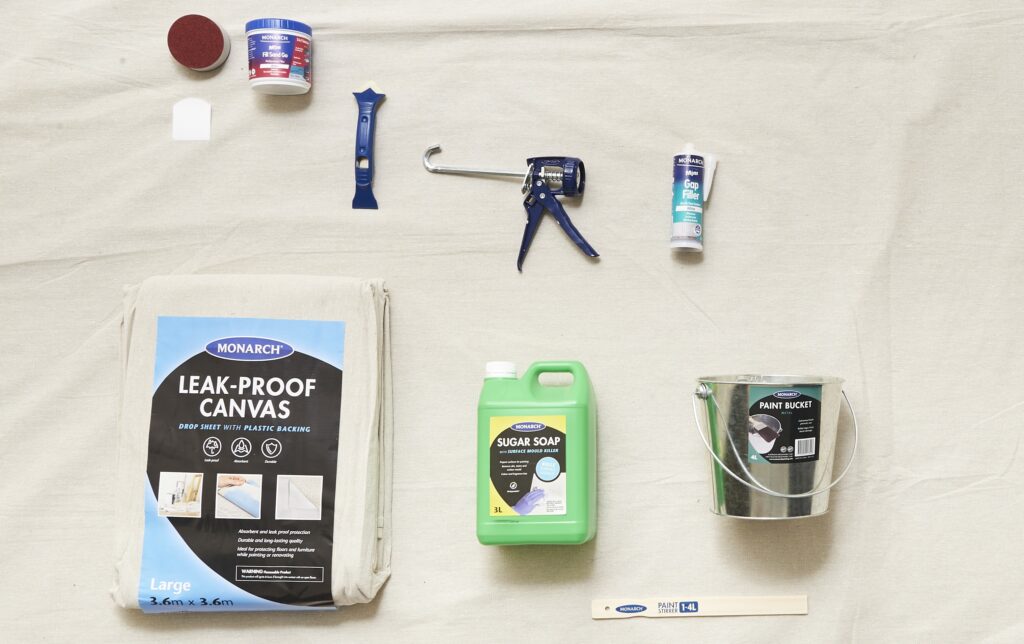
Your tool kit should include:
- Sugar Soap
- Filling Knives/Scrapers
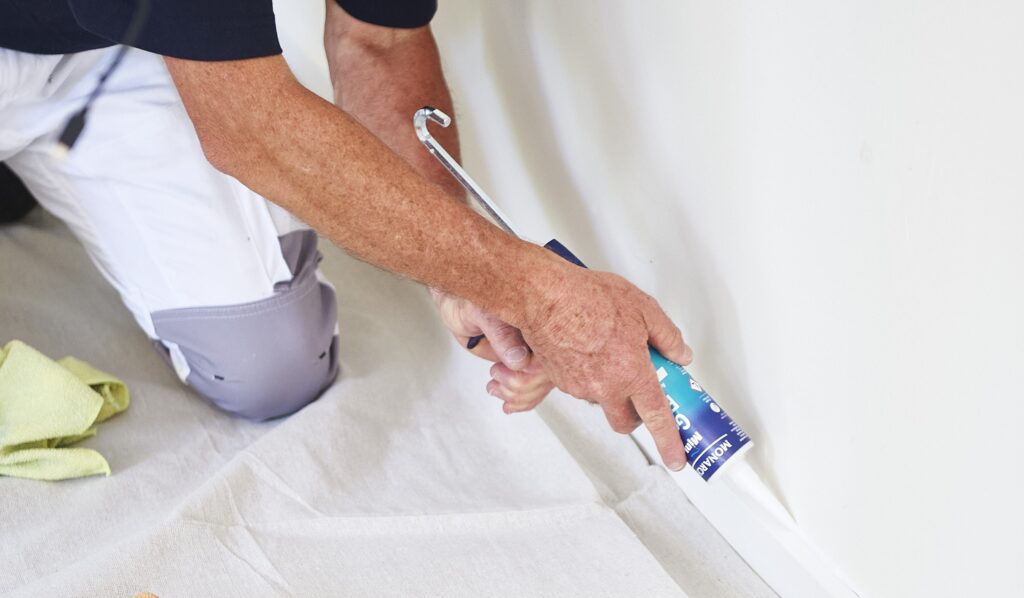
- Gap Filler
- Caulking Gun
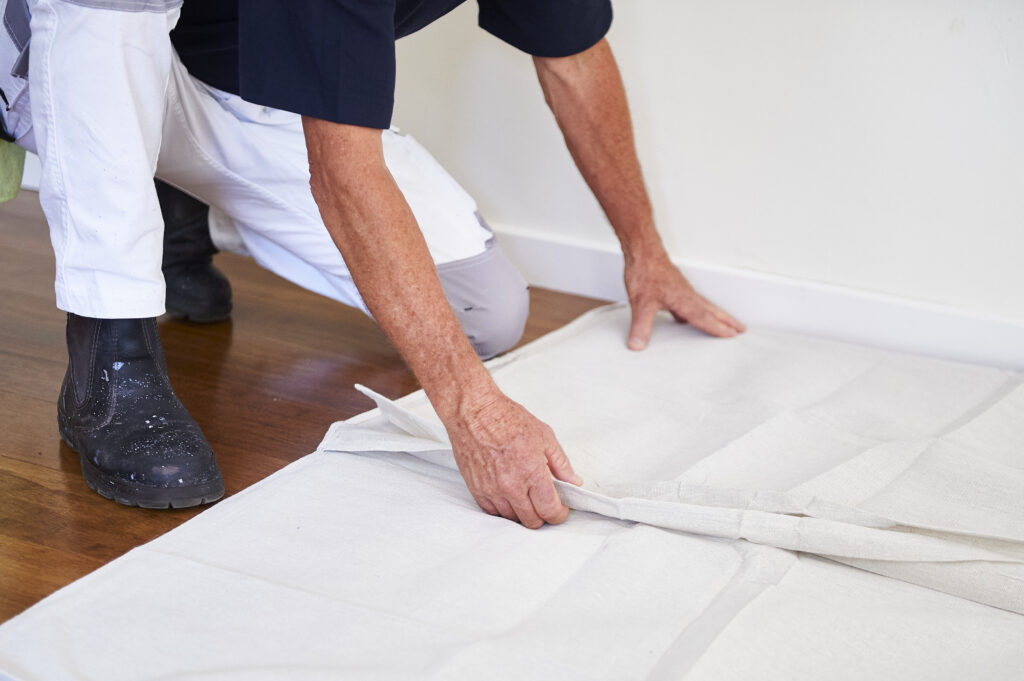
- Drop Sheets
- Sandpaper or a sanding block
- Protective gear (gloves, masks, safety glasses)
- Masking tape
This is everything you’ll need to prepare before you start painting.