Step-by-Step Method
Step 1: Protect the Room
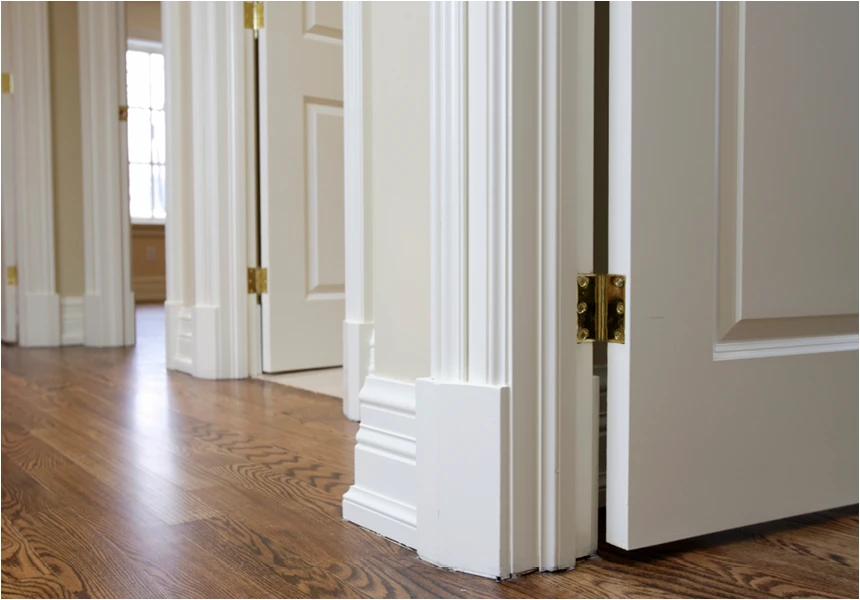
Use Monarch drop sheets and painter’s tape to protect floors, trims, power points and furniture.
Why it matters: Good preparation reduces cleanup time and helps achieve sharper paint lines.
Step 2: Prepare the Surfaces
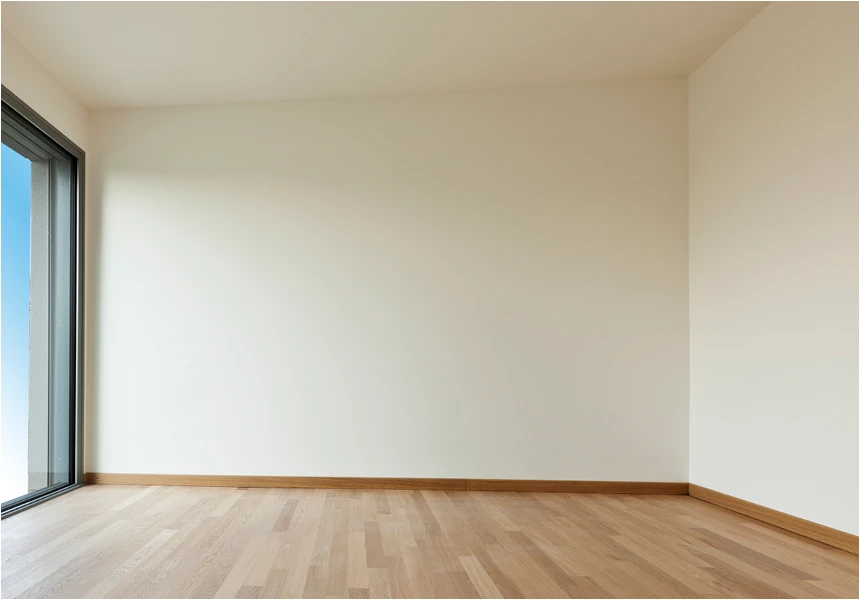
Clean the walls thoroughly to remove dust, grease and marks. Fill any cracks or dents, then lightly sand the walls to ensure there is a smooth surface to paint on.
Why it matters: A smooth surface creates a smoother paint finish.
Helpful tip: Always wipe away sanding dust before painting.
Step 3: Cut In the Edges
Use a Monarch Walls, Doors & Trims Brush to paint around ceilings, corners, windows and skirting boards.
Why it matters: Cutting in first creates a seamless blend between brushed and rolled sections.
DIY tip: Work in small sections so the rolled paint blends into the cut-in paint before it dries.
Step 4: Load the Roller Correctly
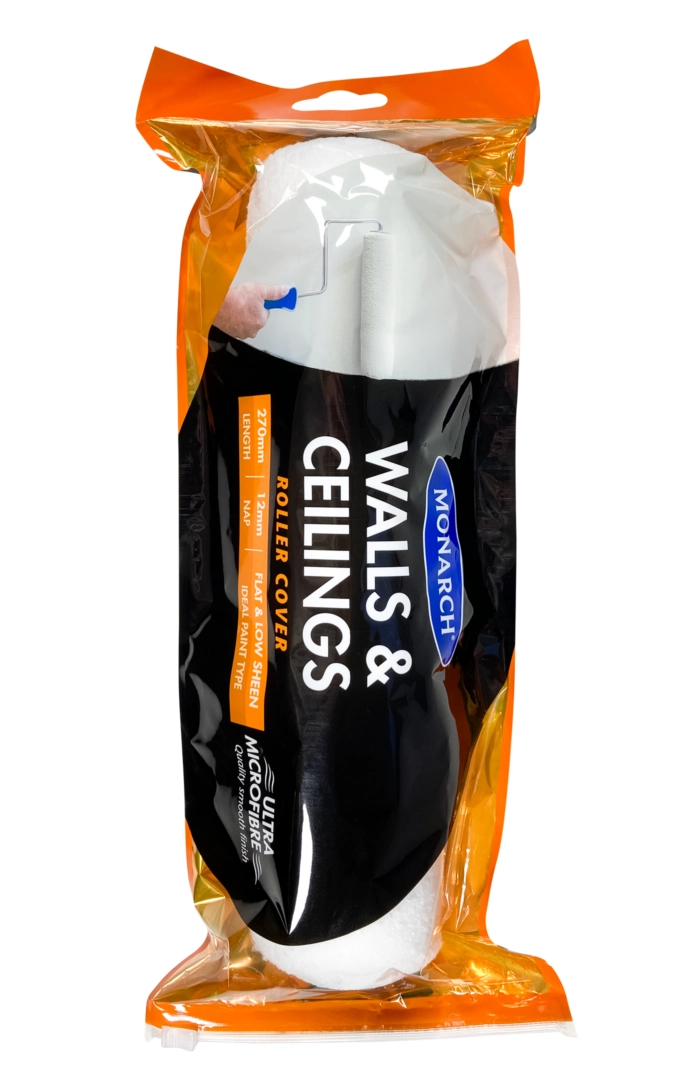
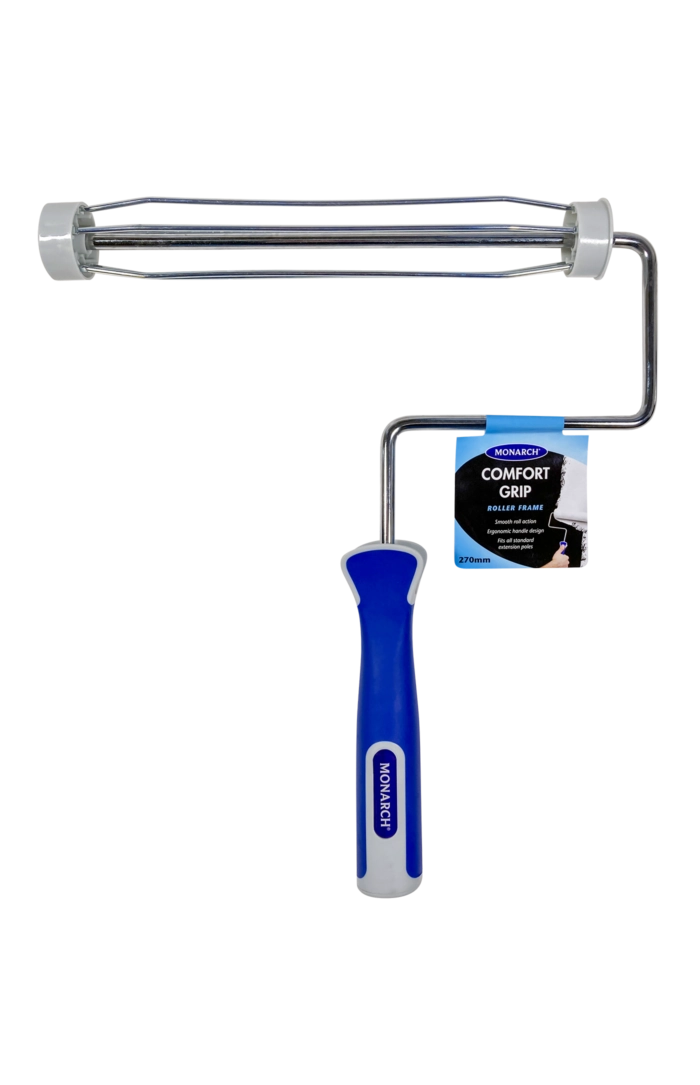
Pour paint into a tray and evenly coat the roller without overloading.
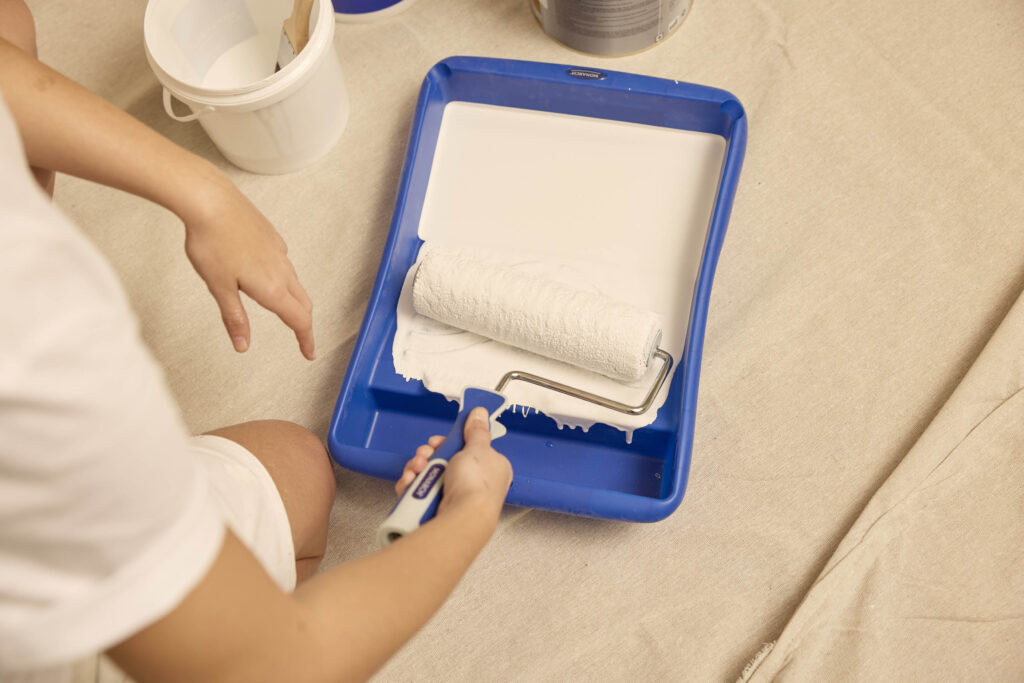
Why it matters: Overloading a roller with too much paint can create drips, roller marks and heavy texture.
A properly loaded roller should feel evenly coated but not dripping.
Step 5: Apply Paint Evenly
Roll paint onto the wall using a gentle “W” or “M” pattern, then smooth over the area with long vertical strokes.
Why it matters: This helps distribute paint evenly and reduces visible overlap marks.
Professional tip: Avoid pushing too hard. Let the roller glide naturally.
Step 6: Maintain a Wet Edge
Slightly overlap each painted section while the paint is still wet.
Why it matters: Maintaining a wet edge helps prevent lap marks and patchy areas.
This is especially important during times of warm Australian weather when paint dries faster.
Step 7: Apply a Second Coat
Most smooth wall finishes require a minimum of two coats.
Why it matters: The second coat improves colour consistency, durability and overall finish quality.
Always allow the first coat to dry fully before recoating.