Step-by-Step Guide to Painting Weatherboards
Step 1: Check the Weather Before You Start
Choose a dry day with mild temperatures and low wind for the best painting conditions.
Avoid painting when:
- Rain is expected within 24 hours
- Timber feels damp
- Surfaces are in direct hot sun
- Temperatures are extremely hot or cold
Painting in direct sunlight can cause paint to dry too quickly, leading to uneven coverage and visible lap marks. Early morning or late afternoon is usually the best time to paint weatherboards.
Step 2: Clean the Weatherboards
Clean weatherboards help paint adhere properly and improve the final finish.
To clean weatherboards:
- Brush away dirt and cobwebs
- Wash the surface using sugar soap or an exterior cleaner
- Rinse thoroughly with clean water
- Allow the boards to dry completely
Step 3: Scrape Loose or Flaking Paint
If you are repainting weatherboards, remove any loose or peeling paint before sanding or priming.
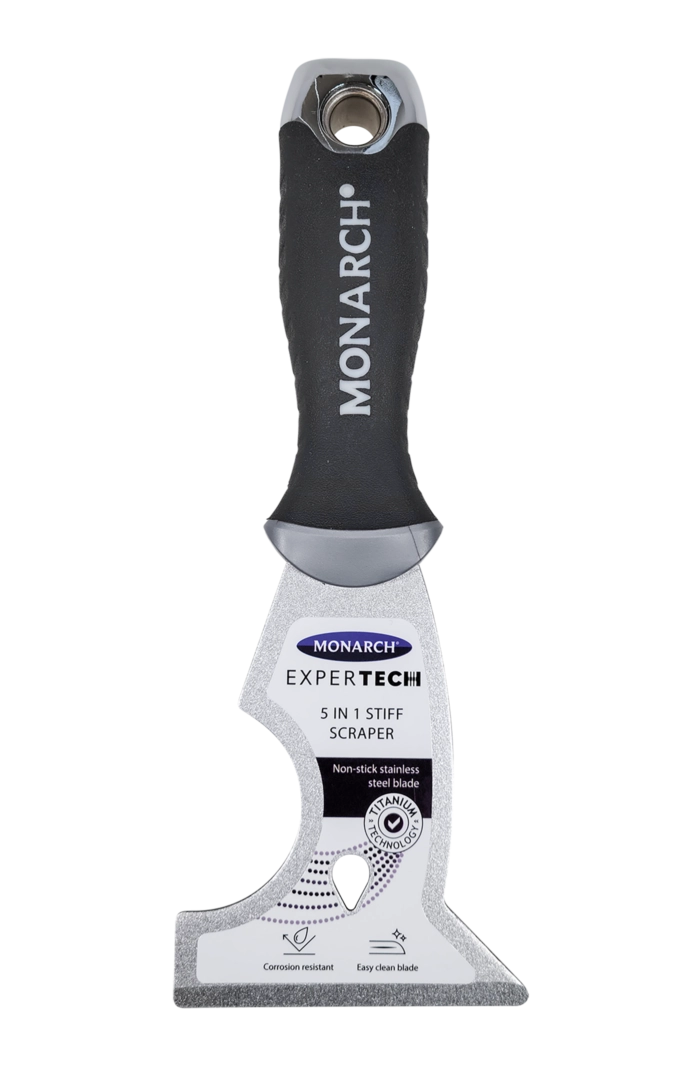
Use a quality paint scraper to:
- Remove peeling paint
- Smooth rough transitions
- Prepare damaged areas for sanding
Taking the time to scrape can help prevent new paint from lifting later.
Step 4: Sand the Surface Smooth
Sanding helps exterior paint bond properly and creates a smoother surface for painting.
Focus on:
- Rough edges
- Glossy old paint
- Filled repairs
- Bare timber areas
Step 5: Fill Gaps and Repair Damaged Boards
Before painting, repair any cracks, holes or damaged weatherboards.
Check for:
- Rotten timber
- Cracks and splits
- Loose nails
- Gaps around trims and joins
Use an exterior-grade filler for small repairs and replace badly damaged boards where needed. Allow repairs to dry fully before sanding the surface smooth.
Step 6: Prime Bare Timber or Patched Areas
Primer improves paint adhesion and helps create a more durable finish on weatherboards.
Prime:
- Bare timber
- Sanded patches
- Filled repairs
- Exposed timber joins
This step is especially important when repainting weatherboards where old paint has been removed.
Step 7: Cut In Around Edges and Trims
Before using a roller, cut in around windows, corners and trims with a brush.
Tips for cutting in:
- Follow the direction of the boards
- Work in manageable sections
- Maintain a wet edge
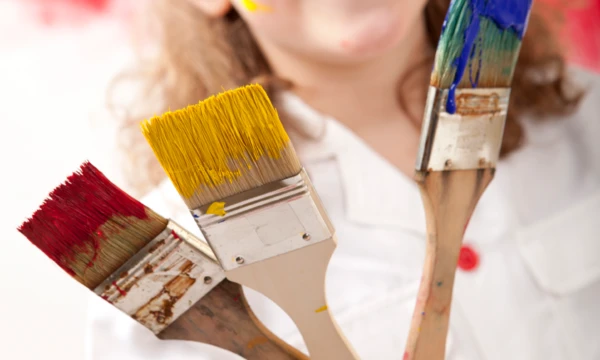
A quality exterior brush helps deliver smoother coverage and cleaner lines.
Step 8: Paint the Weatherboards
Once the cutting in is complete, paint the main weatherboard surfaces.
Best technique for painting weatherboards:
- Work from top to bottom
- Follow the direction of the boards
- Paint one section at a time
- Maintain a wet edge
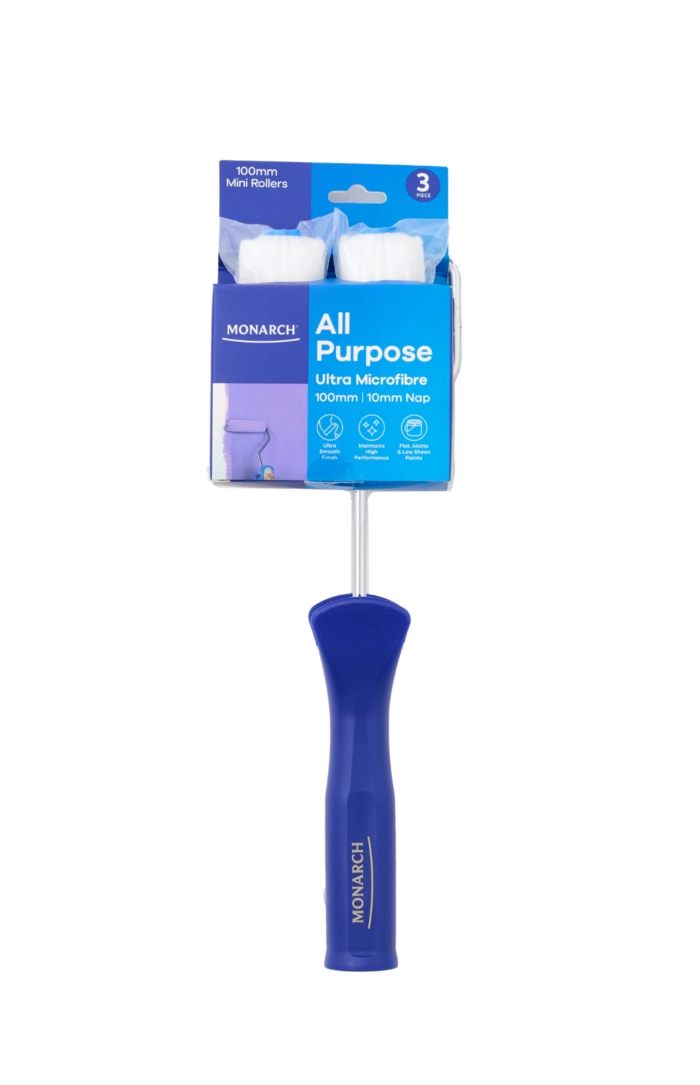
- Use even pressure with your roller
Step 9: Apply a Second Coat
Most weatherboards need two topcoats for proper coverage and long-term durability.
The second coat helps:
- Improve colour consistency
- Increase weather resistance
- Deliver a smoother finish
Allow the first coat to dry completely before applying the second coat.