

Essential Painting Tools for DIY Projects: Your Complete Guide to a Professional Finish


The most important painting tools for a DIY project are quality paint brushes, paint rollers, roller frames, extension poles, paint trays, drop sheets, scrapers and surface preparation tools. Choosing the right painting tools helps you achieve smoother coverage, cleaner edges and a more professional-looking finish with less effort.

Whether you're refreshing a bedroom, updating a living room or tackling a full weekend renovation, the right painting tools can make the job faster, easier and far more rewarding. While choosing the right paint colour often gets the spotlight, experienced DIYers and professional painters know that professional results start with quality tools.

Quality tools help you achieve smoother coverage, cleaner lines and a more consistent finish, while reducing common frustrations such as streaks, patchy coverage and paint spatter. At Monarch, we design painting accessories to help everyday Australians paint with confidence, delivering reliable performance from preparation through to the final coat.

In this guide, we'll walk through the essential painting tools every DIY painter should have before starting their next project.
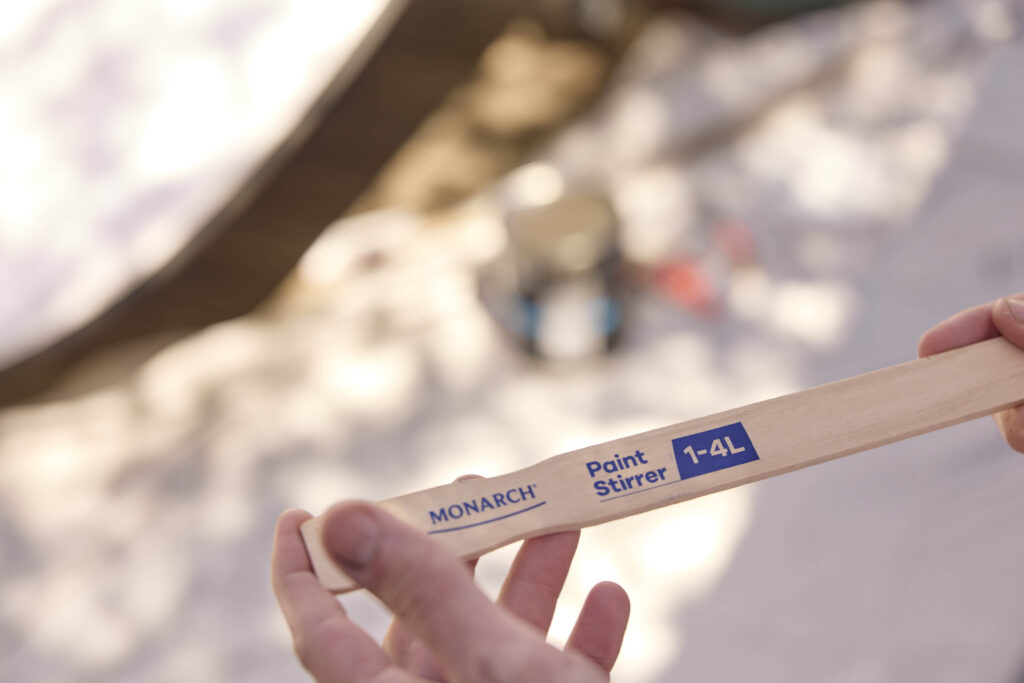
Why Each Project Needs the Right Tools

Why Each Project Needs the Right Tools

Many painting frustrations don't come from a lack of skill, they come from using the wrong tools for the job.

The right brush helps create crisp lines around trims and corners, a quality roller delivers smooth, even coverage, and proper preparation tools help paint adhere better for a longer-lasting finish.

Monarch painting tools are deliberately designed to give you greater control, consistent results and a smoother painting experience from start to finish.

Benefits of choosing quality painting tools include:

  • Smoother paint application
  • Reduced spatter and mess
  • Better paint coverage
  • Cleaner cutting-in around edges
  • Faster project completion
  • More professional-looking results
  • Longer-lasting finishes

Essential Painting Tools Checklist

Before you start painting, make sure you have these essential painting tools ready.

Surface Preparation

Why preparation matters: A professional-looking finish starts long before the first coat of paint. Proper preparation helps paint bond to the surface, improves durability and creates a smoother final result.

Protection and Masking

Why protection is essential: Protecting floors, furniture and fixtures saves significant clean-up time while helping create sharp paint lines and a more professional finish.

Paint Applicators

Why choosing the right applicator matters: Every surface paints differently. Choosing the right brush or roller helps deliver smoother coverage, reduces visible brush marks and makes the job easier overall.

Paint Tools

Why paint tools make a difference: Not all painting tools are designed for the same task. Understanding which tool suits your project can dramatically improve the final result.

How to Choose the Right Painting Tools

Choosing Paint Brushes

A quality brush is essential for cutting in and detailed work.

Choose:

  • An angled brush for trims and skirting boards.
  • A wider brush for cutting in walls and ceilings.
  • Synthetic bristles for water-based paints.

Monarch brushes are purpose-built for specific painting tasks, making it easier to choose the right tool for walls, ceilings, doors, trims, furniture, cabinetry and detailed decorative work.

The colour-coded handles make brush selection simple, while premium-quality materials help deliver smooth paint application and a professional finish. Learn more for How to Choose a Paint Brush.

Choosing Paint Rollers

When it comes to painting large surfaces, rollers are the quickest and most efficient option.

Select roller nap lengths based on surface texture:

Surface Type

Recommended Roller

Nap Length

Doors, trims & cupboards

Short nap roller

3–5mm

Interior walls & plasterboard

Medium nap roller

7–9mm

Textured walls & ceilings

Long nap roller

10–15mm

Exterior render & brick walls

Extra-long nap roller

18–26mm

Matching the roller nap to the surface texture helps maximise coverage, minimise rework and achieve a more uniform finish. Monarch rollers are uniquely designed for specific painting tasks and feature colour-coded packaging that make selecting the right roller cover quick and easy. Learn more, How To Choose the Right Roller.

Choosing Roller Frames

Roller covers often get the attention, but the roller frame plays an equally important role in achieving a smooth finish.

A quality roller frame:

  • Provides smoother rolling action
  • Reduces fatigue
  • Helps prevent track marks
  • Improves paint distribution

Monarch roller frames are engineered for durability, smooth rolling action and reliable performance, helping you paint with greater confidence and control.

Choosing Extension Poles

Ceilings and high walls can quickly become tiring to paint without the right equipment.

A quality extension pole helps:

  • Reach ceilings safely
  • Reduce ladder use
  • Improve painting speed
  • Minimise shoulder strain

Monarch Professional Aluminium Extension Poles combine lightweight handling with heavy-duty durability, making it easier to paint ceilings, stairwells and high walls with less effort. The extension pole locks in place with minimum effort, providing consistent performance on larger projects.

Step-by-Step Method

Step 1: Prepare the Surface
  • Remove dirt, grease and loose paint.
  • Fill cracks and imperfections.
  • Sand rough areas until smooth.

Why it matters: Paint adheres best to clean, uniform surfaces.

Step 2: Protect Surrounding Areas
  • Apply painter's tape around trims, windows and skirting boards.
  • Lay down drop sheets or protective films to protect flooring.

Why it matters: Good preparation creates cleaner finishes and reduces clean-up time.

Step 3: Cut In First

Use a quality Monarch paint brush to cut in around:

  • Corners
  • Ceilings
  • Door frames
  • Window trims

Why it matters: Cutting in creates clean borders before rolling larger areas.

Step 4: Roll Large Surfaces
  • Load your roller evenly and work across walls or ceilings in manageable sections.
  • Apply paint using a "W" pattern going up and down before filling in gaps to help distribute paint evenly.

Why it matters: This technique helps create consistent coverage while reducing line marks.

Step 5: Apply Additional Coats
  • Allow paint to dry fully before applying the next coat.

Why it matters: Multiple thin coats produce a smoother, more durable finish than one heavy coat.

Step 6: Remove Tape Carefully
  • Remove painter's tape while the paint is still slightly tacky.

Why it matters: This helps achieve sharper paint lines and reduces the risk of peeling.

Common Mistakes to Avoid

Using the Wrong Roller

Using a roller with the wrong nap length can significantly impact the quality of your finish. If a roller with a short nap length is used on a textured surface, it may not reach into all the surface contours, resulting in uneven or patchy coverage.

Skipping Surface Preparation

Paint applied over dust, grease or peeling paint often fails prematurely.

Buying Low-Quality Brushes

Low-quality brushes can shed bristles, create uneven coverage and make it harder to achieve a professional-looking finish.

Overloading the Roller

Applying too much paint increases drips and spatter.

Not Using an Extension Pole

Many DIY painters struggle with ceilings because they're working from a ladder instead of using an extension pole designed for the task.

FAQs

Can beginners complete painting projects at home?

Yes. With the right preparation and quality painting tools, beginners can achieve excellent results on walls, ceilings, doors and feature walls.

What mistakes should I avoid?

Avoid skipping preparation, using low-quality brushes, choosing the wrong roller nap and applying paint too heavily.

How do I get a cleaner finish?

Use quality brushes and rollers, prepare surfaces thoroughly, cut in carefully and apply multiple thin coats rather than one thick coat of paint.

What tools do I need before starting?

At minimum, you'll need paint brushes, paint rollers, a roller frame, a paint tray, painter's tape, drop sheets and preparation tools.

Paint with Confidence

Choosing the right painting tools is one of the simplest ways to achieve a better painting result with less effort. Quality brushes, rollers, frames and preparation tools help deliver smoother coverage, cleaner edges and a finish that lasts.

From preparation to the final coat, Monarch painting tools are designed to help you work with confidence, achieve consistent results and enjoy the satisfaction of a job done right.

Whether you're painting a single room or renovating your entire home, the right tools can help you achieve a professional-looking finish every time.

Ready to Paint Like a Pro?

Explore the Monarch range of paint brushes, paint rollers, extension poles, preparation tools and painting kits, or find a stockist near you and start your next DIY project with confidence.

More How To Tips