

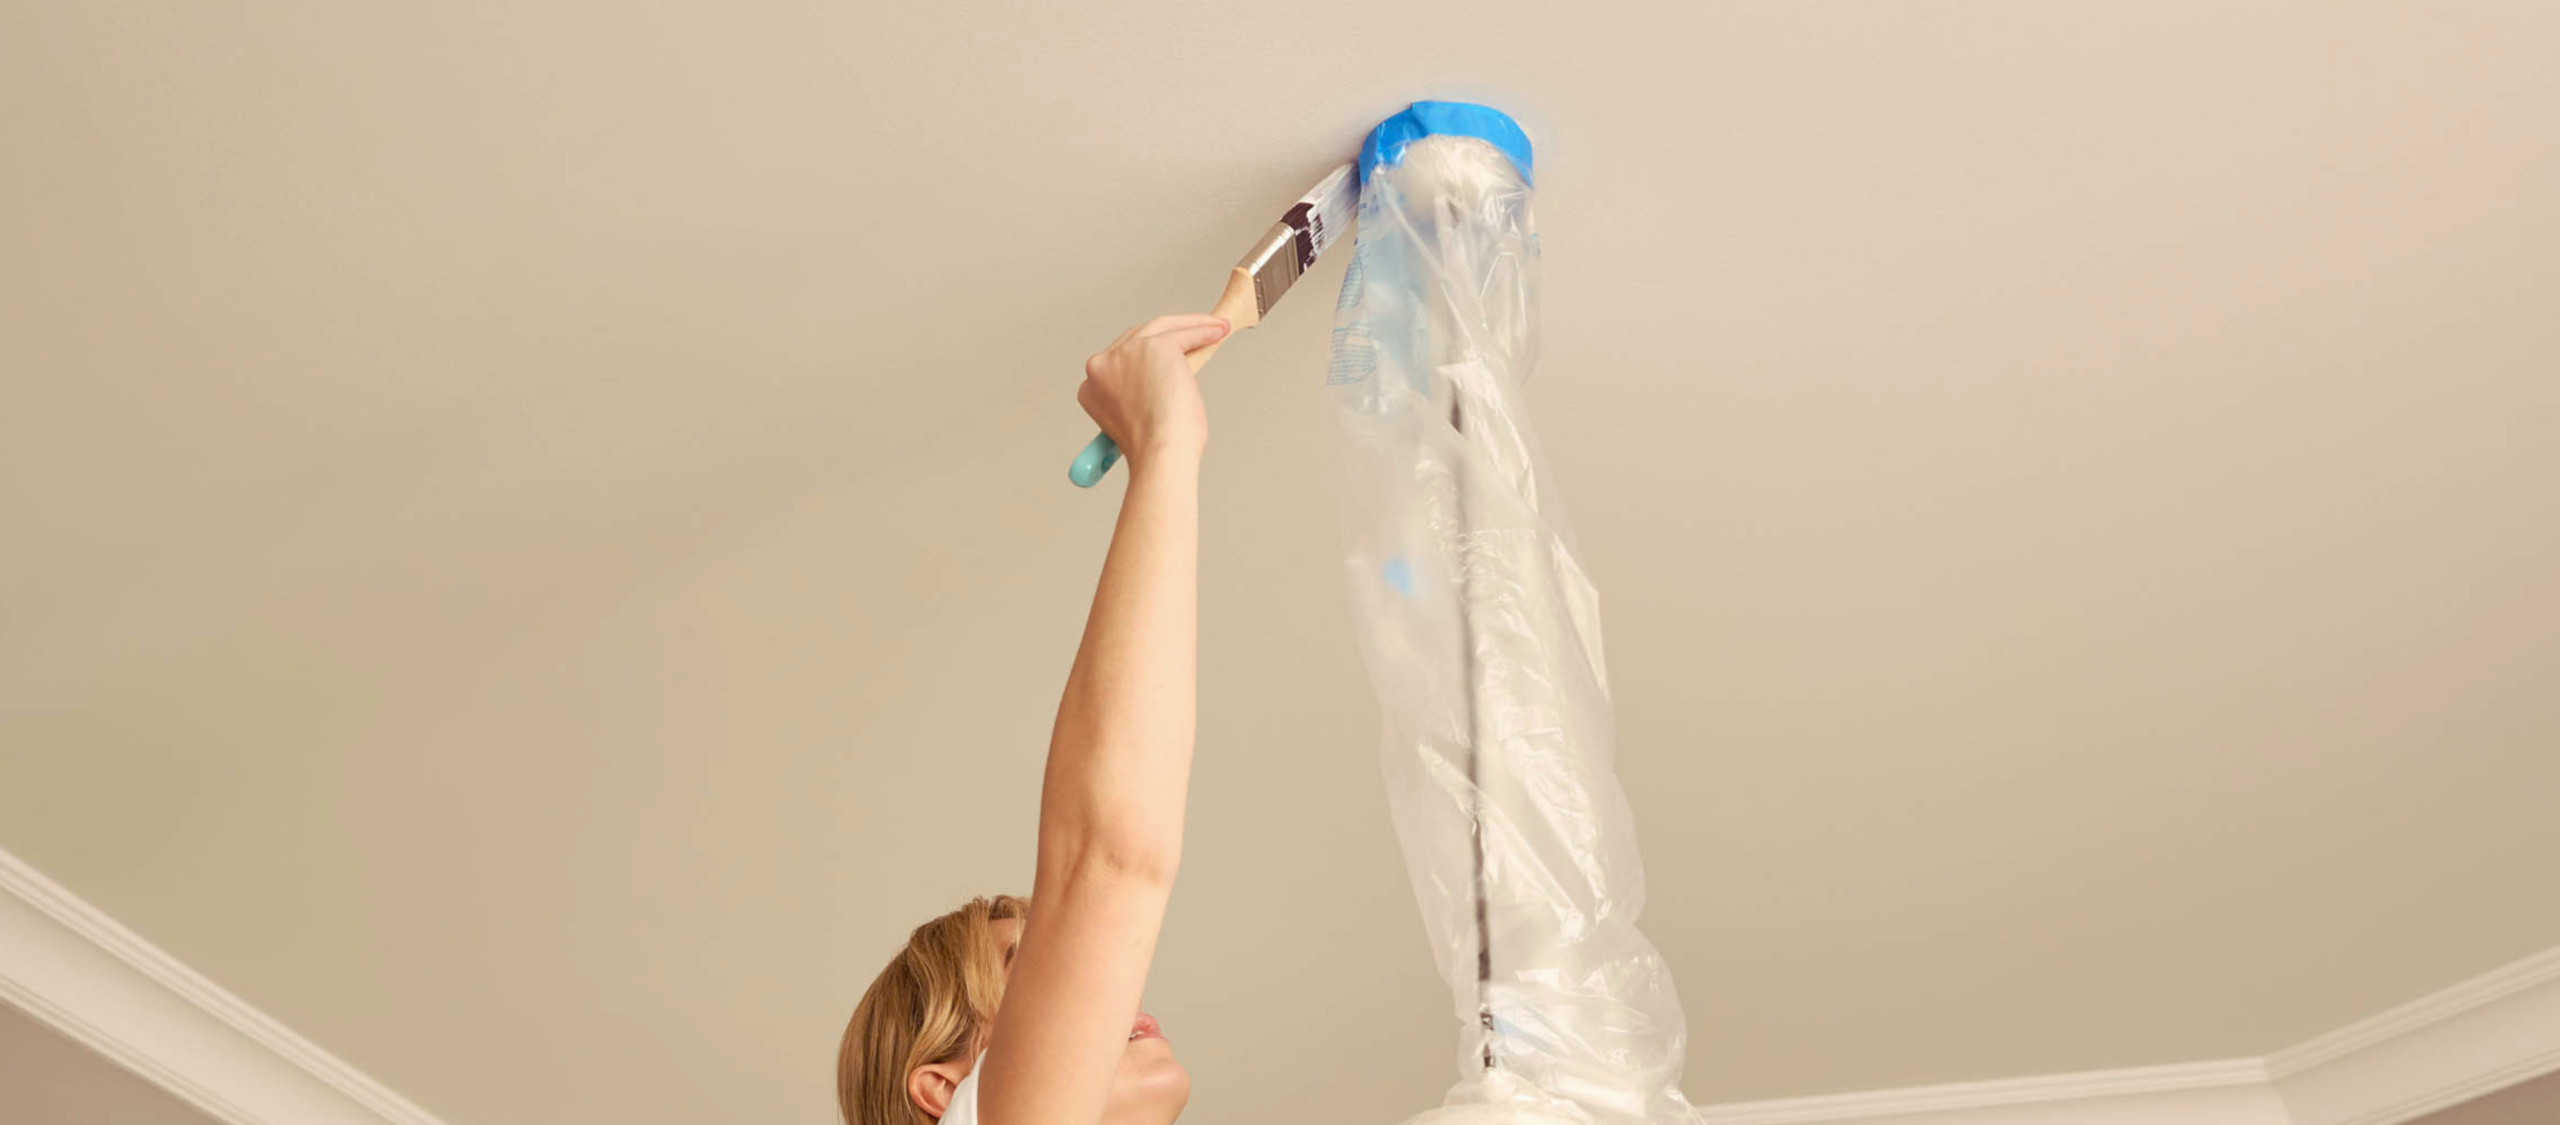
How to Cut In Ceiling Edges Cleanly Using the Right Brush


how to cut in ceiling edges cleanly with a brush

Nothing elevates a paint job quite like a sharp, clean line where the wall meets the ceiling. While it may seem like a hard task, achieving neat ceiling edges can be easier than most DIYers think.

The secret lies in combining the right brush with a few proven techniques. Monarch's premium brush range is designed to give you greater accuracy and control, helping you create straight, consistent lines with less effort. Whether you're updating a bedroom or repainting your entire home, the right brush really can make all the difference to the final result.

Why the Right Brush Matters

Ceiling edges are one of the first things people notice in a freshly painted room. Even small inconsistencies can stand out against an otherwise flawless finish.

Fortunately, achieving a neat cutting-in line isn't about having years of experience. It's about selecting a quality brush that helps you work with confidence and control.

A premium brush can help you:

  • Maintain a straighter line
  • Apply paint more accurately
  • Reduce hand fatigue during larger projects
  • Minimise touch-ups and corrections
  • Achieve a smoother overall finish

At Monarch, our tools are deliberately designed to make painting easier, helping you achieve results you'll be proud of from the first coat to the last.

Tools and Materials Checklist

Before you begin, gather everything you'll need.

Preparation Tools

Protection

Painting Tools

Having all tools ready before you start makes the project smoother and helps maintain a consistent finish throughout the room.

How to Choose the Best Brush for Cutting in a Ceiling

Not all brushes are created equal. When choosing the best brush for cutting in a ceiling, look for these features:

Angled Bristles

An angled brush allows you to position the brush naturally against the ceiling edge. The tapered shape makes it easier to create a straight line without constantly adjusting your wrist.

Quality Filaments

Premium synthetic filament helps paint flow evenly while maintaining control. This reduces drips and gives you a smoother finish.

Comfortable Handle

Cutting in often requires steady hand movements over extended periods. A comfortable handle helps reduce fatigue and improves accuracy.

Brush Size

For most rooms, a 50mm brush provides the ideal balance between coverage and precision.

Product Selector Table: Choosing the Right Brush

Painting Task

Recommended Monarch Brush

Why It's the Right Choice

Cutting in walls and ceilings.

Walls, Doors & Trims Brush

A versatile brush that delivers excellent control and smooth paint application, making it ideal for creating clean, straight ceiling lines.

Painting cornices and decorative ceilings.

Cornice & Ceilings Brush

The unique pointed diamond tip fits neatly into cornices and tight ceiling profiles for greater accuracy.

Precision cutting in around frames and edges.

Cutting In & Framing Brush

A compact handle provides maximum precision and control when working close to ceilings, corners and trim.

Painting skirting boards and architraves.

Architrave & Skirting Brush

The square brush head is designed for narrow surfaces, delivering crisp edges on trims and door frames.

Painting mouldings and decorative trim.

Moulding & Skirting Brush

An angled brush that offers greater control when painting mouldings, trims and detailed timberwork.

Painting windows and doors.

Windows & Doors Brush

The triangular head easily reaches tight corners and grooves around window frames and panel doors.

Detailed finishing work.

Detail & Finishing Brush

The round brush head wraps around curved surfaces such as balustrades, chair legs and downpipes for a neat finish.

Explore Monarch’s range of cutting-in, walls, doors, trims and ceiling brushes to find the right brush for your next interior painting project.

Step-by-Step Method

Step 1: Prepare the Surface
  • Start by inspecting the ceiling line.
  • Fill any gaps, cracks or imperfections and sand smooth once dry. Dust and debris can prevent paint from adhering properly and may leave an uneven finish.
  • Wipe the ceiling with sugar soap solution to help clean and protect.

Why it matters:

A smooth surface allows the brush to glide consistently along the ceiling edge.

Step 2: Protect the Room
  • Lay down drop sheets and cover furniture.
  • If you're new to cutting in, you may choose to use painter's tape along the ceiling line. However, with the right brush and technique, many DIY painters can achieve excellent results without tape.

Why it matters:

  • Preparation prevents accidental paint splatters and reduces cleanup time.
Step 3: Load the Brush Correctly
  • Dip only the first third of the bristles into the paint.
  • Gently tap both sides of the brush against the paint container rather than wiping heavily.

Why it matters:

  • Overloaded brushes can cause drips, uneven coverage and loss of control.
Step 4: Start Cutting In
  • Begin around 10mm below the ceiling line.
  • Using steady strokes, gradually work closer to the edge until the brush naturally creates a clean line.

Why it matters:

  • This technique creates smoother, straighter lines and reduces visible brush marks.
Step 5: Work in Small Sections
  • Cut in approximately one metre at a time.
  • Maintain a wet edge and avoid letting paint dry before rolling the adjacent wall section.

Why it matters:

  • Working in manageable sections helps blend brush and roller textures seamlessly.
Step 6: Roll the Wall
  • Once you've completed a section of cutting in, immediately roll the wall.
  • Use a quality Monarch roller cover suited to your wall surface.

Why it matters:

  • Rolling while the paint remains wet creates a more uniform appearance.
Step 7: Apply a Second Coat
  • Allow the first coat to dry according to the paint manufacturer's instructions.
  • Repeat the cutting in and rolling process for the second coat.

Why it matters:

  • Most modern paints achieve their best colour consistency and durability after two coats.

Common Mistakes to Avoid

Using the Wrong Brush: A cheap brush often leads to uneven paint release, reduced control and visible brush marks.

Overloading the Brush: Too much paint increases the risk of drips and messy ceiling lines.

Rushing the Process: Fast, uncontrolled strokes usually create wavy edges that require touch-ups.

Australian DIY Tips and Conditions

Australian homes vary widely, from modern apartments to older weatherboard homes and high-set Queenslanders. Keep these factors in mind:

Watch Humidity Levels: High humidity can slow drying times, particularly during summer in coastal regions.

Consider Ceiling Height: Many Australian homes feature ceilings between 2.4 and 2.7 metres. Extension poles can improve comfort and reduce ladder use.

Manage Natural Light: Strong sunlight can highlight imperfections. Inspect your cut-in work under different lighting conditions before applying the final coat.

Plan Weekend Projects Carefully

If painting multiple rooms, complete the preparation work first so you can maintain momentum once painting begins.

Frequently Asked Questions

Can beginners complete this project at home?

Yes. Cutting in is a skill that improves quickly with practice. Using a quality angled brush and following a step-by-step approach, helps beginners achieve noticeably cleaner results from their first project.

What mistakes should I avoid?

Avoid using low-quality brushes, applying too much paint, skipping preparation and allowing cut-in areas to dry before rolling. These mistakes commonly lead to uneven finishes and visible brush marks.

How do I get a cleaner finish?

Work with good lighting, use high-quality painting tools, maintain a wet edge and apply two consistent coats. Small improvements in technique often produce significantly better results.

What tools do I need before starting?

You'll need preparation tools, drop sheets, painter's tape if desired, an angled brush, roller frame, roller cover, extension pole, paint tray and the appropriate paint for your project.

Final Thoughts

Creating crisp ceiling lines doesn't have to be difficult. With a quality brush, proper preparation and a steady technique, you can achieve a finish that looks clean, sharp and professional.

Monarch's range of painting tools is designed to help every painter work with confidence, whether you're tackling a quick refresh or a complete home transformation. When you start with the right tools, great results become easier to achieve.

Ready to Start Your Next Project?

Explore the full Monarch range of paint brushes, rollers, preparation tools and painting kits, or find your nearest stockist and paint with confidence.