
How to Paint Exterior Bricks


Painting brick is a great way to refresh an outdoor brick wall, update the look of a brick home, or revive painted brick exteriors that are starting to look tired and weathered. Whether you’re painting natural brick white for a clean, modern finish or repainting an existing brick wall, achieving a long-lasting result comes down to proper preparation and using the right tools and products.

This guide covers what you need to know, including surface preparation, the tools required, and the step-by-step process for painting exterior brick walls for a durable, professional-looking finish.

Can You Paint Bricks?

Absolutely! As long as the brick is in good condition and completely dry before painting begins. Brick naturally expands, contracts, and breathes. Before painting exterior brick surfaces, always check the paint label to ensure it’s suitable for masonry, or speak with a paint specialist to confirm your choice.

Why Proper Brick Preparation Matters

A long-lasting painted brick surface always starts with proper preparation.

Done correctly, it helps to:

  • Prevent paint from peeling and blistering
  • Improve paint adhesion to the bricks
  • Avoid trapped moisture which can lead to mould
  • Ensure even coverage

What You’ll Need

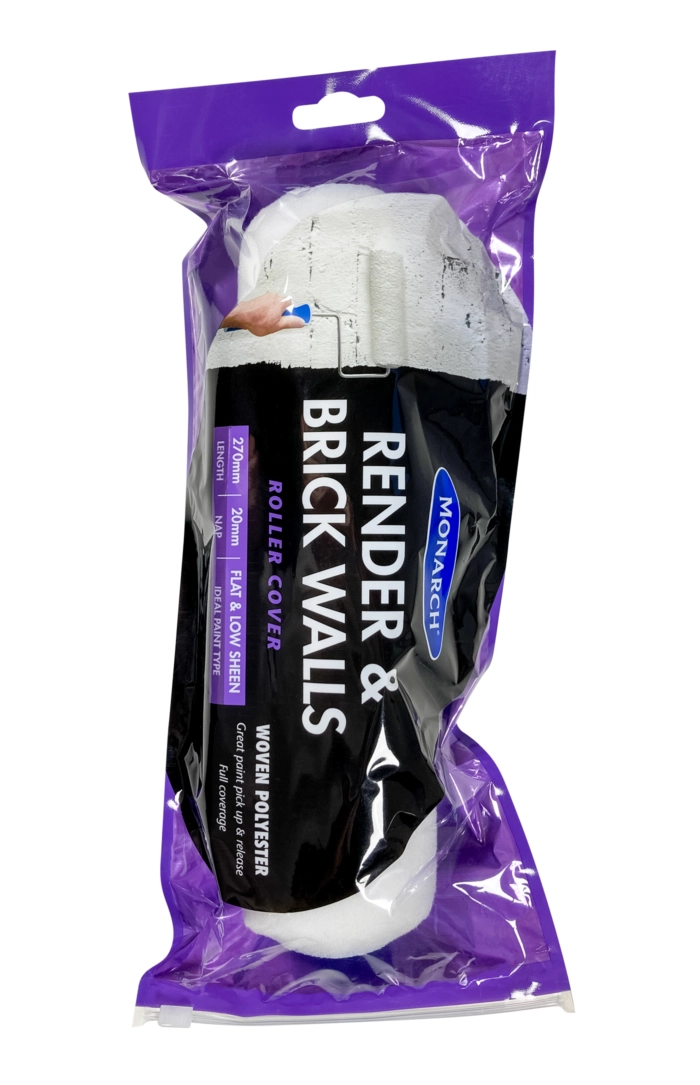
Before painting, gather everything first so the project runs smoothly. For rough brick surfaces make sure to grab quality cutting-in brushes, and longer nap mini rollers and roller covers. These will make a big difference as the thicker nap on the roller will help push paint into grooves.

  • Masking Tape
  • Paint 

How to Prepare Bricks for Painting

Clean the Surface and Remove Efflorescence and Dust

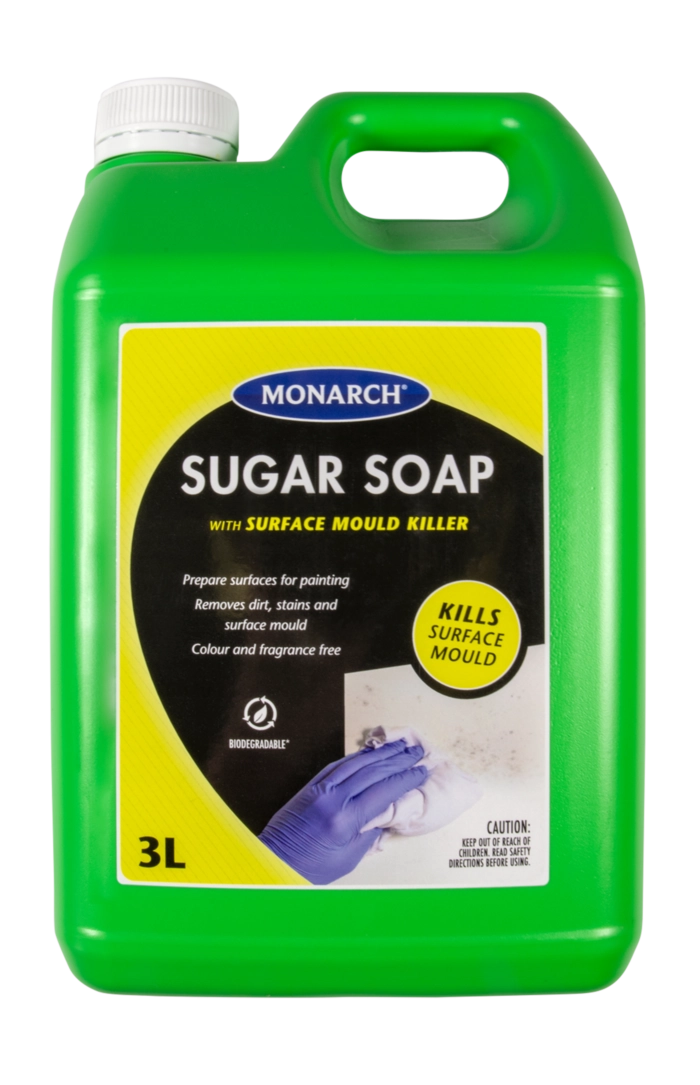
Start by thoroughly cleaning the brick surface using sugar soap, water, and a stiff brush to remove mould, dirt, chalk, cobwebs, and loose debris. Pay particular attention to any white, powdery marks, these are called efflorescence.  Brush these marks away completely before rinsing the wall.

Brick naturally traps dust in its texture, take your time giving the surface a thorough deep clean to remove any remaining residue, as even a light layer of dust can lead to uneven coverage.

Repair Cracks and Mortar

Inspect the wall for cracks, loose mortar, or damaged joints. Fill any gaps before painting so the surface is sealed, smooth, and ready for painting.

Let Bricks Dry Completely

Brick holds moisture longer than most surfaces. Always allow the wall to dry fully before priming or painting. If you’re wondering how to paint brick without issues, this step is essential.

How to Paint Bricks: Step by Step

Step 1: Protect Surfaces

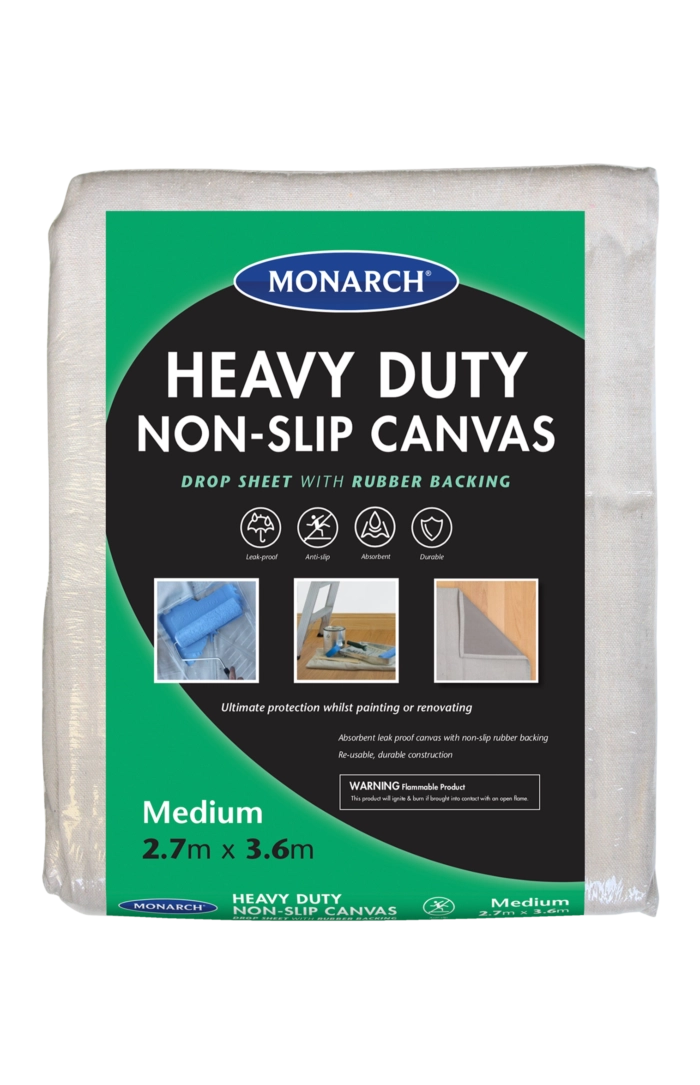
Lay down a drop sheet to protect surrounding areas from paint drips and spatter. Before you begin, wash your brushes and rollers to remove any dust or loose fibres, ensuring a clean, smooth application.

Step 2: Apply a Primer

Use a primer specifically designed for brick or masonry. Start by cutting in with a brush around edges, corners, and mortar joints, working the primer well into the surface. Then use a long-nap roller to evenly coat the main areas, making sure to cover all the textured grooves. Allow the primer to dry completely before moving on to the next step.  

Step 3: Apply the First Coat

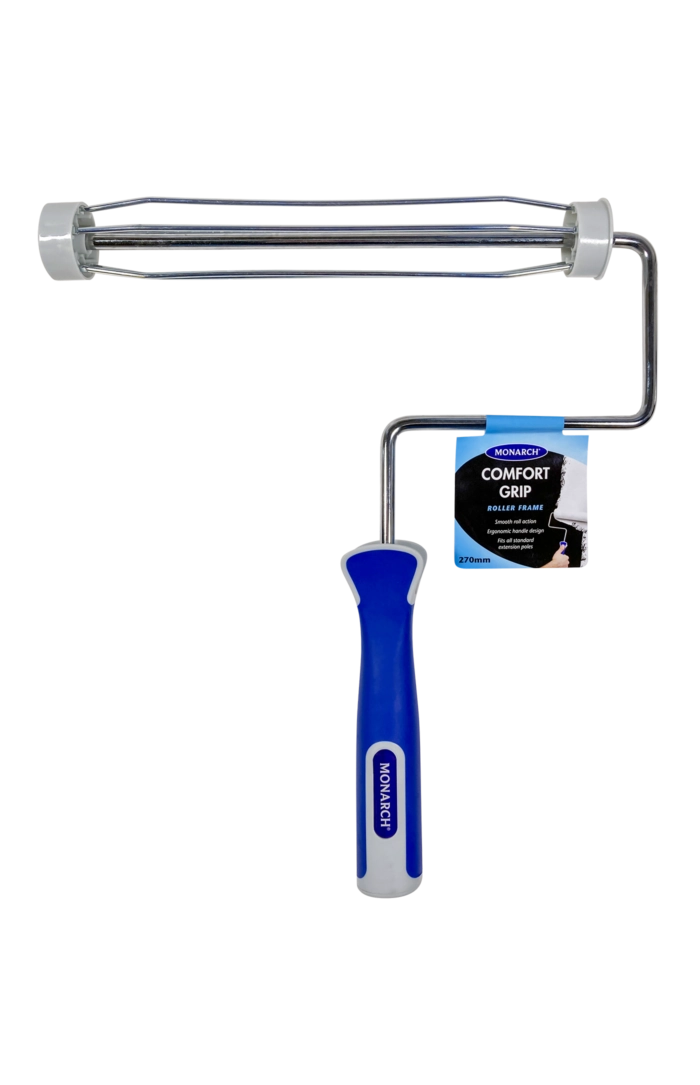
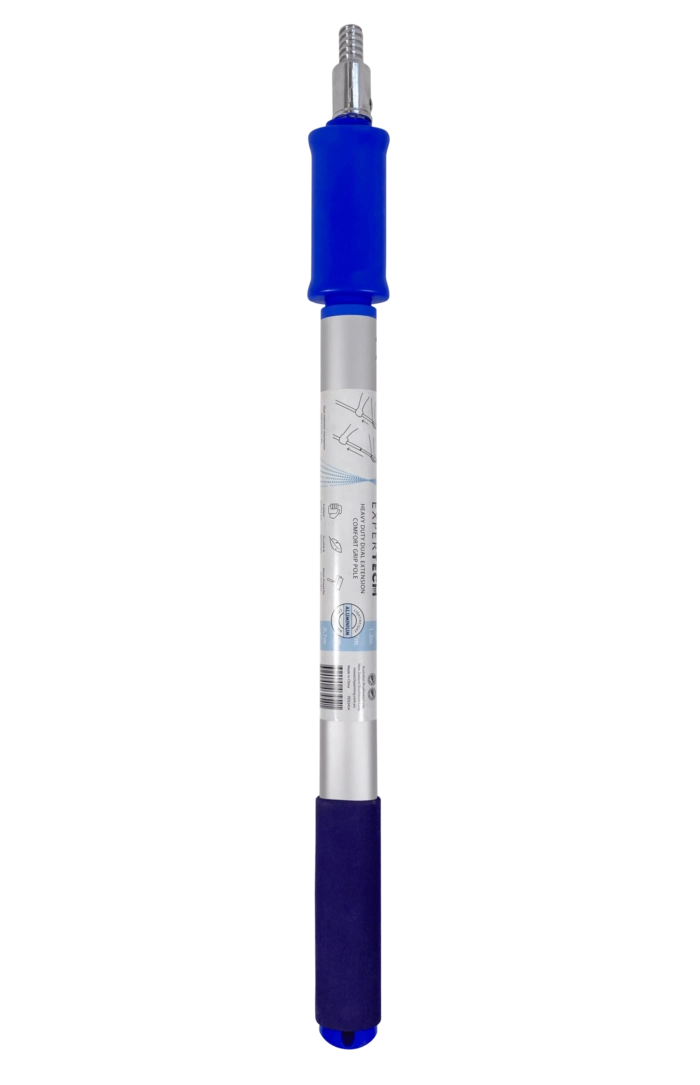
Begin painting the brick surface by cutting in around windows, trims, and recessed areas first. Then use a roller to cover the larger sections with slow, even passes. A strong roller frame and extension pole help maintain control and consistency, especially on textured brick. A well loaded roller means fewer dry spots and a more even finish.  Be careful not to overload the roller, this will cause paint to drip.

Step 4: Apply the Second Coat

Allow the first coat to dry completely before recoating. Most exterior brick painting projects require two coats, while natural brick may need three. Keep coats even and consistent to avoid a patchy finish.

Note: Between coats, wrap brushes and rollers in foil or plastic cling wrap to stop them drying out.

Common Brick Painting Mistakes to Avoid

These are the most common reasons you may need to repaint sooner than expected.

  • Skipping primer
  • Painting damp brick
  • Not allowing proper drying time

Final Tips for Painting Brick Successfully

A great result comes down to patience and control, not speed. Taking the time to complete proper surface preparation sets the foundation for a professional finish.

Most importantly, be confident in your plan before you start. Painting brick is absolutely achievable, and with the right preparation and tools, it can completely transform the look of your home leaving you with a finish you can be excited to show off.

FAQs

Is it a good idea to paint brick walls?

If properly prepared, painting brick walls can be a great way to modernise a home and protect weathered masonry.

Do bricks need to be sealed before painting?

Yes. A suitable primer can improve coverage, durability, and moisture resistance. If bricks are not sealed, they can trap moisture causing mould, and cause paint to peel and blister.

What is the difference between interior and exterior brick painting?

Exterior brick requires coatings designed to withstand rain, UV exposure, and temperature changes. Interior brick is typically more decorative and less exposed to harsh conditions.

How long does painted brick last?

A well-prepared painted brick surface can last many years before recoating. Longevity depends on exposure to the elements such as rain, UV, and temperature changes.

More How To Tips