
How to Prepare, Repair and Repaint Cracked Walls


Small cracks, dents and chips can make freshly painted walls look untidy, even when the paint colour is perfect. The good news is that most minor wall crack repair jobs can be handled with the right preparation and quality painting tools. If you’ve been wondering how to fill cracks in walls and repaint them, this simple step-by-step guide will help you achieve a smoother, more professional-looking finish in your home.

Whether you’re refreshing one wall or repainting an entire room, good preparation makes all the difference. With the right filler, sanding tools, brushes and rollers, you can repair damaged areas and create a finish you’ll feel proud of.

Before You Start: Check What Type of Crack You Have

Before starting any wall crack repair, it’s important to understand what caused the crack in the first place. Fine hairline cracks are common in Australian homes and are often caused by normal settling, temperature changes or humidity. Small dents, nail holes and surface cracks can also be patched and repainted successfully.

However, larger cracks, widening gaps, soft plaster, mould, damp patches or signs of structural movement should be professionally inspected before painting. If you’re unsure how to repair cracks in walls properly, start by assessing whether the damage is cosmetic or structural.
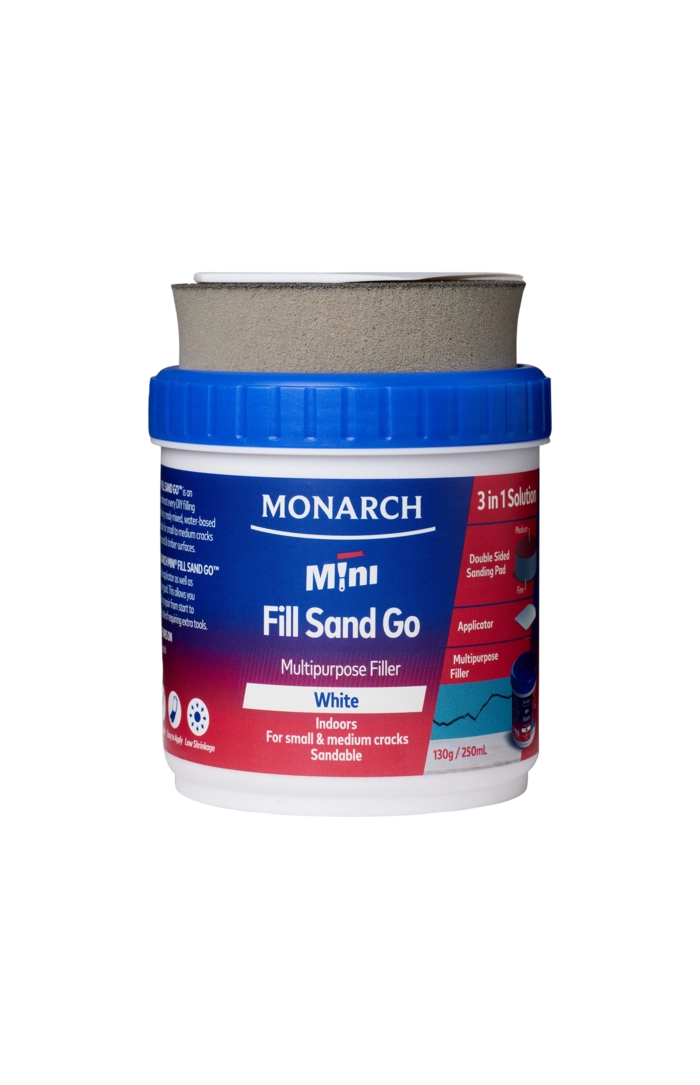
For quick interior wall repairs, the innovative MONARCH MINI® FILL SAND GO™ delivers a fast and convenient all-in-one solution. This ready-mixed, water-based formula is ideal for repairing small to medium cracks and holes in plasterboard and timber surfaces. Designed to make repairs easier from start to finish, the clever 3-in-1 tool combines filler, a built-in filling blade applicator, and an ingenious sanding tool with a reversible sanding sponge, so there’s no need for extra tools. The quick-drying, low-shrinkage formula is easy to sand and paint over, while its low odour and UV-resistant finish make it perfect for indoor DIY repairs with professional-looking results.

Step 1: Protect the Room Before Repairing the Wall

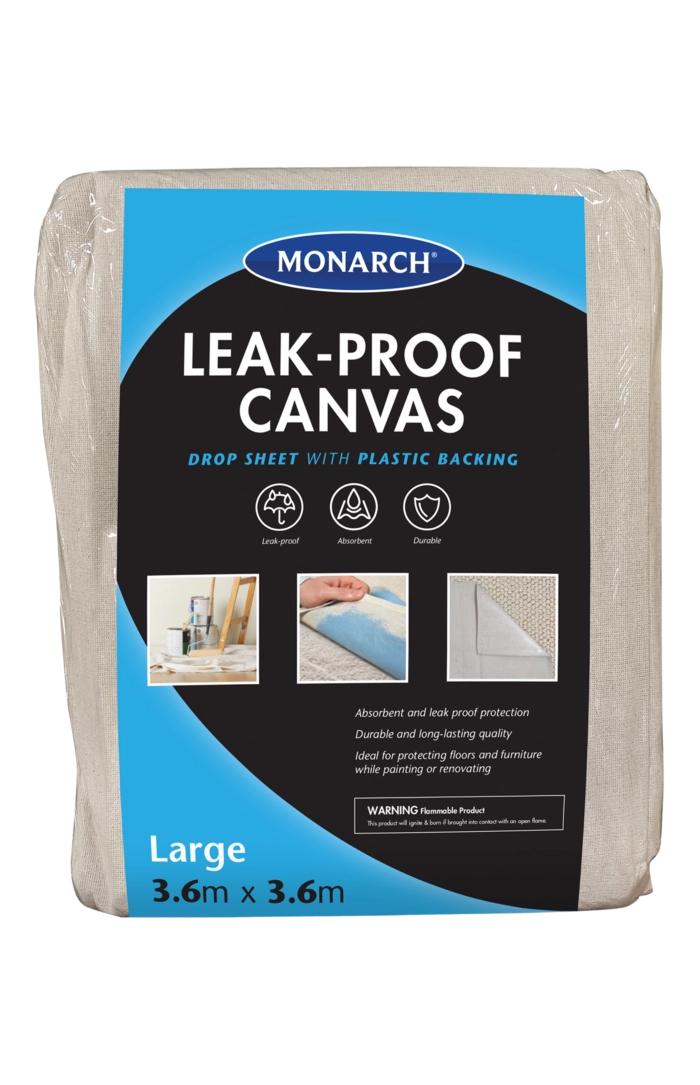
Move furniture away from the wall and cover floors with a drop sheet. Use painter’s tape around skirting boards, trims, switches and power points.

Good preparation helps reduce cleanup and creates cleaner lines once you start repainting. For larger repainting projects, an extension pole can help you paint ceilings and high walls more comfortably while maintaining a consistent finish.

Step 2: Clean and Open the Crack

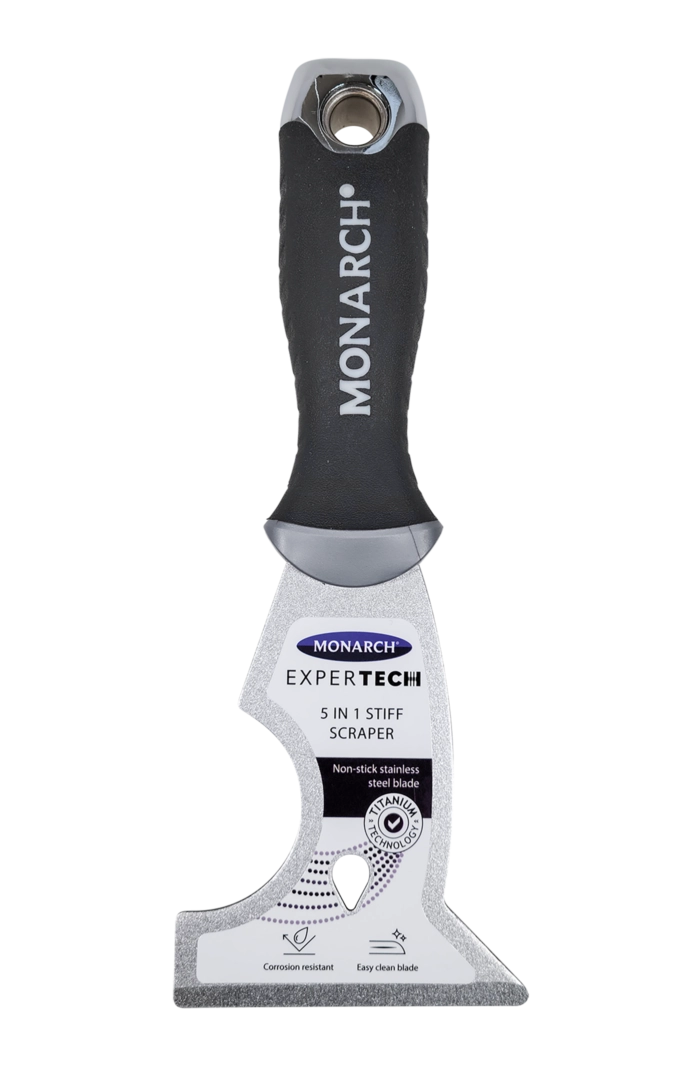
Use a scraper or filling knife to remove any loose paint, plaster or debris from the crack. Once cleaned, wipe away dust with a cloth or dust brush before applying filler. This step is often overlooked, but it plays a big role in achieving a longer-lasting repair.

Step 3: Apply Wall Filler

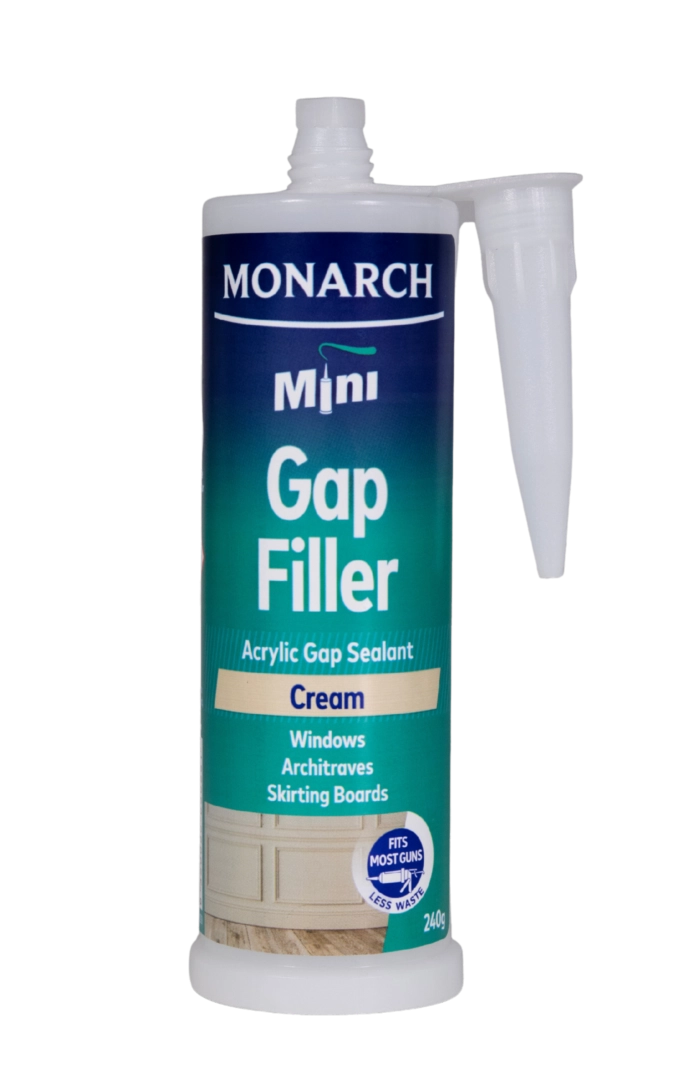
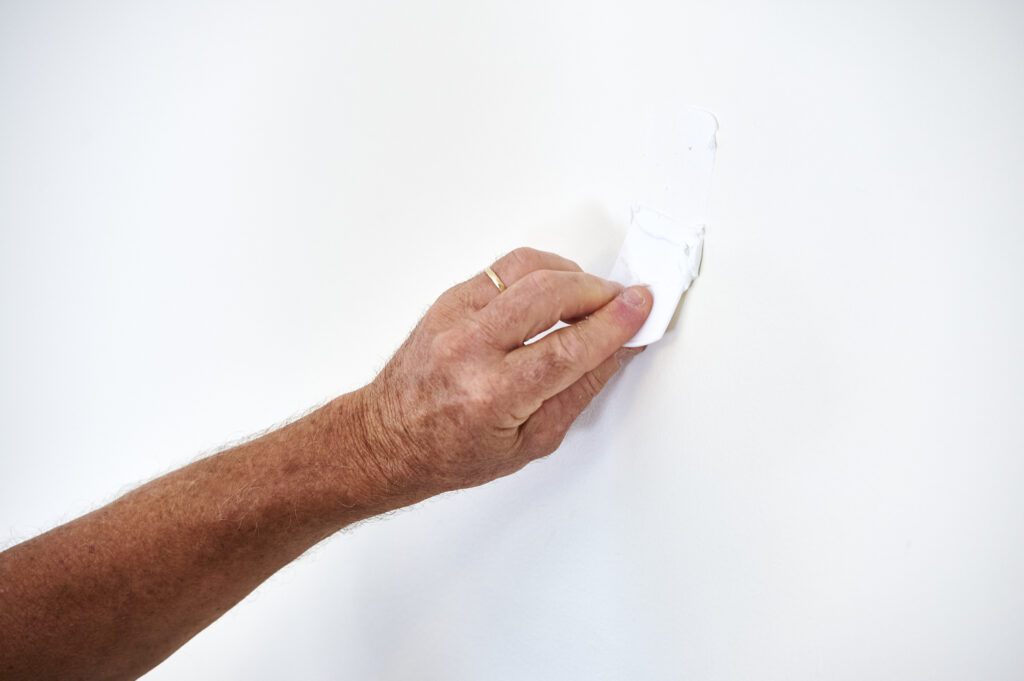
Choose a wall filler designed for interior wall repairs. Using a filling knife, press the filler firmly into the crack and slightly overfill the area. Most fillers shrink slightly as they dry, so a little extra helps create a flush finish after sanding.

For deeper cracks, apply several thin layers instead of one thick coat. Allow each layer to dry fully according to the manufacturer’s instructions. If you’re learning how to fix hairline cracks in walls, patience during this stage helps produce a much smoother final result.

How to Prepare, Repair and Repaint Cracked Walls

Step 4: Sand the Repair Smooth

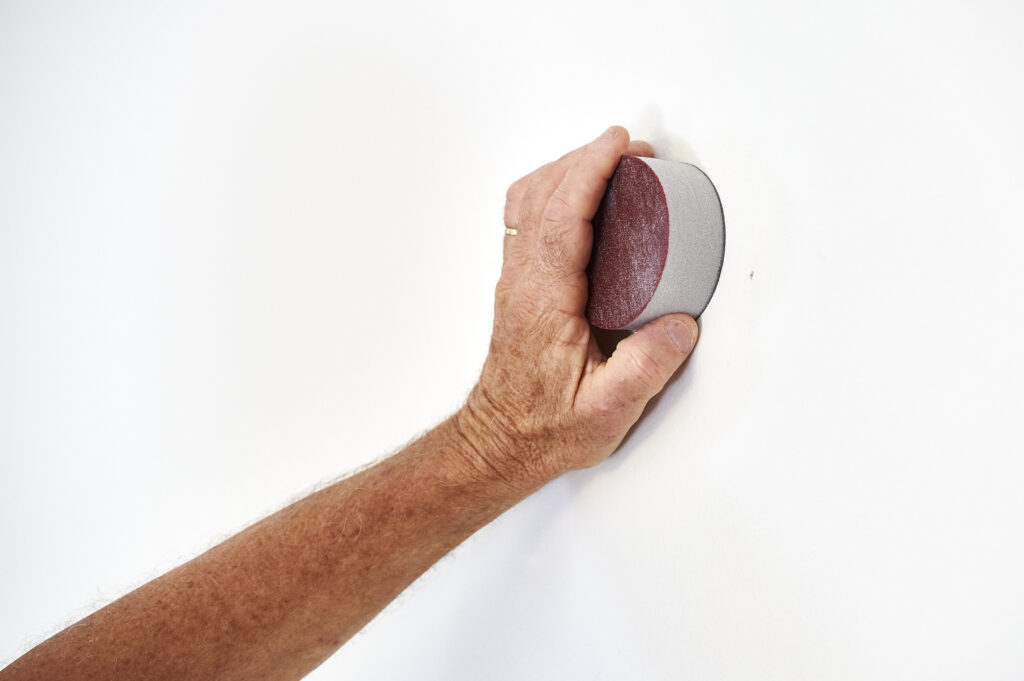
Once the filler is completely dry, sand the repaired area until it sits flush with the surrounding wall. Sand the edges gently so the patch blends naturally into the existing paint surface. A sanding block or sanding tool gives you more control and helps avoid uneven spots.  After sanding, wipe away all dust before priming or painting. Skipping this step can make repairs stand out even after repainting.

How to Prepare, Repair and Repaint Cracked Walls

Step 5: Spot Prime the Repaired Area

Fresh filler absorbs paint differently to the surrounding wall. Apply primer only to the repaired section and allow it to dry fully before painting. Spot priming helps seal the repair and prevents flashing or patchy marks from appearing after painting.  If you’ve ever noticed patches showing through fresh paint, this is usually the step that was missed.

Step 6: Cut In Around Edges

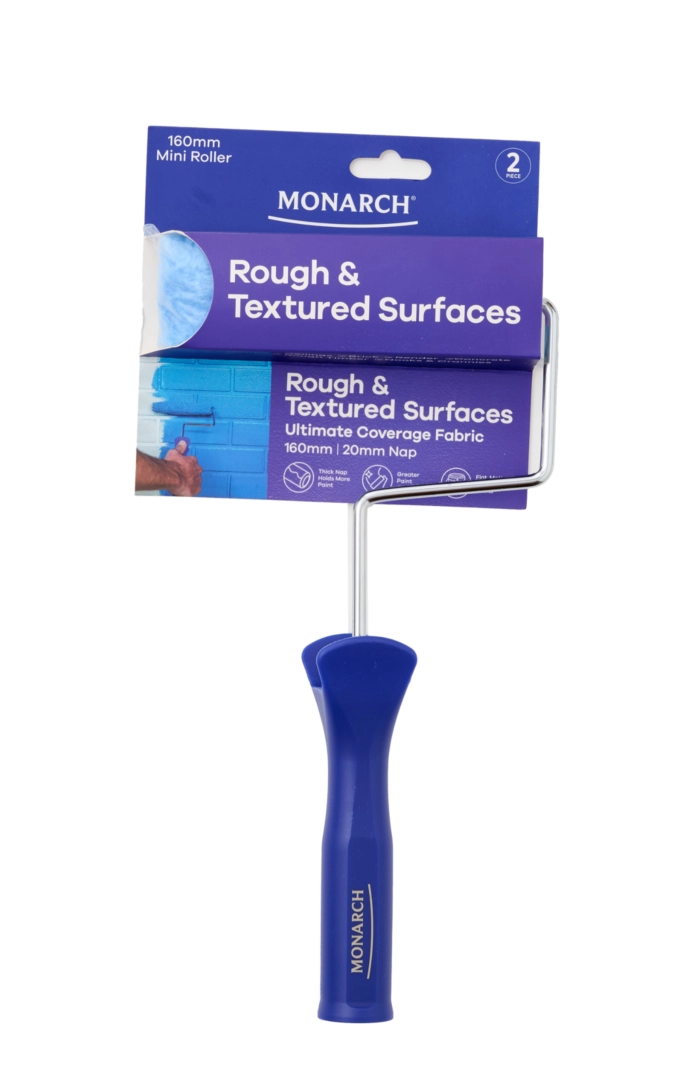
Use a quality paint brush to cut in around trims, ceiling lines, corners, skirting boards and power points. Work in manageable sections and avoid overloading the brush with paint. Controlled brushwork creates sharper edges and helps the roller blend more evenly into these cut-in areas.

Step 7: Repaint the Wall with a Roller

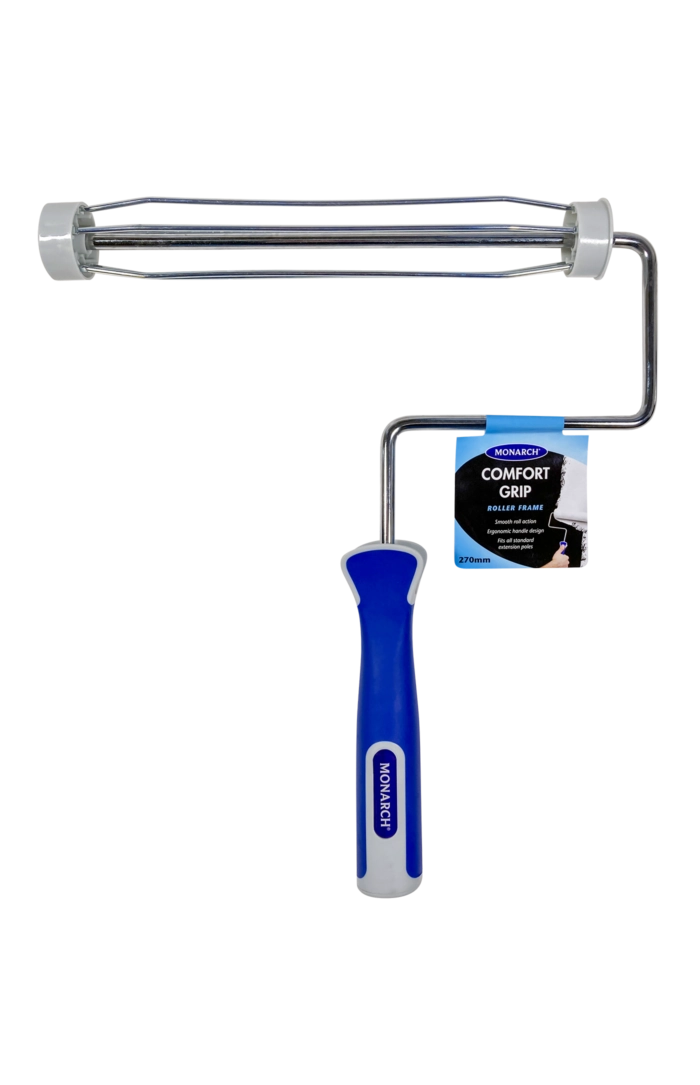
Load the roller evenly and remove excess paint by rolling the roller on the flat section of the paint tray with the indented grooves. Keep a wet edge on the wall while working to reduce visible roller lines and maintain a consistent finish across the wall.

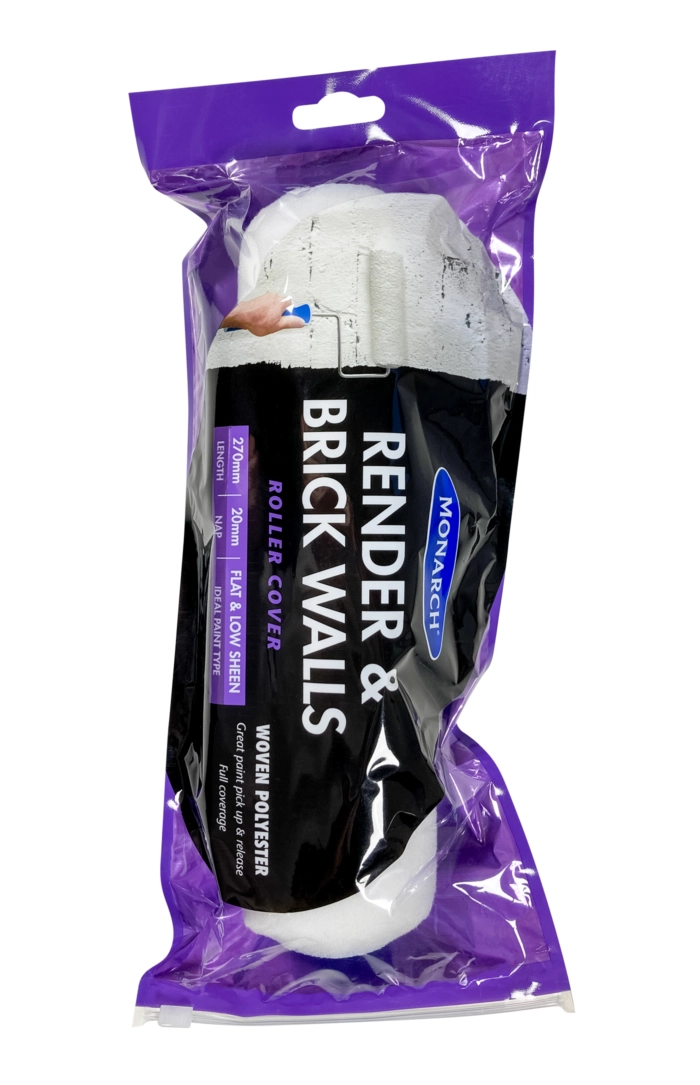
Most repainting jobs will need two coats for the best coverage, especially when painting over repaired areas. Using the right roller cover for your surface can also help reduce patchiness and improve paint consistency.  

Step 8: Check the Finish After It Dries

Allow the paint to dry fully before inspecting the final finish. Check the repaired area in natural light. If the patch is still slightly visible, lightly sand the area, apply another spot prime if needed and repaint. Taking a little extra time during preparation usually delivers the cleanest final result.  

Common Mistakes to Avoid


  • Painting Straight Over Cracks: Cracks can still show through paint. Always fill, sand and prime before painting.
  • Not Cleaning the Surface: Dust and loose materials can stop filler from bonding properly. Clean the area before repairing.
  • Skipping Sanding: Unsanded patches may remain visible after painting. Sand repairs flush with the wall for a smooth finish.
  • Skipping Primer: Repaired areas may flash through the topcoat. Spot prime patches before painting.
  • Using the Wrong Roller: The wrong roller can leave patchy coverage or uneven texture. Choose one suited to your wall surface.
  • Rushing Dry Times: Filler or paint may fail if not fully dry. Follow recommended drying times for the best results.

For fast touch-up repairs, MONARCH MINI® FILL SAND GO™ combines filler, application and sanding in one compact solution, helping you repair cracks and holes without needing multiple tools. Monarch painting tools are designed to help DIY painters and professionals work with greater control, comfort and consistency.

Ready to refresh your walls? Explore Monarch brushes, rollers, preparation tools and painting kits to help you repair, repaint and finish your next room.

FAQs

Can you paint over cracks in walls?

Small cracks should be filled, sanded and primed before painting. Painting directly over cracks usually makes them more noticeable and may not stop them from returning.

What filler can I use for small wall repairs?

A ready mixed filler like MONARCH MINI® FILL SAND GO™ is ideal for repairing small to medium cracks and holes in plasterboard and timber surfaces. Its quick dry formula is sandable and paintable, making repairs faster and easier.

Do I need to prime wall filler before painting?

Yes. Priming helps prevent patchy paint absorption and helps repaired sections blend more evenly with the surrounding wall.

Why can I still see the patch after painting?

The filler may not have been sanded smoothly or primed correctly before painting. Light sanding, spot priming and repainting usually improves the finish.

When should I call a professional for wall cracks?

You should seek professional advice if cracks are large, spreading, recurring, damp, mouldy or linked to structural movement or water damage.

More How To Tips