


Wainscoting is a simple way to transform a plain bedroom wall into a feature full of colour and character. From soft, calming neutrals to bold, dramatic shades, a fresh coat of paint can highlight the architectural detail of wainscoting and create a more considered, cohesive look.
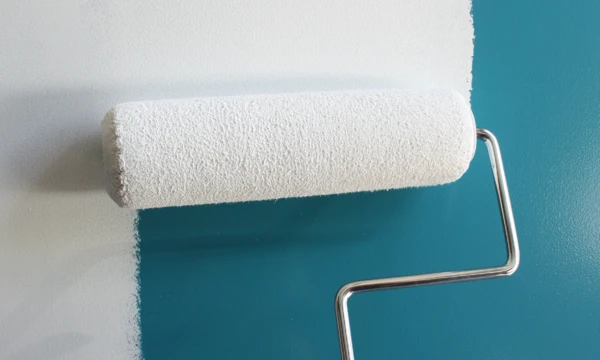
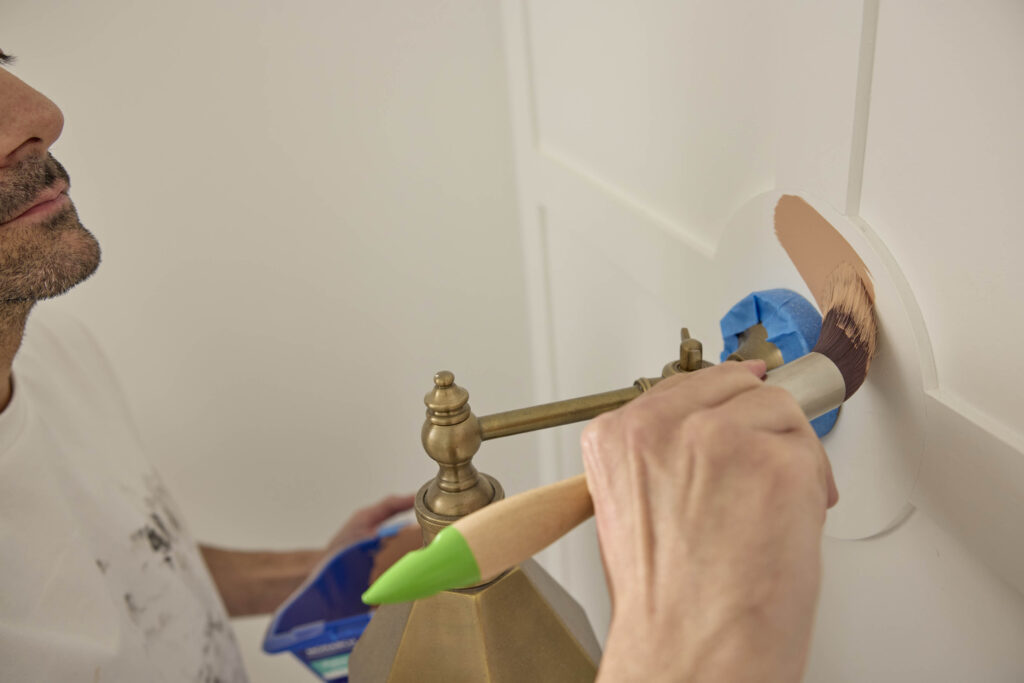
When it comes to bringing your bedroom wainscoting ideas to life, a little preparation can make all the difference. Planning your colour scheme, preparing the surface and choosing the right painting tools will help you achieve a clean, professional-looking finish, particularly around edges, trims and detailed areas. Monarch offers a range of brushes and rollers designed for walls, trims and smaller surfaces, making it easier to select the right tool for every part of your project.
In this DIY guide, we’ll take you through the painting process step by step, from preparing your wainscoting to applying the final coat.
From Plain Wall To Character-filled Bedroom
A bedroom should feel personal and inviting. As a space to relax and unwind, the colours, textures and details you choose can have a big impact on the overall mood.
Wainscoting is a simple way to introduce visual interest and character without relying on artwork or furniture alone. The panelled detail creates natural sections across the wall, giving you an opportunity to play with colour, contrast and different finishes.
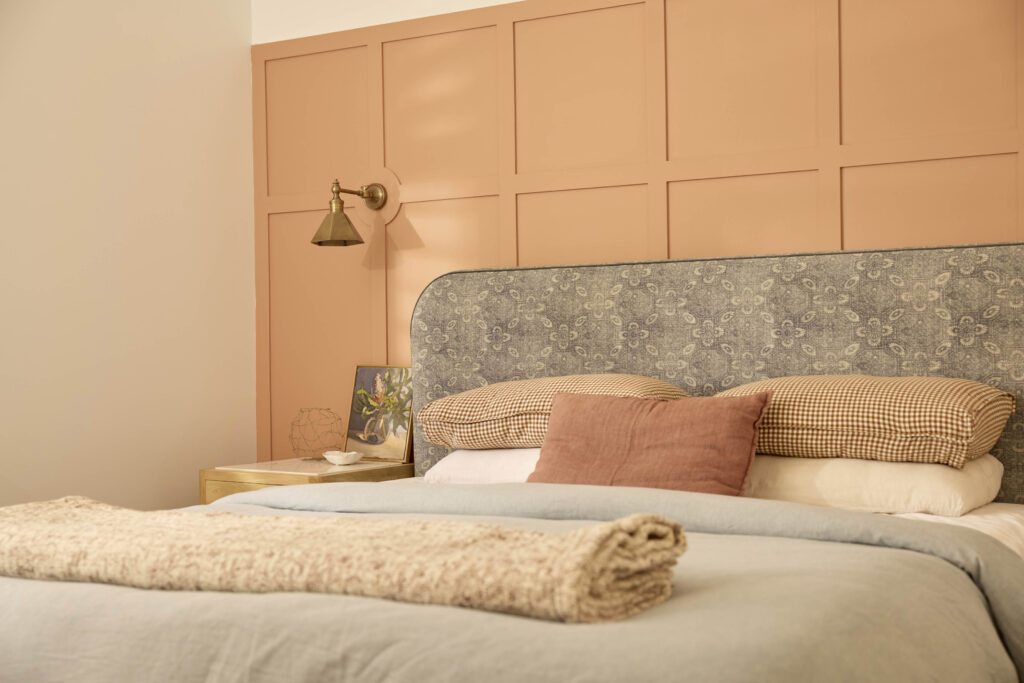
For a subtle look, consider using complementary shades across the wainscoting and upper wall. Keeping the colours within the same palette creates a soft, cohesive look while still allowing the panelled detail to stand out. For more impact, use a deeper colour across the wainscoting and a lighter shade above it.
You can also use the same colour across the wall and wainscoting. This creates a more unified look while allowing the panel detail and shadows to provide the character.
The right approach will depend on the rest of your bedroom, from your bedding and furniture to your flooring and the amount of natural light in the room. With the right colour combination, wainscoting can become a feature that complements the entire space rather than competing with it.
Bedroom Wainscoting Ideas For Adding Colour
When choosing your colour, start with the feeling you want the room to have.
Keep It Soft And Calming
Muted colours can create a relaxed backdrop for a bedroom. Think soft greens, warm neutrals, gentle blues or earthy tones for a look that feels understated and inviting.
Rather than treating the wainscoting as a completely separate feature, use it as part of the wider colour scheme.
Make The Wainscoting The Feature
For a stronger statement, choose a contrasting colour for the lower section of the wall.
A darker colour below paired with a lighter shade above can create a strong visual anchor while keeping the upper portion of the room feeling bright and open.
Try One Colour From Top To Bottom
For a more seamless approach, consider painting the entire wall, including the wainscoting, in the same colour. This helps integrate the panelling into the overall design while allowing its texture, shape and shadows to provide subtle definition.
Whichever of these wainscoting ideas you choose, it’s worth testing your colour before committing. Paint a small section and observe how it looks at different times of day, as natural and artificial light can significantly change how a colour appears. Be sure to consider how it works alongside your existing bedding, furniture and finishes, too.
Tools You’ll Need To Create The Look
The right paint tools can make a big difference when you are working around wainscoting, corners and detailed edges.
For this DIY, you will need: